
/
/

·
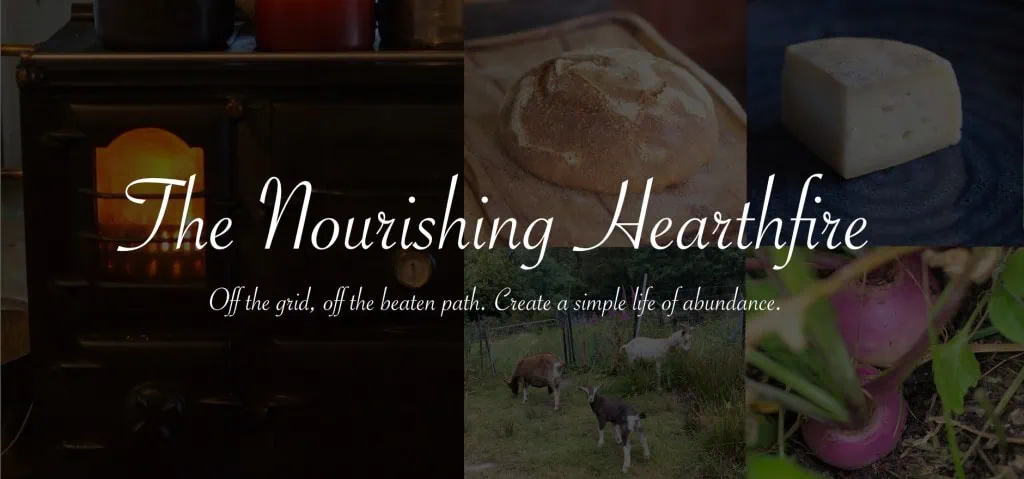
The history of this blog I started The Nourishing Hearthfire ten years ago. Our youngest child at the time had started eating solid foods, we were in the process of buying land after what seemed like a lifetime of dreaming about it, and a whole new world was opening up for us. I had many ideas and photos, a stash of recipes and posts drafted up, with the idea of creating a place of my own on the internet to…
·
The last three times that I’ve finished writing a book, I’ve been really motivated towards my writing my next one, sometimes concurrently putting the finishing touches on the last book while excitedly mapping out and researching the next one. This time it’s a bit different. I have some possible ideas for new books, but nothing that is really shouting out to me as something I need to work on right away. At the same time, I feel like I want…
·
Phytic acid in sourdough and whole grains I’ve been getting some questions about the phytic acid in whole grains and sourdough, and thought it would be a good idea to go into detail about how this works, and why you don’t need to be alarmed about it. Along with a bunch of good stuff that is not in refined flours, phytic acid is present in whole grains. If phytic acid is not broken down by the phytase enzyme by soaking,…
·
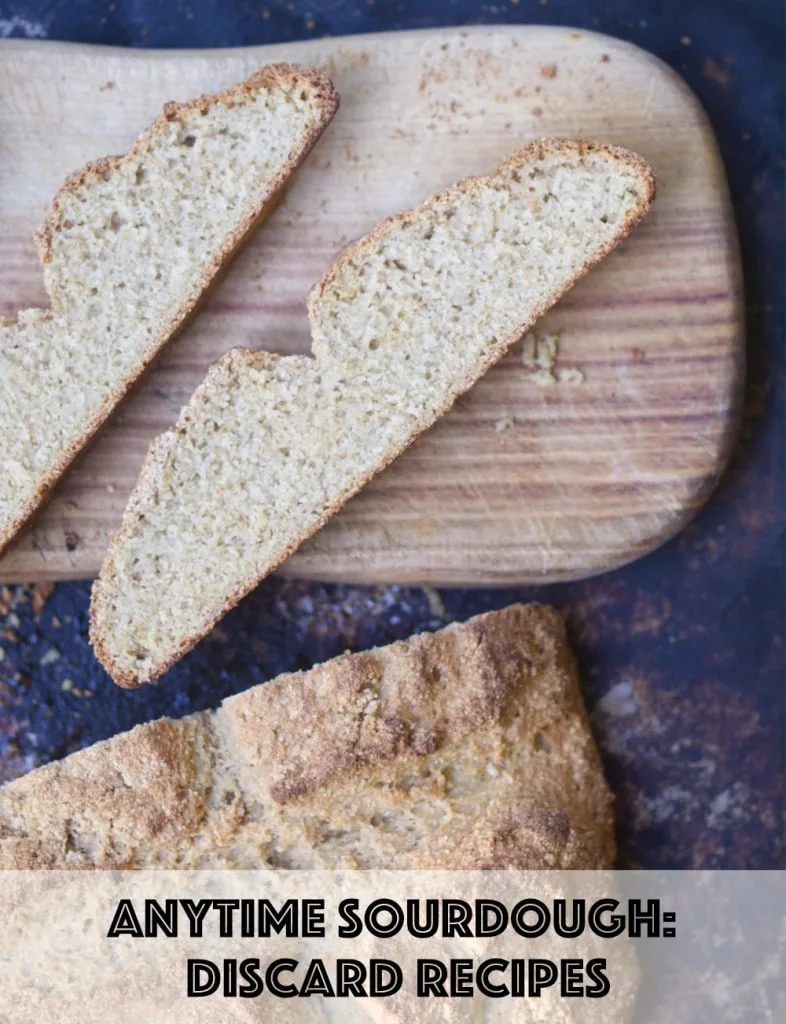
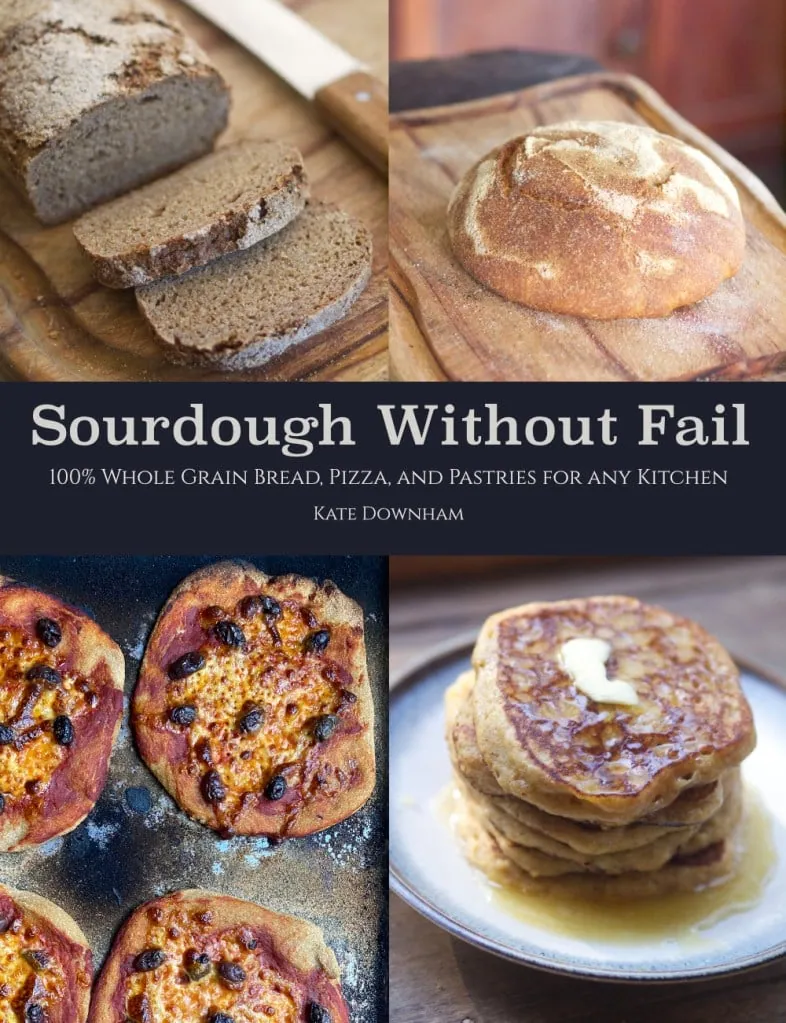
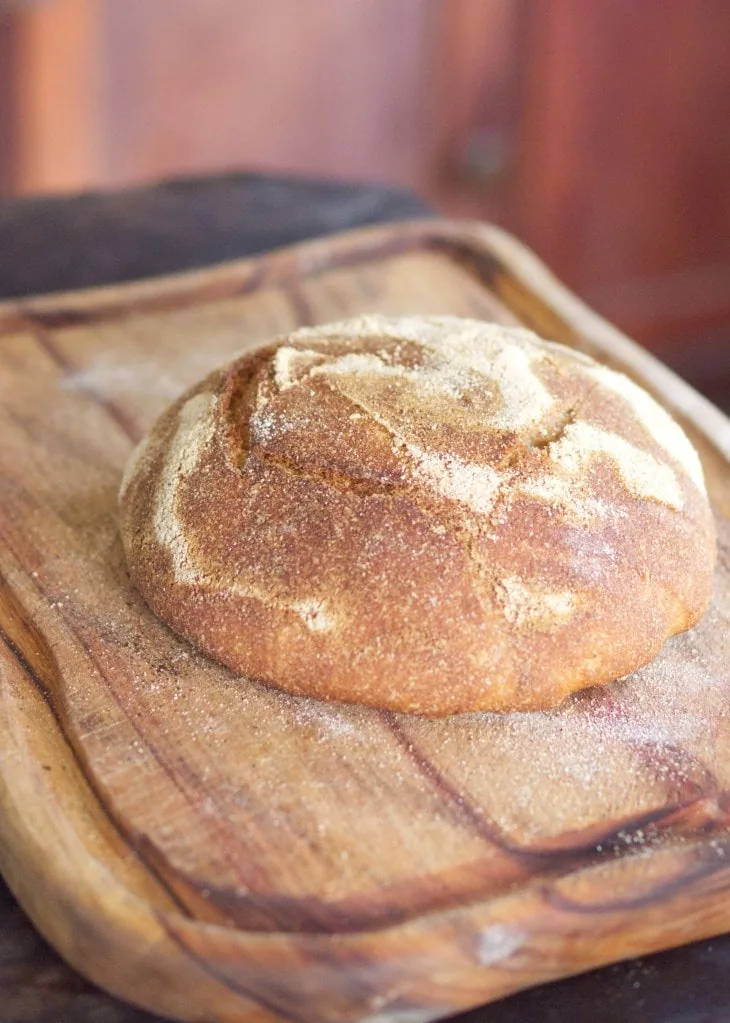
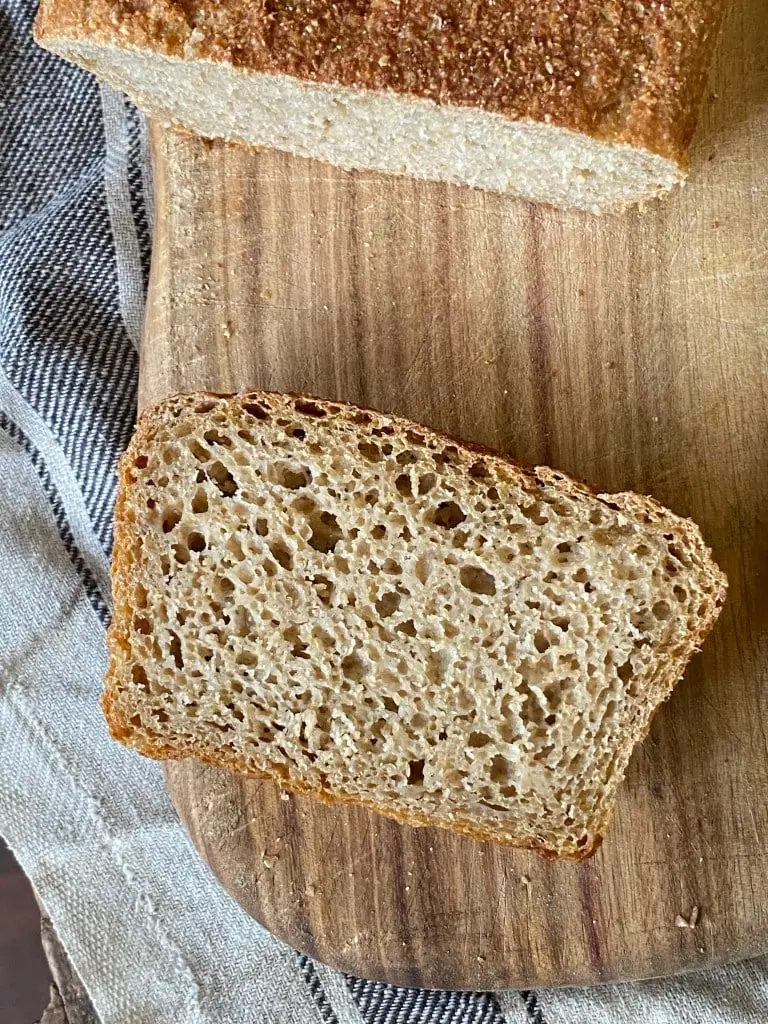
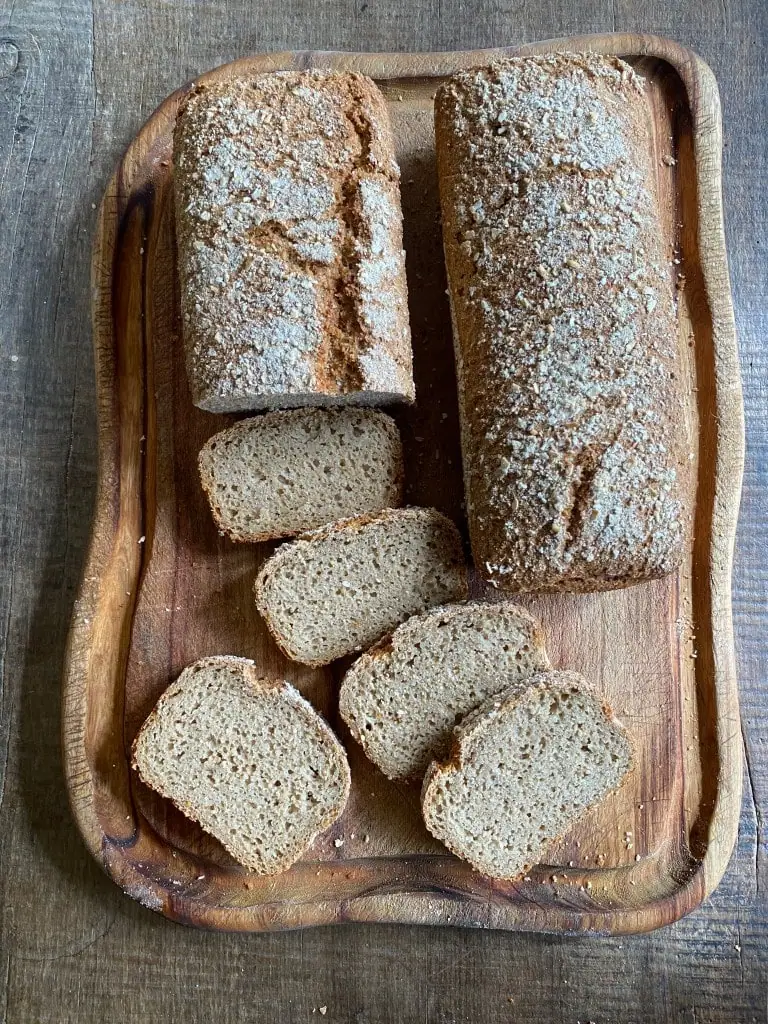
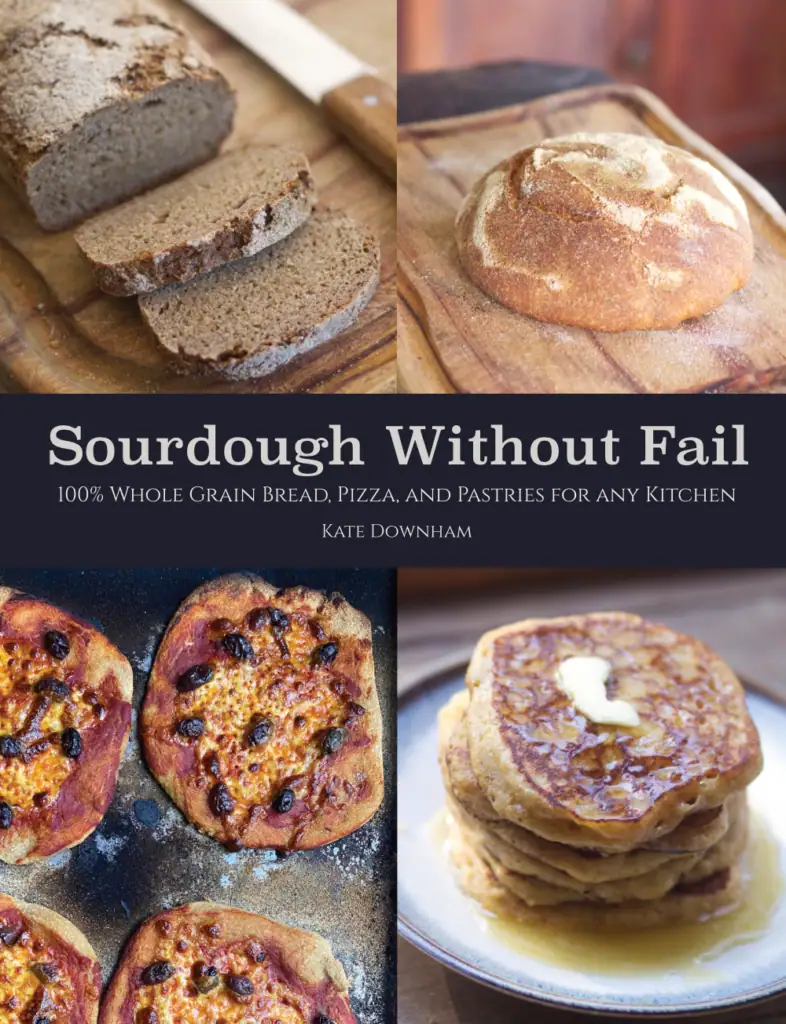
Creating a sourdough book for the rest of us: A 100% Whole Grain Sourdough Book with easy recipes and practical design In some ways I’m grateful for the haphazard way I started with sourdough. I had previously been baking with yeast and had never found any recipes that really suited me, so I’d figured out my own. Switching over to sourdough, I took the same approach. I made some terrible loaves to begin with, but eventually figured out how to…
·
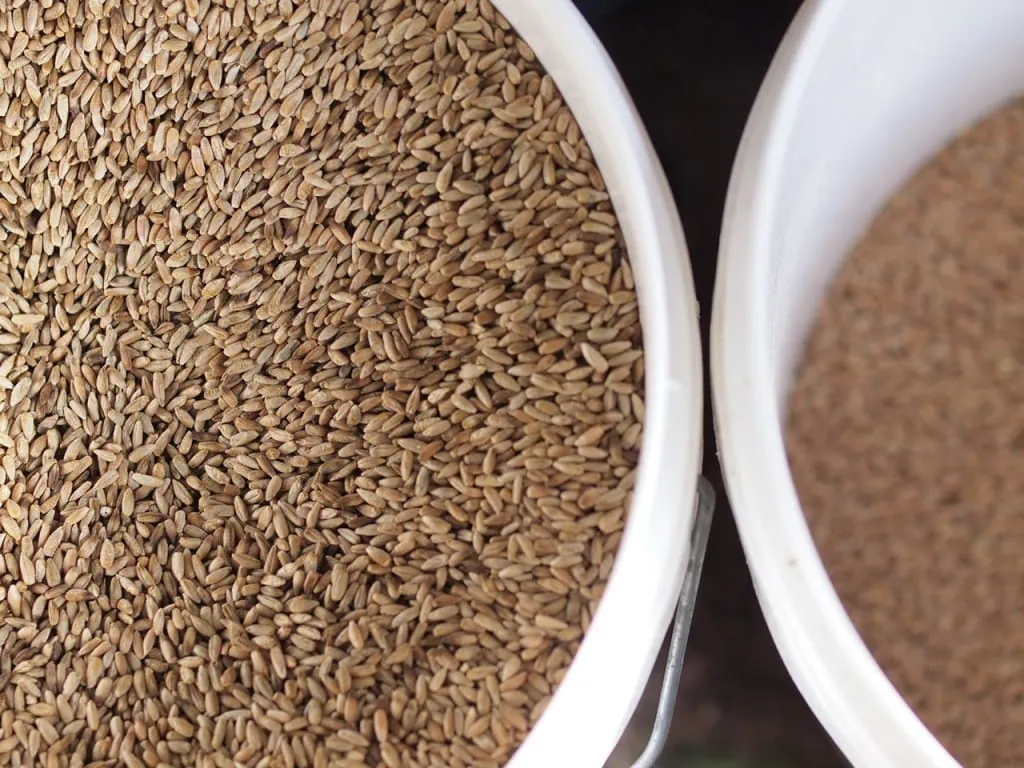
How to make fresh milled flour sourdough bread from scratch The time involved in making bread from scratch can be divided into hands-on time and hands-off time. Some bakers might use a lot of hands-on time, kneading a lot to develop strength in the dough. Other bakers might use a no-knead approach and use more hands-off time, with just a couple of minutes of hands-on time. You don’t need to knead your bread at all. The purpose of kneading is…
·
Frugal strategies for budget-friendly baking Be adaptableDon’t get fixated on baking with this or that heritage grain. Look at which grains and flours are most affordable where you live, and work with that. Wheat gets a lot of negative attention, but wheat can be a nourishing food for many people if it is organic and made into sourdough bread. Buy in bulkBuying directly from farmers and distributors in large bags can bring a lot of savings. Buying a 20 to…
·
If you eat bread, the quality of bread you are putting on the table could be contributing to your health, or slowly making you sick. The best way to have healthy bread on the table is to make it yourself. It can be overwhelming to get started, but it doesn’t have to be. Many years ago when my husband and I were working on a farm on the other side of the world, I made a list of things I…
·
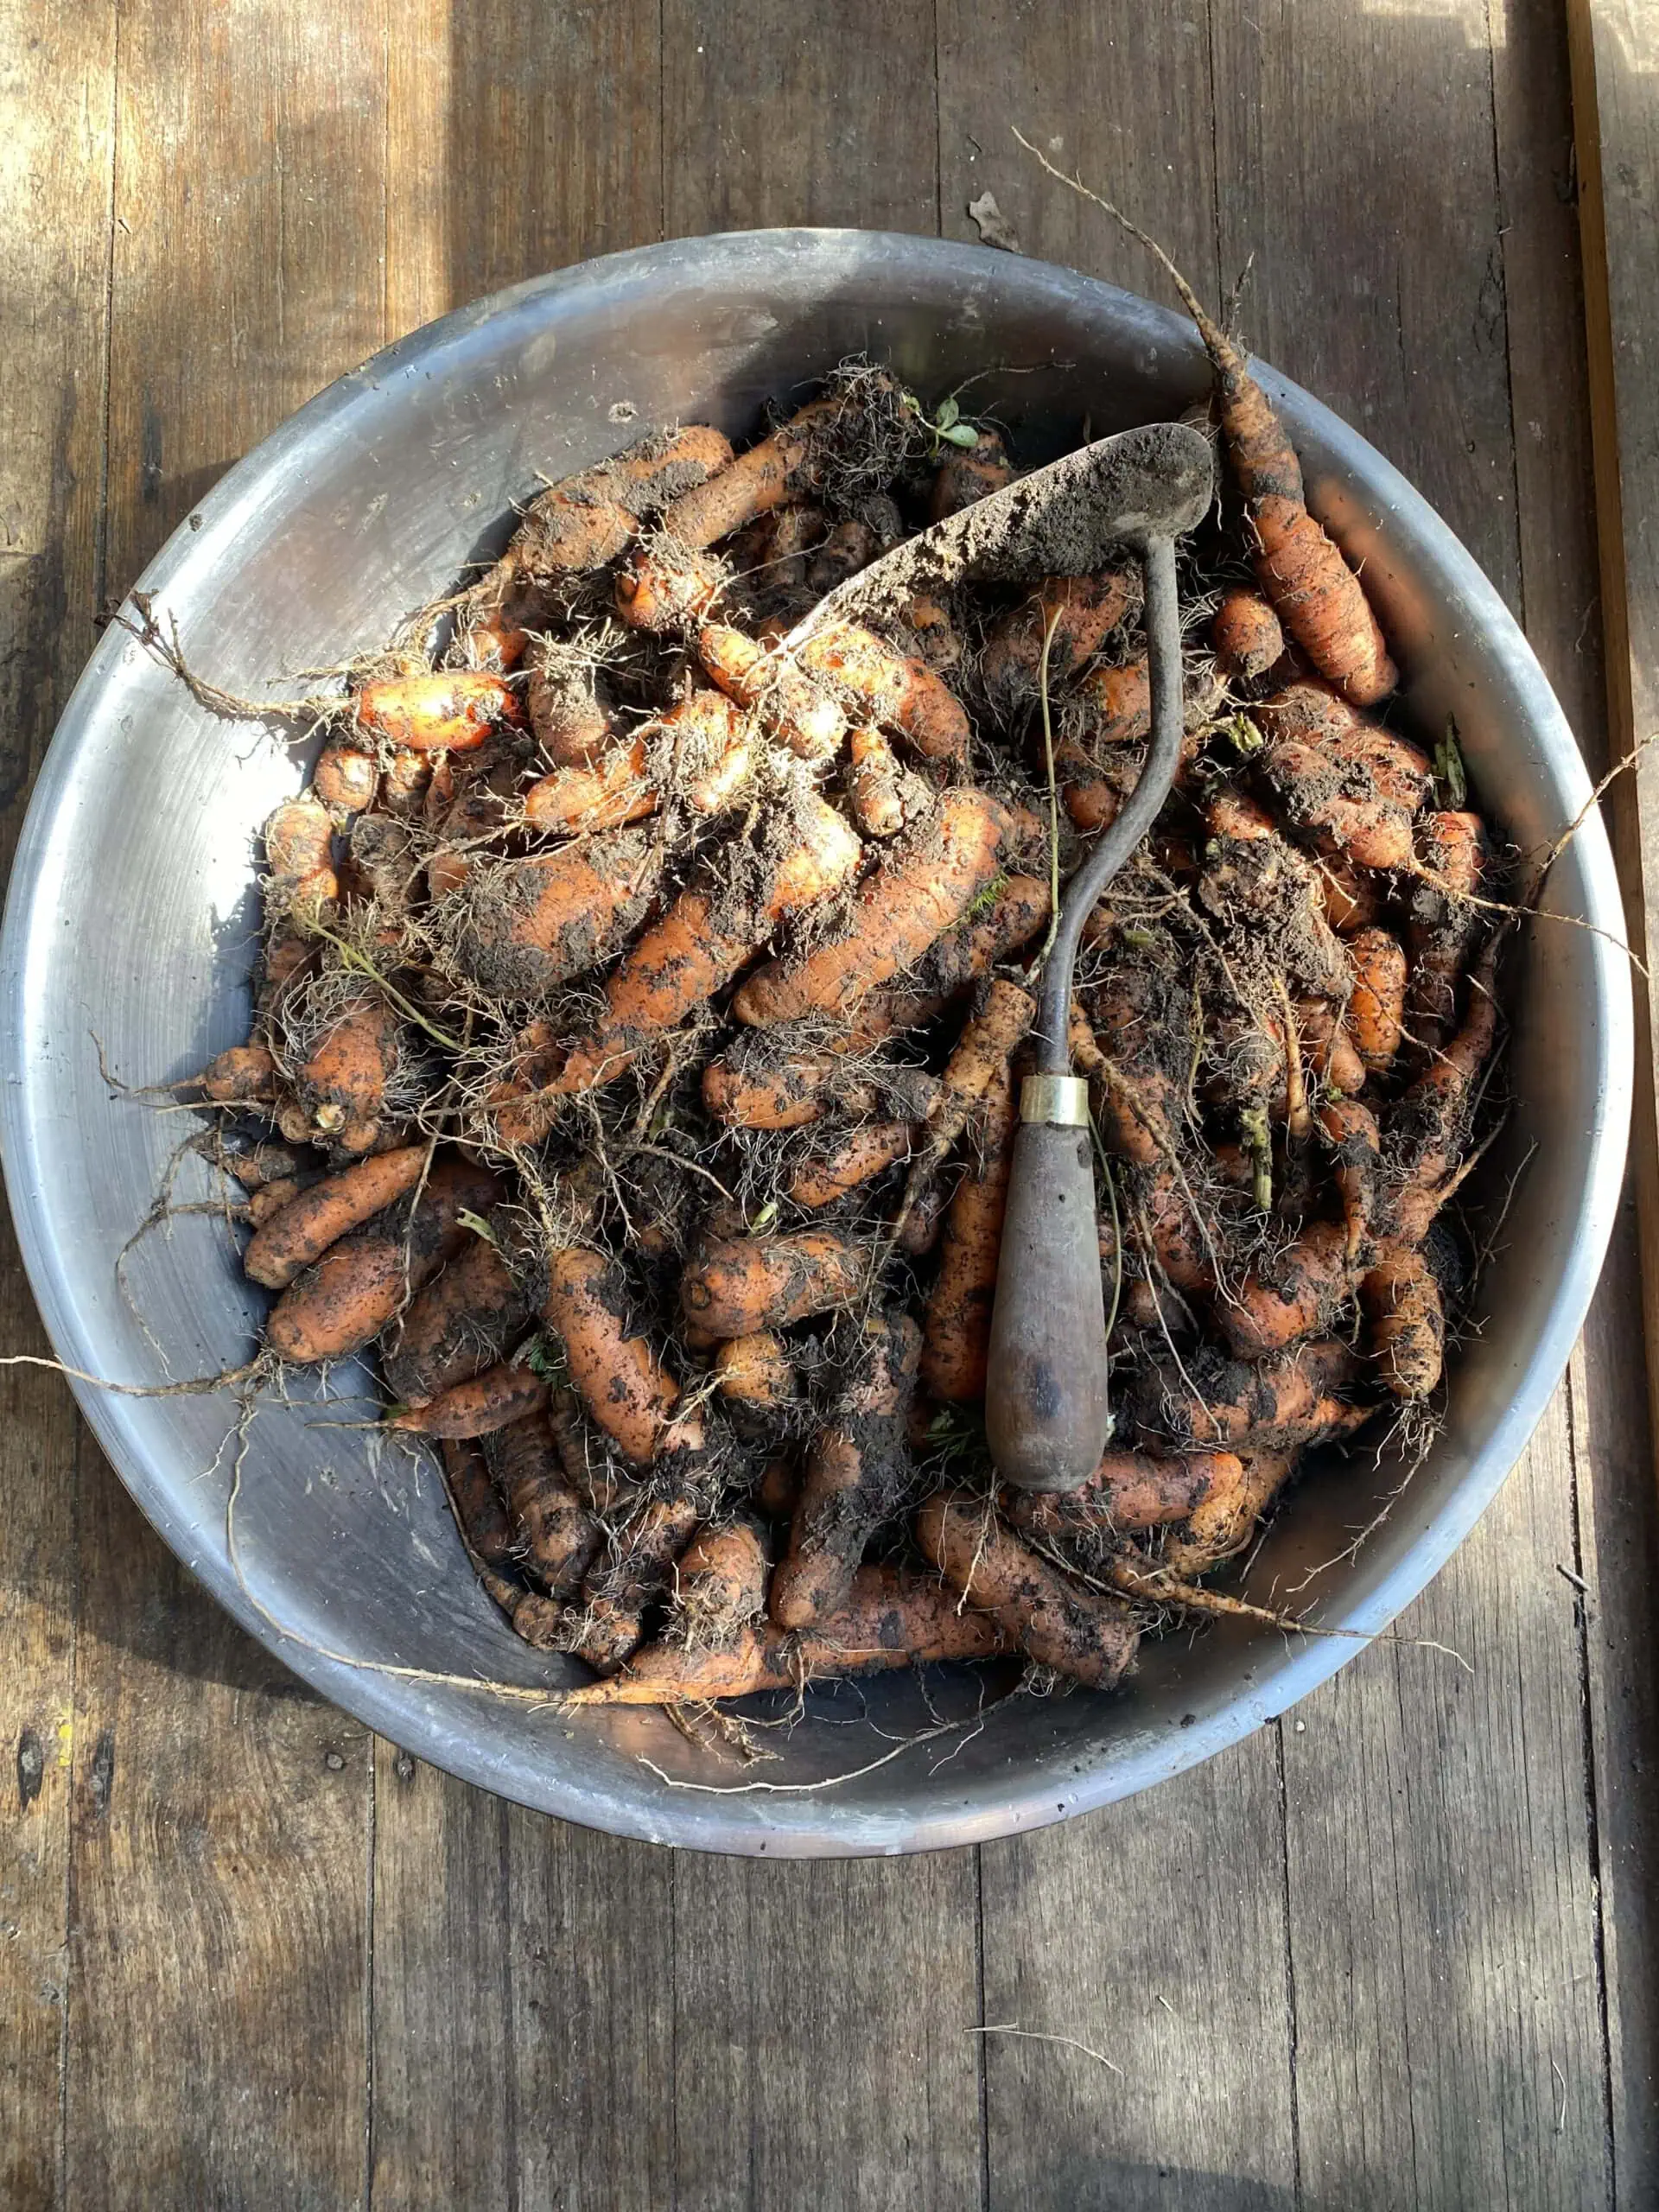
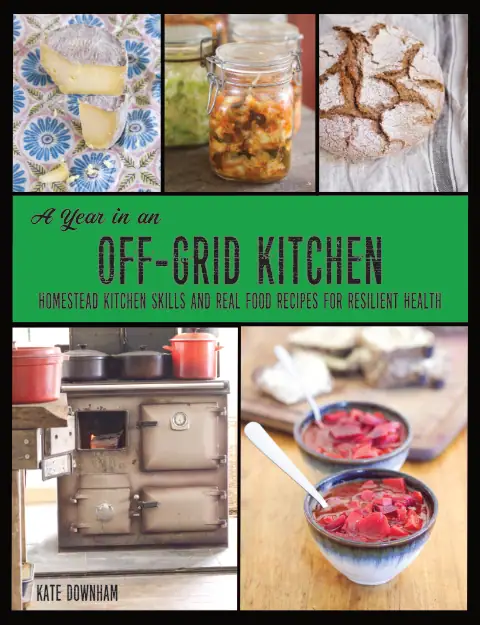
Around two years ago I wrote a big update about what we were up to, and our plans for homesteading and self sufficiency over the next year or so. There have been so many changes and reflections since then, so here is an update some changes here, and on our progress with self reliance and growing food on old logging land. Changes New babyBorn in April 2024. She is beautiful and healthy and loves homemade cheese. No hay, no cowEvery…
·
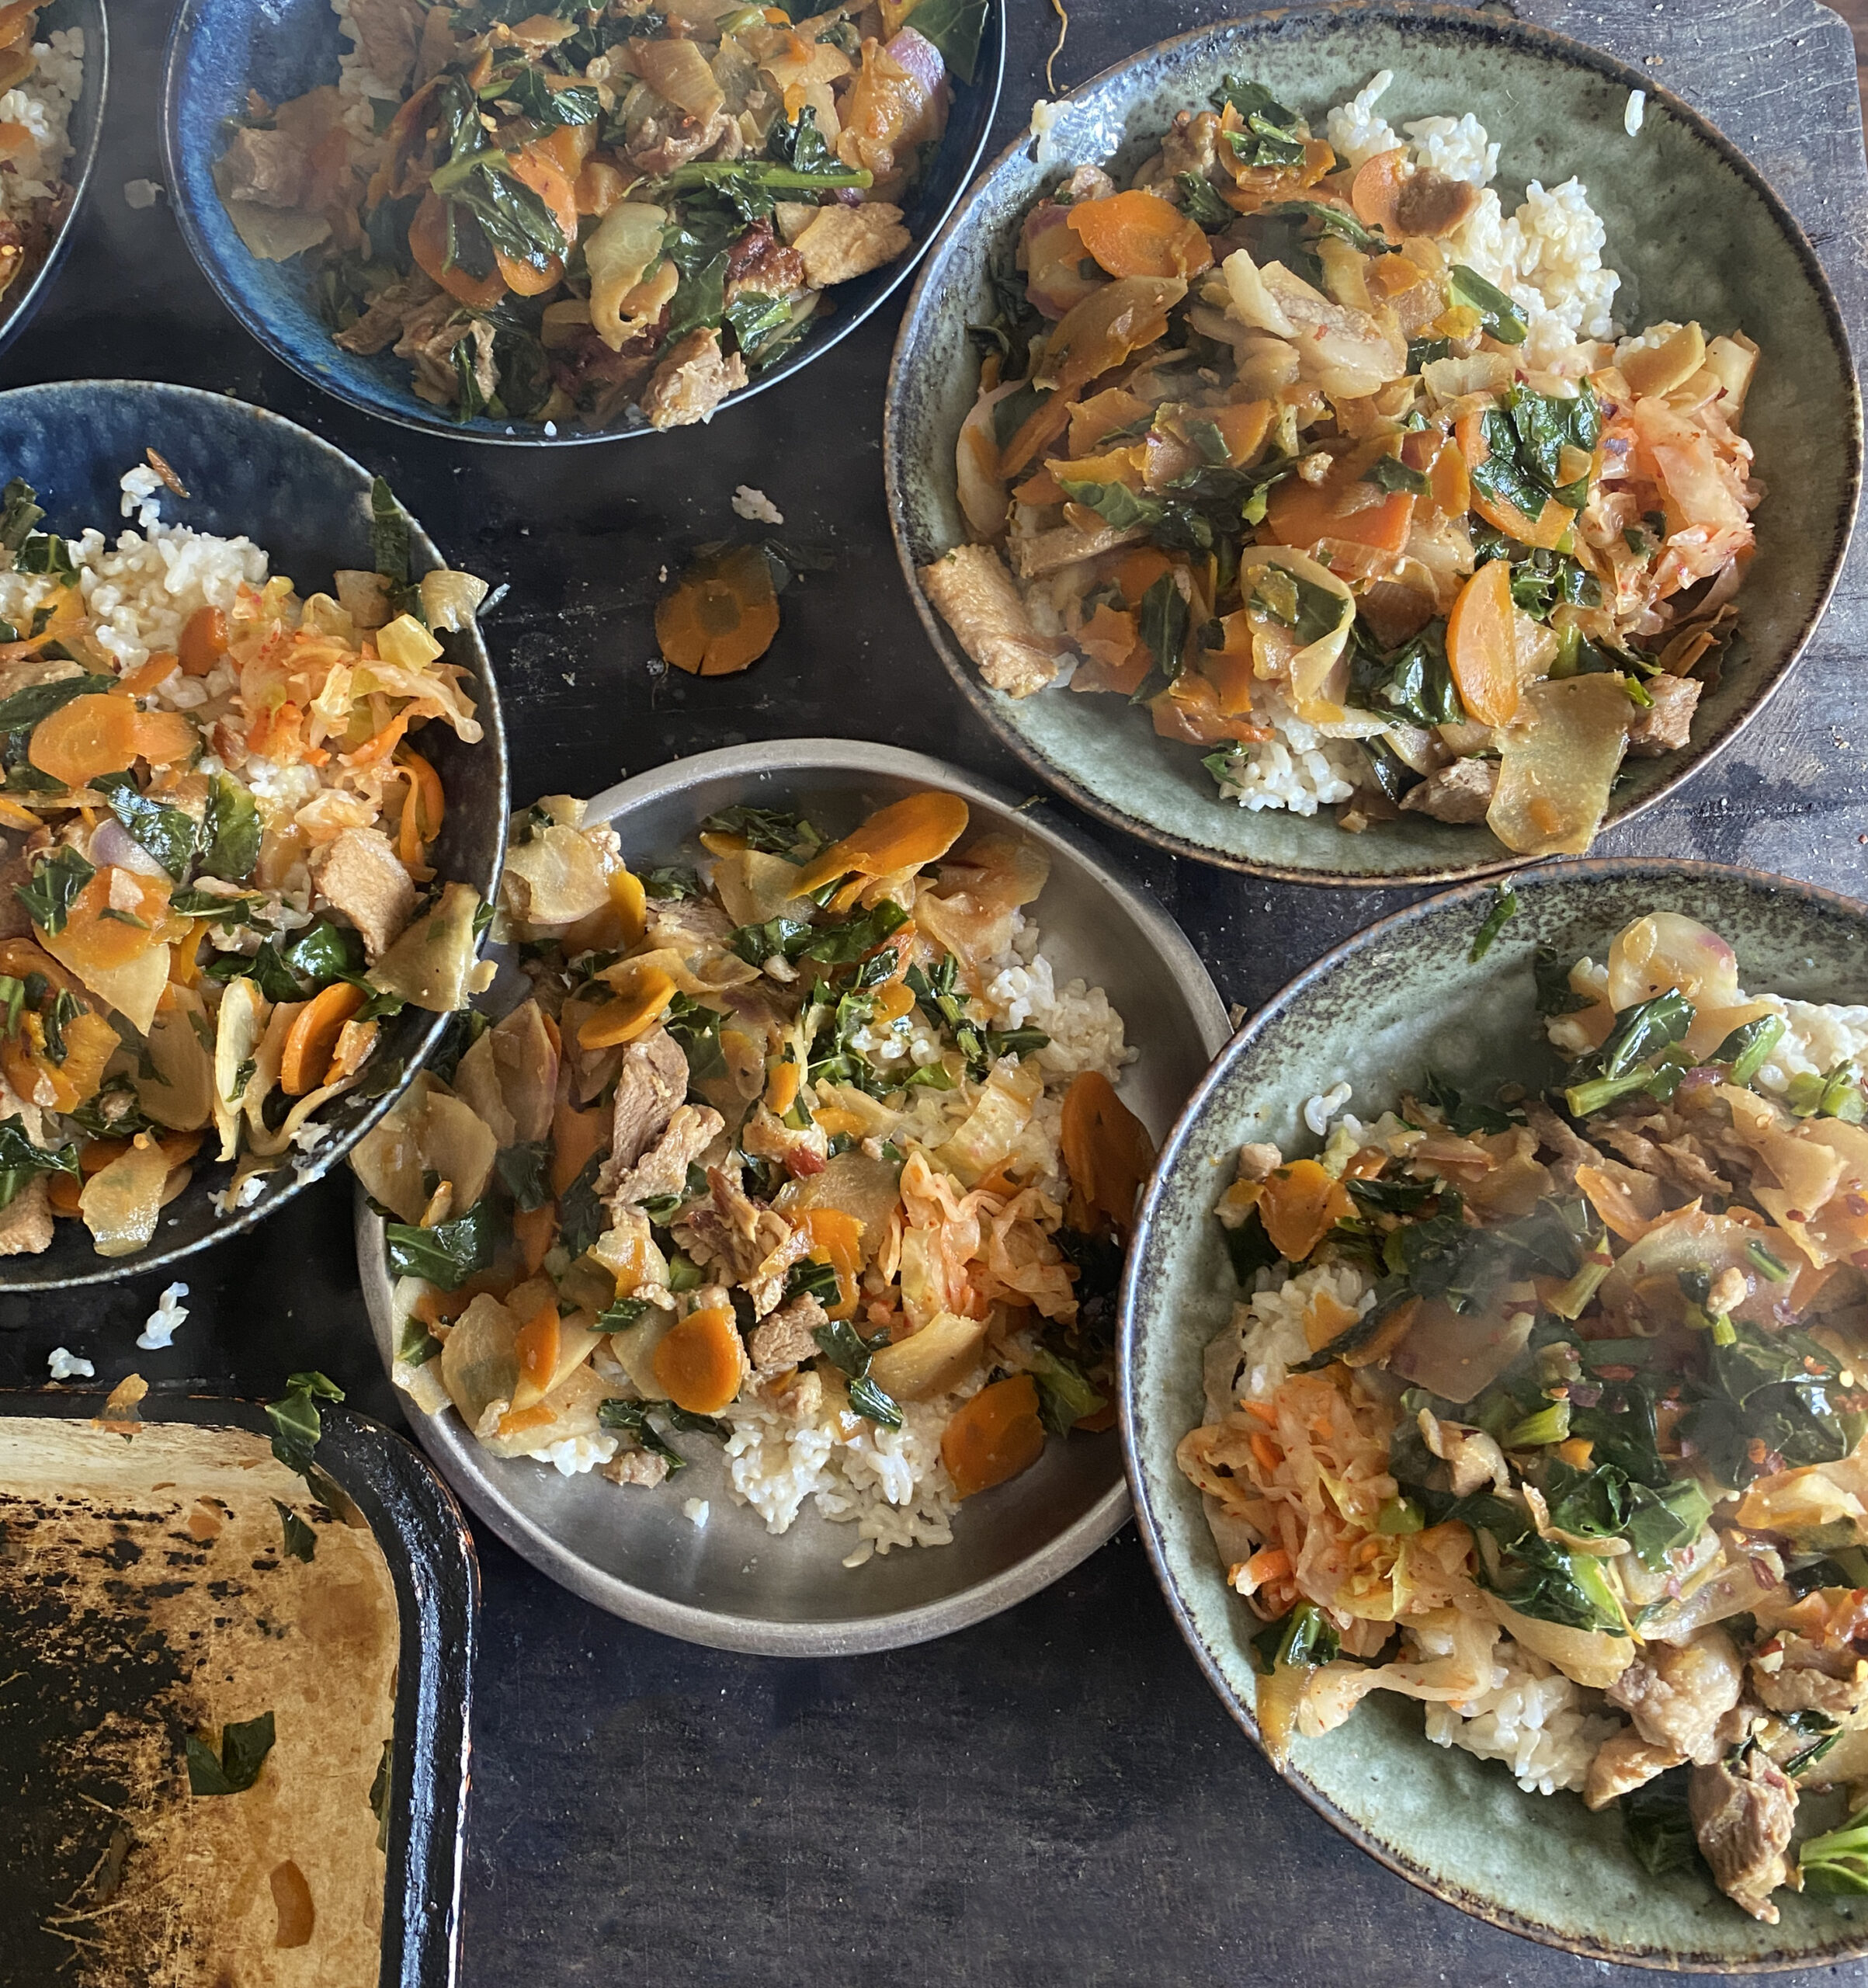
Stir fry is one of those basic meals that is often overlooked. My way of making it is a bit different to most, and I don’t think I’ve posted a recipe for how I make stir fry anywhere, so I’ll share it here. My easy stir fry recipe Ingredients My formula is usually something like: 1 part onions or leeks 1 part carrots 2 parts turnip or cabbage 1 to 2 parts dark leafy greens A bit of garlic and…
·
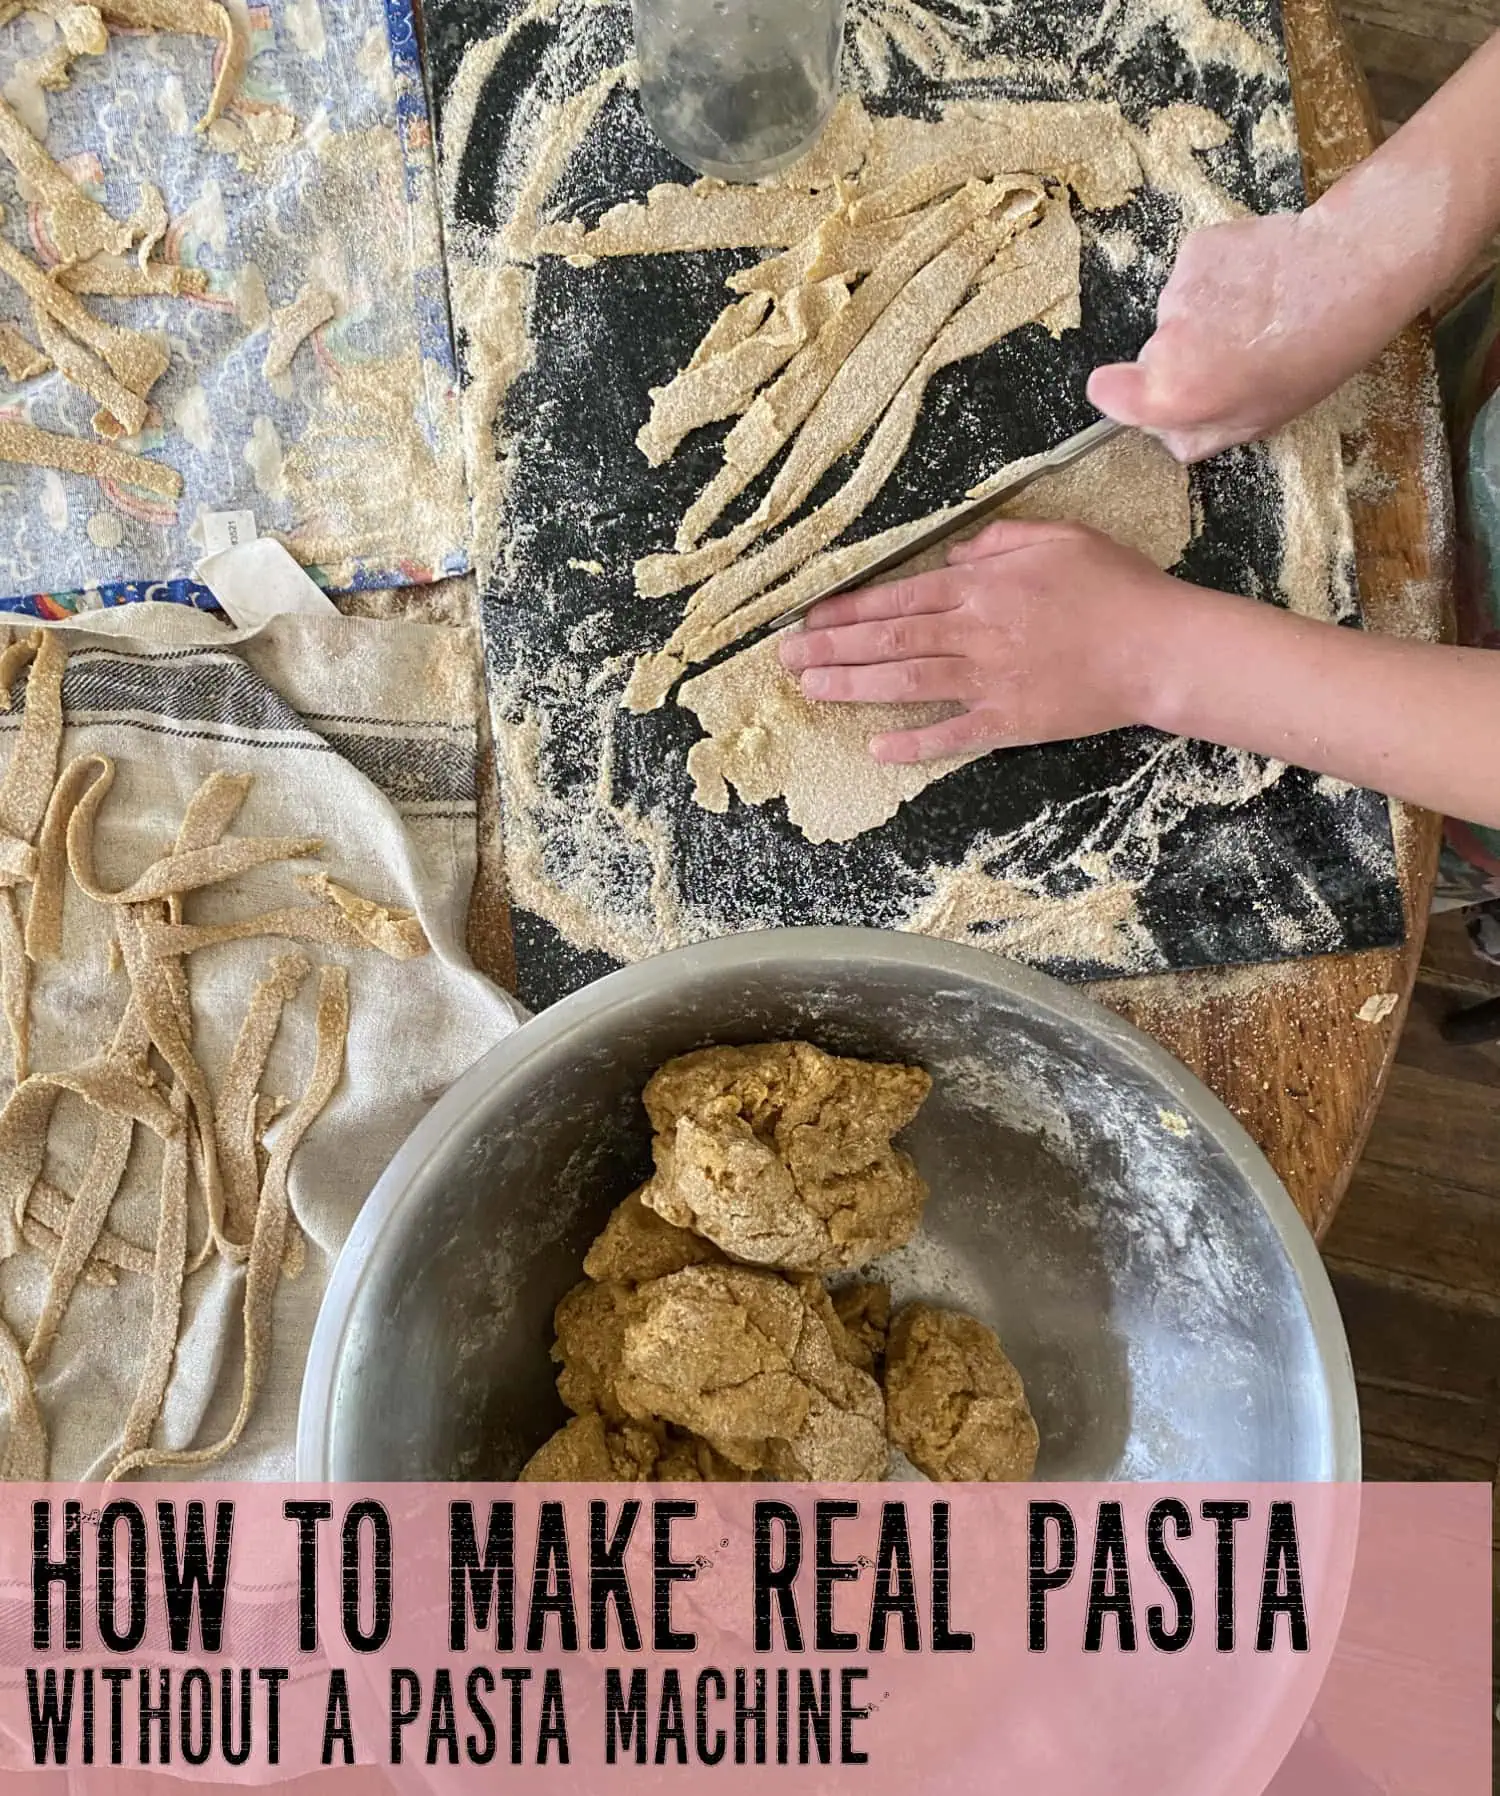
Making pasta at home is easier and cheaper than you may think. In this post I’ll share my method and thoughts on homemade pasta, and how to make pasta without a pasta machine. Why make pasta at home? Dry pasta is pretty much empty calories, wrapped up in plastic. Homemade egg pasta is a really tasty way to eat eggs that even picky eaters enjoy, and because it’s so rich in nutrition from the eggs, sauces can be really simple…
·
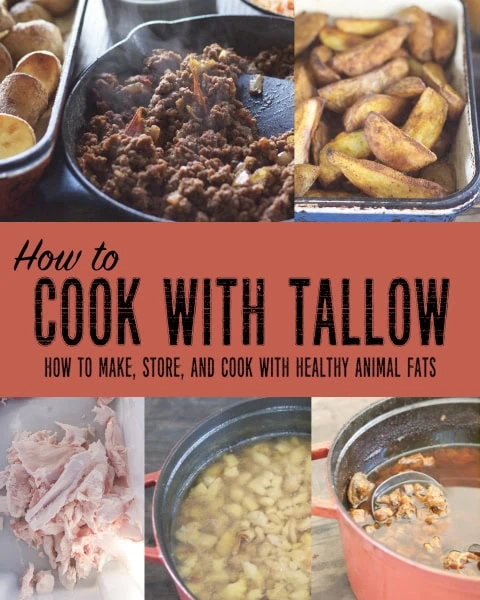
Cook with tallow: Tallow as a reliable, local, stable cooking fat Many events in recent years have caused me reflect on the expectations of the industrial food system and modern lifestyles, and how rewarding it is to return to simpler ways. Olive oil is in short supply this year, and this offers another opportunity to create better alternatives for cooking that can be produced on a homestead or by local farmers. Most of the olive oil in supermarkets is adulterated…
·
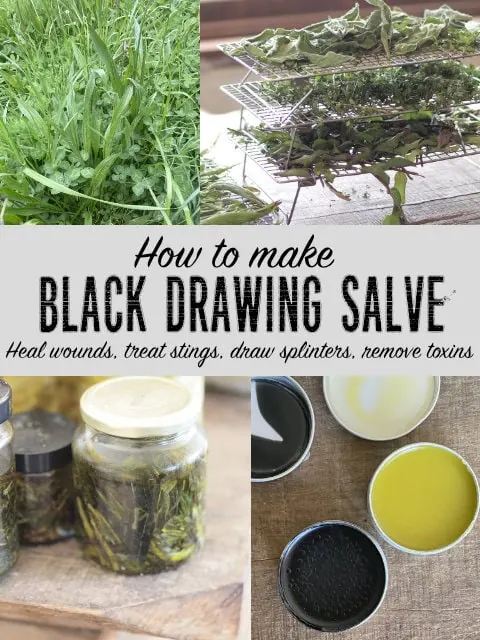
How to Make Black Drawing Salve Here is how to make black drawing salve, one of the most important natural remedies that I use. We use black drawing salve on all kinds of bites and stings, as well as on splinters, puncture wounds, and anything that looks like it might need possible toxins or infections drawn out of it. I also find it a really helpful remedy around the homestead for wounds on animals – it’s so thick that it…


The Nourishing Hearthfire is reader-supported and mostly ad-free