
/
/

When you’re making a sweet whole grain sourdough loaf or other treat, you don’t want there to be overwhelming sourness or an assertive red wheat flavour. For best results, make sure that your starter has not overfermented (it’s even fine to use it slightly underripe), and avoid using red wheat. This recipe uses 25% pre-fermented flour and a minimal fermentation time, which gives the health benefits of sourdough without too much sour flavour.
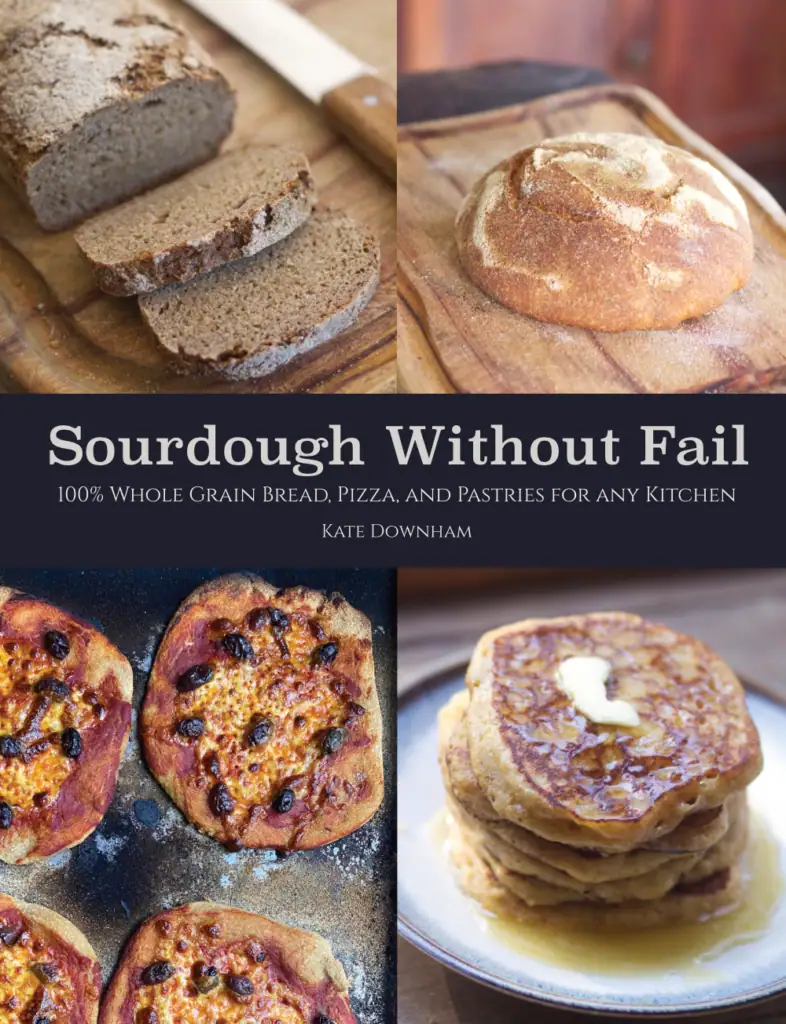
This recipe is from my book, Sourdough Without Fail. I’ll be keeping the instructions of this recipe pretty minimal, assuming that you’ve already made some basic sourdough breads before. You can definitely still make this bread if you’re a complete beginner, but if you’ve never made any bread before and you’re not familiar with the processes of stretching and folding, and how to shape dough, you may want to refresh yourself by looking at my step-by-step whole grain sourdough for beginners recipe here.
Like the beginners bread recipe, in this recipe you have several options for flour. You can use fresh milled whole wheat, khorasan, or emmer and keep the recipe as-is. Or reduce the amount of milk by 90g or 6 tablespoons per loaf and use whole fresh milled einkorn or spelt.

This is a well-balanced fruit and spice loaf. Not overwhelmingly fruity, spicy, or sweet, but just enough fruit, spice, and sweetness in the dough, along with a sweet glazed crust that makes this loaf even more special, and a favourite loaf for children.
The milk in the dough creates a soft crumb and dark crust, and helps the loaf keep for longer.
The instructions below are for pan loaves, but feel free to shape and bake as buns or a dutch oven loaf instead.
Makes 2 loaves
Mixing bowl
Loaf pan
Pastry brush, if you’ll be making the bun wash
Bulk ferment: 3 hours
Proof: 2 hours
450g (scant 2 cups) ripe sourdough starter at 100% hydration
675g (5 1/4 cups) whole wheat flour (or use emmer, khorasan, spelt, and einkorn, see headnotes)
6g (2 tsp) salt
550g (2 1/4 cups) warm milk
60g (3 Tbsp) honey
175g ( 1 1/2 cups) raisins)
1 1/2 tsp cinnamon
A dash more milk, for brushing on top of the loaves
Mix basic dough
Combine the starter, flour, salt, milk, and honey. Mix until no traces of flour remain.
Rest, squash, and fold
Allow to sit for around 20 minutes. Do several squash and folds until it starts to feel bouncy. Repeat the resting, squashing, and folding one more time. Allow to rest for 20 minutes.
Add cinnamon and raisins
Flatten out the dough and spread the cinnamon and raisins on top, lightly pressing them into the dough. Fold and squash the dough several times to spread the fruit evenly through the dough.
Ferment
Ferment for around 3 hours, or until slightly puffed up.
Divide, shape, and proof
Divide the dough if you are making more than one loaf. Shape into pan loaves.
Proof in greased loaf pans for around two hours, or until risen.
Bake
Preheat the oven to 190ºC (375ºF).
Brush the tops of the loaves with milk. Place them in the oven and bake for around an hour.
This step is optional, but if you can do it, it makes the bread extra special. While your bread is baking, prepare a bun wash by combining 60g honey (3 Tbsp) and 60g water (1⁄4 cup) in a tiny saucepan (I use a stainless steel measuring cup). Bring to the boil and allow to boil for two minutes. Brush bun wash onto the top of the loaves as soon as they are out of the oven. Any unused bun wash can be stored in a jar in a cool place until needed.
Shape and bake as a dutch oven boule in a preheated dutch oven at 190ºC (375ºF) for 50-60 minutes. Remove from the dutch oven, brush with bun wash and allow to cool completely.
Make an icing for each Boston bun by gently softening 100g (1⁄2 cup) coconut butter and 85g (1⁄4 cup) honey over a low heat until they can be easily mixed together. Mix through 30g (2 tablespoons) soft butter and a small handful of finely shredded coconut. Spread on the cooled bun and top with another sprinkling of finely shredded coconut.


Join us for weekly sourdough tips, and never waste starter again with these delicious recipes for using whole grain sourdough discard
The honey added to the dough, combined with the short fermentation time and just-ripe starter combine to create a loaf that is risen primarily by the natural wild yeasts in your sourdouhg stater rather than sour bacterial fermentation.
You can definitely make this bread if you’re a complete beginner, but if you’ve never made any bread before and aren’t familiar with the processes of stretching and folding, and how to shape dough, you may want to refresh yourself by looking at my step-by-step whole grain sourdough for beginners recipe here.
You can use 100% whole wheat, or replace all the wheat with einkorn, emmer, khorasan (kamut), or spelt. Note: when using einkorn or spelt, reduce the water by about 10%. If using whole wheat, I recommend avoiding red wheats.
Yes, simply shape and proof as you would for a normal dutch oven loaf, and bake it in a preheated dutch oven at 190ºC (375ºF) for 50-60 minutes.
A metric scale is highly recommended for beginners, especially when working with fresh milled flour. Volume measurements can vary a lot with freshly milled grains, but gram weights give consistent results every time. If you don’t have one yet, you can start with the volume approximations, but upgrading to a scale will make your baking much more reliable.
Yes, especially with fresh milled whole grain flour. This is a higher-hydration dough and fresh milled flour absorbs water differently than store-bought flour. Wet your hands well instead of adding extra flour. The dough will become smoother and easier to handle as you do the stretch and folds and during bulk fermentation.
Fresh milled whole grain dough often rises more slowly than dough made with white flour, especially in cooler kitchens. Don’t worry about the clock — watch the dough. It should look puffed, feel airy when gently poked, and show some bubbles. In cool conditions it can take 6–8 hours (or longer).
The most common causes for beginners are under-fermentation, over-fermentation, weak starter, not enough gluten development from stretch and folds, or slicing your bread too early. Check the full troubleshooting section above for detailed fixes. The good news is that once you get the feel for your dough and your kitchen temperature, these issues become rare.
This recipe produces a mild, pleasant sourdough flavour — not overly tangy. Fresh milled whole grains tend to develop a little more natural sourness, but you can control it by using a younger ripe starter and not letting the dough over-ferment.
Absolutely! Just replace the raisins with roughly the same amount of any dried fruit, and add up to the same amount of nuts too if you like.
Let the loaf cool completely (at least 4 hours) before slicing. Store in a bread box, a paper bag, beeswax wrap, or wrapped in a tea towel for 2–3 days at room temperature. For longer storage, slice and freeze in a zip-top bag. Toast straight from frozen.
You can borrow some from a friend, buy dehydrated starter online, or make your own using the instructions here.
Join The Nourishing Hearthfire for real food recipes, traditional skills, and monthly inspiration for your hearth and homestead.
We respect your inbox. Unsubscribe anytime.

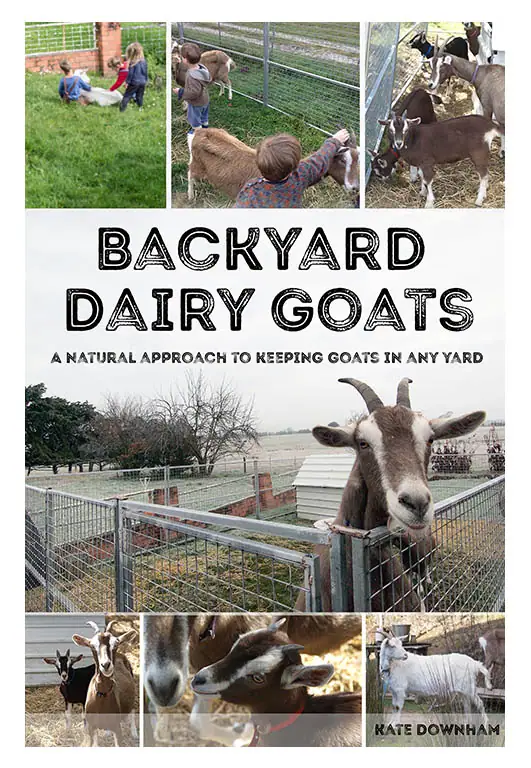
Kate Downham has been growing, preserving, and cooking real food since 2007. She is the author of four books on homestead skills: A Year in an Off-Grid Kitchen, Natural Small Batch Cheesemaking, Backyard Dairy Goats, and Sourdough Without Fail.
Off-grid with her family of nine in the Tasmanian forest, Kate milks her own goats, makes all their cheese, mills all her own grain, and bakes fresh sourdough bread daily.


The Nourishing Hearthfire is reader-supported and mostly ad-free
Leave a Reply