
/
/
I started baking whole grain bread in 2009. There wasn’t a whole lot of information out there back then. At first I diligently followed a recipe that was mostly white flour, with around 40% whole wheat flour, and made some OK bread, but after a while I wanted to get rid of the white flour completely.
I quickly learned that replacing white flour with whole grain flour 1:1 does not yield great bread! Whole grain flours need more hydration, and need to be handled differently to white flour breads. In this post I’ll be looking at the differences between flours, and how to adjust recipes so that you can confidently replace white flour with fresh milled flour in all your favourite recipes.

Grains consist of three parts: the bran, the germ, and the endosperm. The bran is the coating around the grain, the germ is the ‘seed’ within the grain, and the endosperm is the calories for the seed to eat before it grows roots. Refined flours, such as plain flour, all-purpose flour, bread flour, and unbleached white flour, are whole grain flour with both the bran and the germ removed.
High extraction flour (sometimes called 85 flour) consists of the endosperm and the germ, with most of the bran sifted out, so it is somewhere in between whole grain flour and white flour.
The germ is the most nutritious part of the whole grain, and also the most perishable part, with its fats prone to going rancid in storage, so you may find that many supermarket whole wheat flours are not true whole grain flours, but are essentially white flour with some of the bran added back in. For the best flavour and nutrition in whole grain breads, it’s worth seeking out stoneground flour, milled as freshly as possible. A home grain mill is the best way to achieve this.
Different whole grains have different flavours and different amounts of protein. Red wheats have a stronger flavour than white wheats (the term white wheat refers to the colour of the bran, not to whether the grain is refined or not), so if you just want to keep one type of wheat on hand for milling, hard white wheat will yield better results in both sweets and bread than red wheat. If you bake mainly cakes, biscuits, and cookies, and you don’t bake much bread, then a soft white wheat would be your best choice for replacing all-purpose flour.
Many bakers keep more than one type of wheat on hand, so feel free to try different wheats and ancient grains and see what you like best.
Refined flours need less water than whole grain flours, so you can’t simply replace fresh milled flour with refined flours and vice versa.
You can adapt your favourite refined flour baking recipes to use fresh milled flour and other 100% whole grain flours by adding more water to the recipe. Use 10g to 15g more water for every 100g of flour (or around 1 tablespoon water per cup of flour), so that the hydration percentage ends up being around 10% to 15% higher.
In recipes where milk is used instead of water, simply use extra milk at the same rate.
The pieces of bran in whole grain flour can act like tiny knives cutting up the gluten that you want to develop. For best results with whole grain and fresh milled flour sourdough, first mix your ingredients until just combined, then leave to rest for at least 10 minutes before strengthening.
Alternatively, you can add a 15 minute autolyse or fermentolyse to the start of any recipe.
Once the dough has rested, it’s best to take a no-knead stretch and fold approach to strengthening the dough. I’ve shared this technique in my beginners fresh milled flour sourdough bread recipe.
100% whole grain doughs don’t rise as high as white flour doughs, and the bubbles won’t be as large. To assess fermentation, you’ll need to look for cues other than rise height. Get used to smelling your dough throughout the fermentation process – at first it will smell like raw flour, and later on it will develop the smells of sourdough bacteria and yeasts.
Poke at your dough while it ferments and feel the resistance of it against your finger. At first it won’t feel like it has any air in it, later on it will feel soft and pillowy. Observe the size of the dough when it first starts fermenting, and then you may notice when it has grown significantly.
The fresher your flour is, the more active its enzymes are, so you may find that your fresh milled flour doughs are fermenting more quickly than doughs made from white flour or store-bought whole grain flour.
It’s always a good idea to observe your dough, and pay more attention to what your dough is doing rather than what the recipe says. Everyone’s starter, flour, and room temperature are going to be different, and you may find that your dough ferments faster or slower than the recipe says.
Whole grain doughs do not stretch as much as white flour doughs and need to be handled a little more gently when shaping. The key to learning to shape well is to really observe the dough, and learn by feel when you have applied enough tension. Getting the right amount of tension in the surface of a loaf is best done by feel rather than following exact instructions. I often shape my breads in mid-air, gently rocking the dough to and fro as I create surface tension a little at a time on each side. It’s best to be slow and gradual with this, to avoid tearing the dough.
If you’d like to see photos of how I shape the dough I make from home milled flour, see my full beginners fresh milled flour bread recipe.
If you do end up tearing your dough during shaping, it’s not the end of the world. It will still taste great, it just won’t look as perfect.
100% whole grain doughs do not spring up in the oven quite as much as white flour doughs, so scoring the dough is not as important. Oven spring can still be important though, so do your best to provide your bread with steam in the early stages of baking and you’ll be rewarded with better rises and crusts.
If you test the internal temperature of your bread to assess whether it’s baked enough (I don’t do this), whole grain breads need to be baked to a higher temperature than white flour breads. To achieve this higher internal temperature, whole grain breads are baked for a bit longer than white flour loaves, with the oven temperature reduced slightly so that the crust does not burn while the crumb is cooking.
I bake fresh milled flour pan loaves at around 210ºC (410ºF), small dutch oven boules at 230ºC (450ºF), and large boules at 220ºC (430ºF).
Instead of sticking a thermometer in my bread, these are the things I look for to tell whether a whole grain bread is baked or not:
• Your loaf will feel firm when pressed in the middle. If you’ve baked at close to 233ºC (451ºF), the crust may give a satisfying crackle, if you’ve baked it at a lower temperature, it should feel substantial, not doughy – if in doubt, bake it more!
• The sides of the loaf will appear golden or brown, depending on the loaf and temperature.
• Any scores or fissures in the loaf will be starting to get some colour.
• For loaf pans, the edges of the loaf will have started to pull away from the sides of the pan, or will pull away easily if you put a thin wooden spatula in.
• For dutch oven loaves, shake the dutch oven. The loaf should slide around if it’s ready.
• For all loaves, as a final test, you can flip the loaf over and knock on the bottom: does it sound hollow, like knocking on a door? Or is it more of a damp thud? If in doubt, bake it more.

Whole grain breads need time to cure, to allow the crumb to fully set. If you cut into a whole grain loaf too early, the texture can be gummy, and many people associate this texture with whole grain breads, but it doesn’t have to be that way!
The gumminess is caused by a type of carbohydrate called pentosans, which rye is particularly high in. With breads containing high amounts of rye, you will ideally want to cure the loaf for 24 hours before slicing. Whole wheat loaves are generally fine to cure for around 4 hours. To cure a loaf, just leave it to sit for the curing time without cutting it or breaking it. I leave mine on a cooling rack, but if you prefer a softer crust, you can wrap it in a tea towel instead.

Those same pentosans that create a gummy crust in bread cut into too soon actually help whole grain bread to stay fresh for longer. Whole grain breads keep for longer than white flour breads. Adding a dash of rye to your loaves will also help them keep for longer too. Breads with scalded flour or fats added will also keep for longer. I’ll be discussing scalded flour techniques in a future post, so please feel free to subscribe for Floury Friday or Nourishing Hearthfire updates if you’d like to be the first to know when new posts are live.
How to make a sourdough starter from scratch with freshly milled flour
Beginners fresh milled flour sourdough bread recipe with step-by-step photos
Magic overnight sourdough pizza dough
Sourdough cinnamon raisin bread
Extra-soft sourdough sandwich bread (frugal tangzhong method)
Sourdough timelines: same day vs overnight vs pre-ferment (levain) method
Understanding phytic acid in sourdough and whole grains
Are ancient grains healthier than modern wheat?
Make delicious cookies, cakes, pasta, rolls, soda bread, pies, and more from your fresh milled flour starter, plus get weekly emails about sourdough.

Fresh MIlled Flour sourdough book
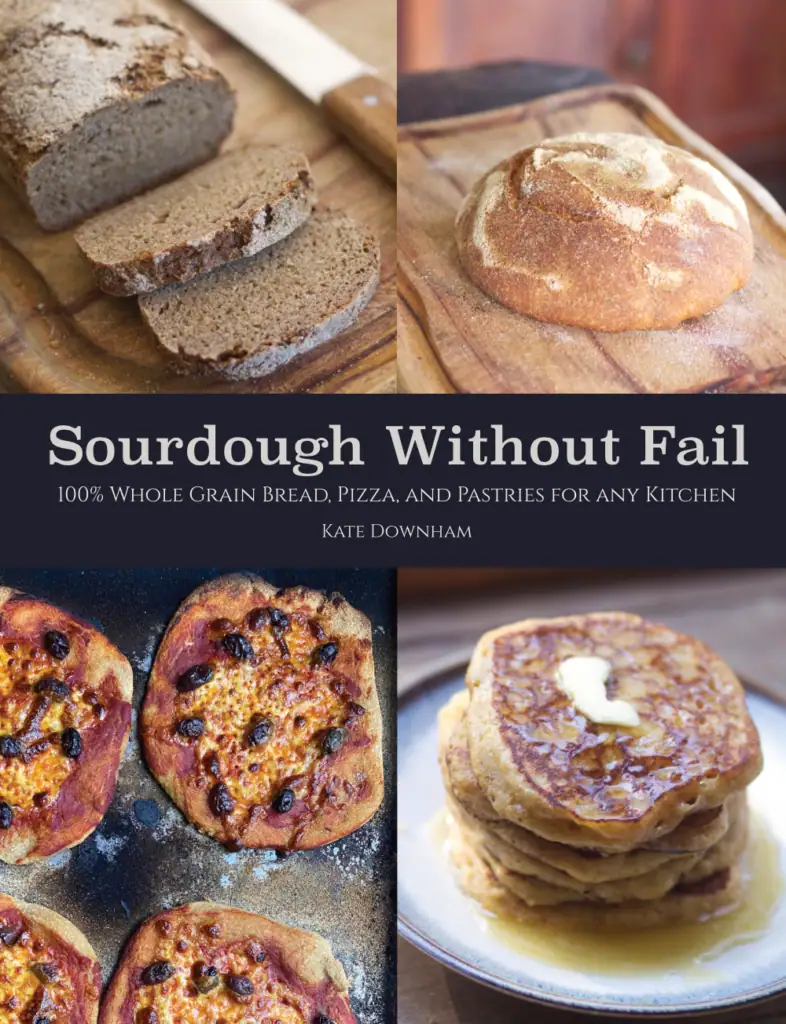
Baking great sourdough doesn’t have to be complicated or time-consuming. Whether you’re using fresh milled flour or store-bought flour, you can make delicious bread, pizza, and more in your own kitchen.
Sourdough Without Fail is written for real home bakers and homesteaders who want recipes and methods that work in real-life conditions.


Join The Nourishing Hearthfire for real food recipes, traditional skills, and monthly inspiration for your hearth and homestead.
We respect your inbox. Unsubscribe anytime.

Kate Downham has been growing, preserving, and cooking real food since 2007. She is the author of four books on homestead skills: A Year in an Off-Grid Kitchen, Natural Small Batch Cheesemaking, Backyard Dairy Goats, and Sourdough Without Fail.
Off-grid with her family of nine in the Tasmanian forest, Kate milks her own goats, makes all their cheese, mills all her own grain, and bakes fresh sourdough bread daily.







The Nourishing Hearthfire is reader-supported and mostly ad-free
Leave a Reply