
/
/

If you love the taste of rye, learning how to bake with rye flour in sourdough bread will reward you with beautiful loaves that are full of flavour. Rye behaves very differently to wheat, and in this article I’m going to share all the things that make rye unique, and the best ways to bake with it.
Rye is probably the most misunderstood grain. To begin with, much of the rye bread found for sale contains only a tiny amount of rye, and most of these loaves also contain caraway and molasses, so many people think that a rye bread tastes like a mixture of wheat, caraway and molasses, and don’t know what real rye tastes like.
The misunderstanding further deepens when baking with rye – it just does not behave at all like other grains!

Gluten in grains is actually made up of several types of protein. The type of gluten in wheat creates a stretchy and strong structure that traps gas and produces a light, open crumb. Rye’s gluten behaves differently, creating a weaker structure with less stretch and smaller bubbles.
No matter how much you knead (or stretch and fold) a loaf high in rye flour, it’s not going to get the same structure as a wheat loaf. Rye responds well to being baked as a no-knead pan loaf.
Breads with large amounts of rye work best with a hydration percentage of between 86% and 91% (860g to 910g water for 1kg flour), this works well for most rye breads, or feel free to go up to 96% if your rye flour is very thirsty. High hydration helps bubbles to develop to create a lighter and tastier loaf.
The more rye that you add to a loaf, the more the character of the dough is going to change, becoming dense rather than stretchy.
Rye contains large amounts of pentosans, a type of carbohydrate that absorbs a lot of water and retains moisture. The more pentosans in a loaf of bread, the longer it needs to rest before it can be sliced. If you cut into a rye loaf too early, the texture can be gummy.
Pentosans also help rye breads (and breads made with some rye) taste fresh for longer.
Rye flour has a natural mild, malty sweetness because of its high amylase activity – amylase enzymes break down starch into sugars, and can cause structural problems, as well as an excessively sweet taste. In a yeasted dough with a high percentage of rye, this enzyme activity can go wild, producing an off taste, and a sticky, gummy crumb.
Sourdough fermentation creates enough acidity to drastically slow down these enzymes, while giving a more balanced flavour to the bread.
If you don’t want to work with sourdough, for best results, keep the rye content of your bread below 30%. If you are using sourdough, you can make bread with any amount of rye flour, even 100% rye.
In some loaves, you may want to emphasise rye’s sweet taste. You can do this by scalding the flour with boiling water or milk – this is common in Swedish fullkornsbröd, and certain other traditional rye breads from other Scandinavian and Baltic countries. To make a scalded rye bread, typically somewhere between 15% and 30% of the flour in the recipe is scalded in around twice its weight in water, before being cooled down and added to the rest of the dough.

The amount of rye to add to your bread depends on the result you are aiming for. Are you aiming for dense, dark loaf, or a French country bread with a hint of rye? By adjusting the balance of rye to wheat (or other grains), you adjust the kind of bread that you’ll be making.
Adding between 10% and 18% rye to a wheat loaf adds a little special something, especially when baked as a boule. Adding only this much rye means that the dough still behaves in a similar way to a wheat dough – stretchy and airy, but there is still a beautiful hint of rye in the taste.
A mix of 50/50 or 40/60 rye to wheat makes for a loaf that is definitely a rye bread, but still with some of the lightness of a wheat loaf. The rye taste is very distinct, and tasty, and the dough needs to be handled differently to wheat dough.
Beyond this, the more rye that you add to a loaf, the darker and stronger-tasting it’s going to be, and the more dense, and less airy the crumb will be.
You can make loaves with 100% rye, I include one of these in Sourdough Without Fail. The texture of 100% rye bread is very different to rye breads lightened with wheat, but if you love dense heavy black breads, definitely give sourdough 100% rye bread a try.

To work with rye, it’s best to understand how it works in relation to how much wheat is in a loaf – up to around 18% and the loaf will still behave mostly like a wheat loaf. Further and further beyond this, the structural character of rye shows itself more, with denser textures and more rye flavour.
Experiment with using different percentages of rye – 40 to 50% rye gives plenty of rye flavour, while still keeping the crumb fairly open and wheaty, more rye than this gives more rye flavour, and more of a dense rye texture.
Rye is best baked with steam, to encourage oven spring. For loaf pans, I achieve this by putting a cookie sheet over the top of the loaves when they first go into the oven, removing it for the second half of baking.
For freeform loaves, the dutch oven method provides the perfect amount of steam.
Whole rye flour is sometimes called dark rye flour, and is simply the whole rye grain, ground up. Light rye flour is the same thing as refined wheat flour – it’s rye with the germ and bran removed. For the best rye taste, choose whole rye flour.
Rye benefits from fresh milling even more than wheat does. Because we don’t pay much attention to gluten in rye baking, there is no reason at all to consider aging the flour.
Milling rye as fresh as possible, for the best possible flavour, always makes sense. There is no reason at all to age rye flour so feel free to use flour fresh from the grain mill if you can and your bread will be better for it.
Baking with a rye starter or pre-ferment brings out the best in sour rye flavours. Baking a rye bread using a wheat starter or pre-ferment brings out more of the sweet flavours of rye.
Choosing which starter or pre-ferment to use for a rye loaf is often just a matter of using whatever one you have available.
There is no need to keep a separate rye starter, if you usually work with wheat and want to convert it to rye, simply take a small spoon of it, feed it with rye, and it will become a rye starter.
If you want to convert a rye starter to wheat, just feed it with wheat flour, and it will become a wheat starter.
Rye is sticky! There are two ways I handle this:
• With a wet dough and loaf pans, I simply spoon the dough into the loaf pans.
• For loaves with lower hydration, or for anything you want to bake as a freeform loaf, thoroughly wet your hands and shape the loaves with wet hands, working in a similar way to shaping a wheat loaf, building some tension as you shape. If you are shaping more than one loaf, re-wet your hands in between loaves. Your hands will still probably end up with some dough stuck to them, but it’s worth it.
Rye dough is not as stretchy as wheat dough. Loaves with high amounts of rye can be a bit like clay in texture, and sometimes just need to be moulded with wet hands as if they were clay. Smaller amounts of rye can make for a dough that needs less tension than a typical wheat loaf, so be careful not to let it tear when shaping.

If you like caraway in your rye breads, feel free to add 2 teaspoons of whole caraway seeds to a normal-sized rye loaf recipe.
1. Mix your dough until just combined.
2. Allow the dough to rest for at least ten minutes.
3. If your dough contains less than 18% rye flour, stretch, fold, and rest the dough. If your dough is heavy in rye, mix it a little more heavily, either with a wooden spoon, or by squashing and folding it around, to make sure all the ingredients are evenly mixed through.
4. Bulk ferment your dough. For dough with small amounts of rye, you can do a couple more stretch, folds, and rests early on in this time.
5. Shape your bread using wet hands. Rye bread dough does not stretch much, so be gentle when shaping.
6. Proof your bread. Rye bread often shows that it’s ready with cracks on the top of a pan loaf, or poke at a boule and see if it feels airy and if the indent made with your finger remains after a minute.
7. Bake! Use lots of steam for the best rise, either by baking with a cookie sheet over the top of pan loaves, using the dutch ovens, or by adding some ice cubes to a pre-heated skillet.
8. Allow your rye bread to rest for at least 12 hours before slicing. If your bread is more than 75% rye, leave it for at least 24 hours. This resting (curing) process helps the pentosans in the crumb to set, so that you don’t get gummy bread.
Store rye bread as you would store wheat bread: avoid plastic, avoid fridges, and avoid exposing the insides of the bread to the air. Beeswax wrap or traditional wooden bread bins are good choices, or a paper bag will work too.
Rye naturally stays fresh for longer than wheat bread, and is a great grain choice if you don’t go through bread quickly – feel free to make a full rye recipe, or just replace some of the wheat flour in your favourite bread recipe with rye flour.

Between 86% and 91% hydration (860g to 910g water for 1kg flour) works well for most rye breads, or feel free to go up to 96% hydration if your rye flour is very thirsty.
Rye is high in pentosans, which absorb a lot of water and take time to fully set after baking. Cutting too early can give a gummy texture. Rest loaves with less than 75% rye for at least 12 hours, and loaves with more than 75% rye (including 100% rye) for at least 24 hours.
Sourdough is strongly recommended for any bread with more than about 30% rye. The acidity from sourdough slows down the high amylase activity in rye, preventing a sticky, overly sweet, or gummy crumb and giving a more balanced flavour. For yeasted breads, keep rye at 30% or less for best results.
10–18% rye still behaves mostly like a wheat dough and gives a lovely subtle flavour (great for freeform boules). 40–50% rye makes a clear rye bread that still has some lightness. Beyond that the crumb becomes denser and more characteristically rye-like. You can go all the way to 100% rye if you enjoy dense, dark loaves.
Rye contains lots of water-loving pentosans, so the dough is naturally sticky. For pan loaves, simply spoon the dough into the tin. For freeform loaves or lower-hydration doughs, thoroughly wet your hands and shape gently — re-wetting your hands between loaves if needed. High-rye doughs can feel more like clay than stretchy wheat dough.
Whole rye flour (also called dark rye) gives the best flavour and is simply the whole rye grain ground up. Light rye has the bran and germ removed and is milder. For the most authentic rye taste, choose whole rye — especially if you’re milling it fresh.
Yes. A wheat starter works fine and tends to bring out more of rye’s natural sweetness. A rye starter (or rye pre-ferment) emphasises the deeper sour-rye flavours. You can easily convert one into the other by feeding a small amount of your existing starter with the new flour.
Scalding means pouring boiling water over a portion of the rye flour (typically 15–30% of the total flour) and letting it cool before adding it to the dough. This gelatinises the starches, emphasises rye’s natural sweetness, adds moisture, and strengthens the structure. It’s traditional in Swedish fullkornsbröd and many other Scandinavian and Baltic rye breads.
No. Unlike wheat, there is no benefit to aging rye flour. Mill it as freshly as possible for the best flavour — rye benefits from fresh milling even more than wheat does.
Store it the same way you store wheat bread: avoid plastic, avoid the fridge, and keep the cut side protected from air. Beeswax wrap, a wooden bread bin, or a paper bag all work well. Rye naturally stays fresh longer than wheat bread thanks to its high pentosan content.

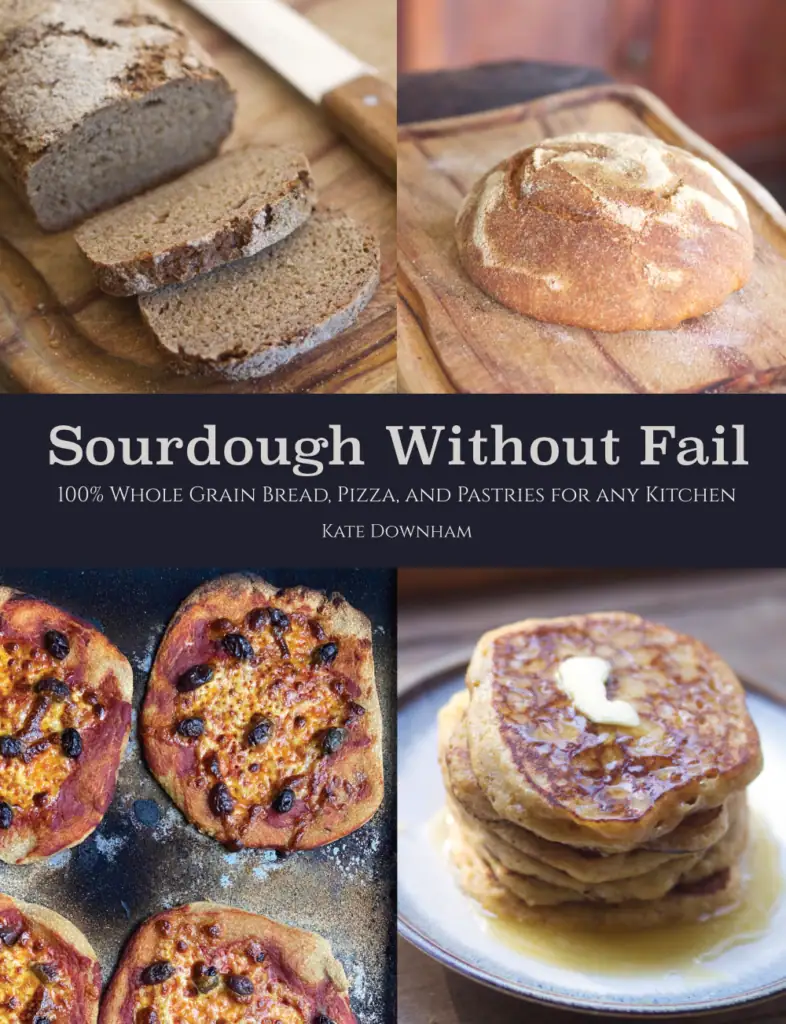
Fresh milled flour sourdough book
Baking great sourdough doesn’t have to be complicated or time-consuming. Whether you’re using fresh milled flour or store-bought flour, you can make delicious bread, pizza, and more in your own kitchen.
Sourdough Without Fail is written for real home bakers and homesteaders who want recipes and methods that work in real-life conditions.


Join The Nourishing Hearthfire for real food recipes, traditional skills, and monthly inspiration for your hearth and homestead.
We respect your inbox. Unsubscribe anytime.

Kate Downham has been growing, preserving, and cooking real food since 2007. She is the author of four books on homestead skills: A Year in an Off-Grid Kitchen, Natural Small Batch Cheesemaking, Backyard Dairy Goats, and Sourdough Without Fail.
Off-grid with her family of nine in the Tasmanian forest, Kate milks her own goats, makes all their cheese, mills all her own grain, and bakes fresh sourdough bread daily.






The Nourishing Hearthfire is reader-supported and mostly ad-free
Leave a Reply