Beautiful and practical books from my hearth to yours
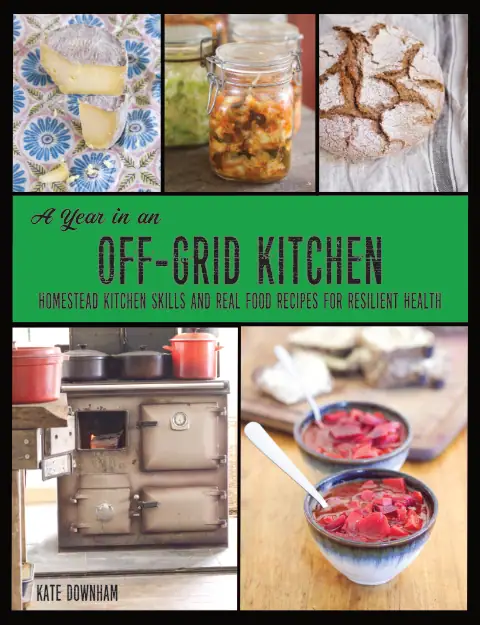
Off-Grid Homesteading Skills
for Survival and Self Reliance
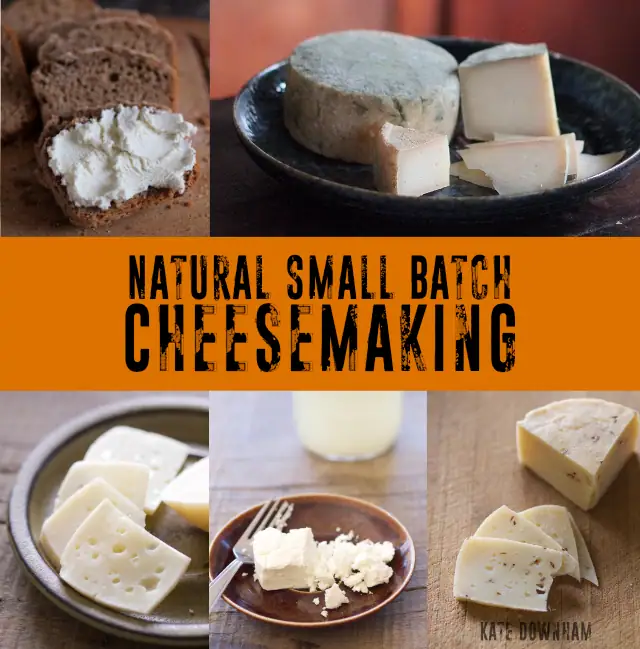
Make cheese at home with raw milk and homemade cultures
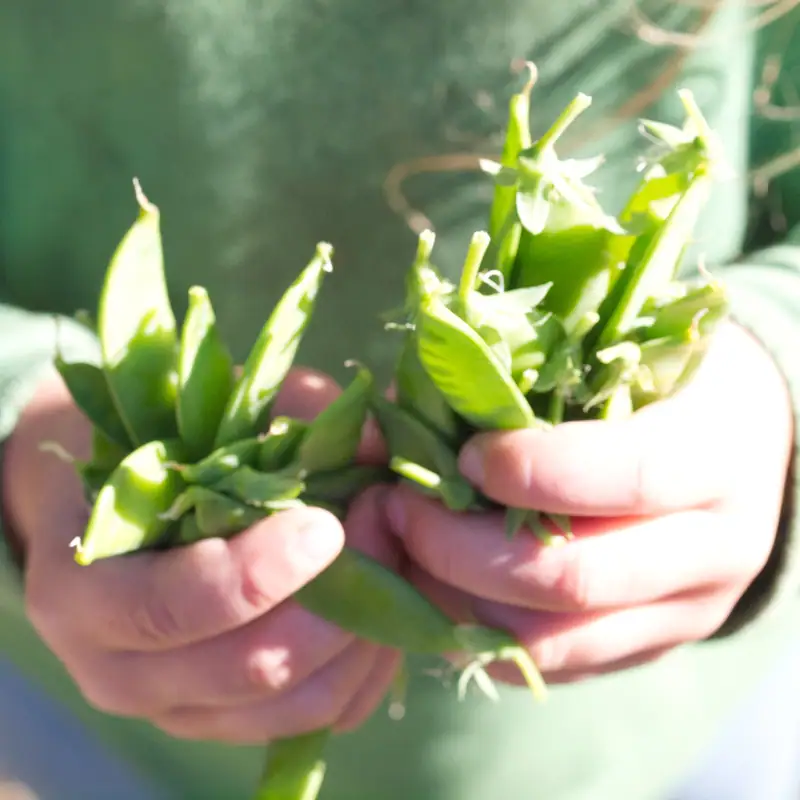
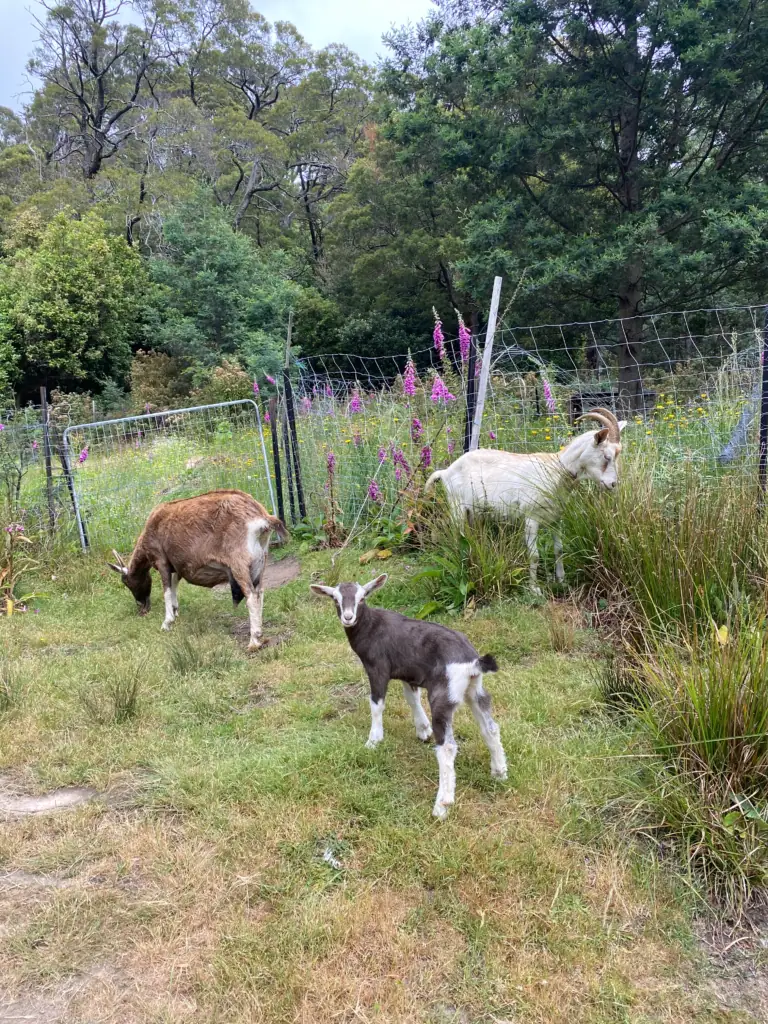
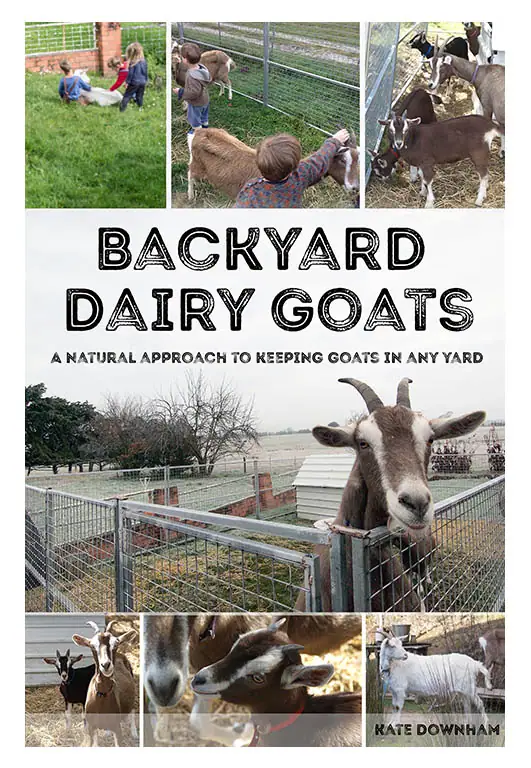
Growing food, raising homestead animals, permaculture, heating and cooking with wood
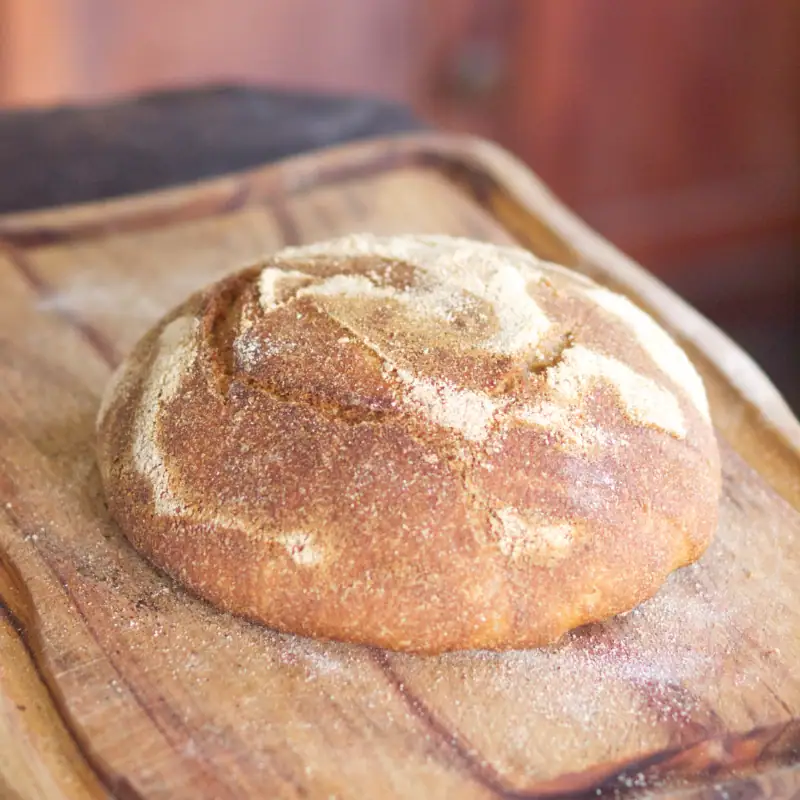
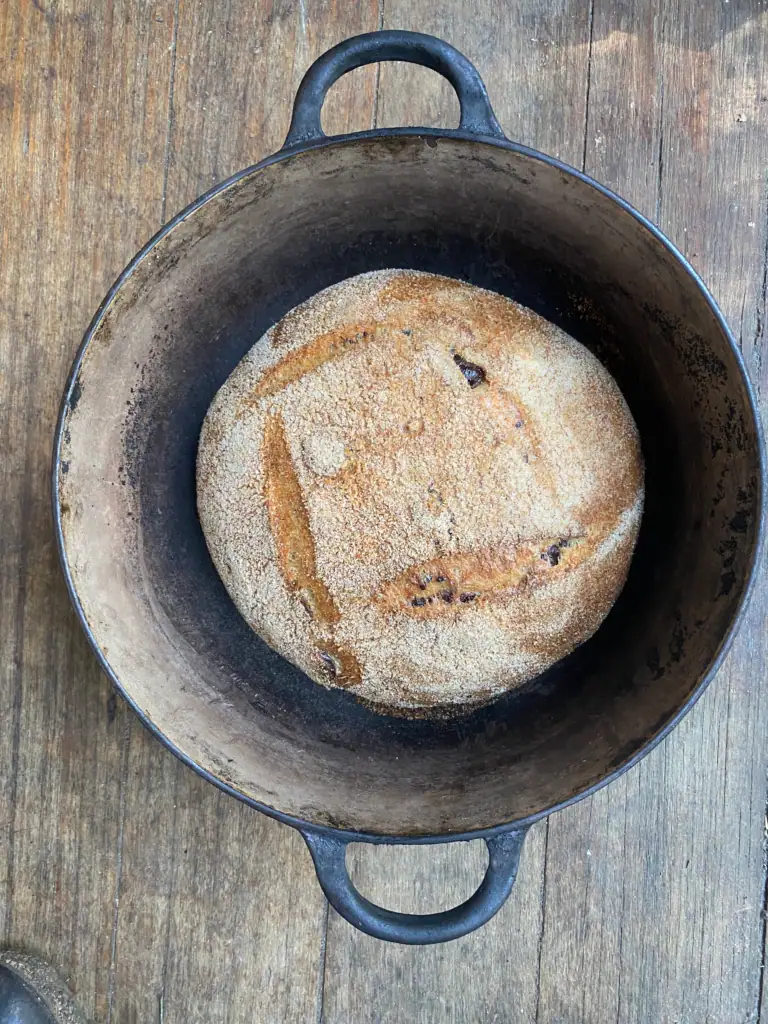
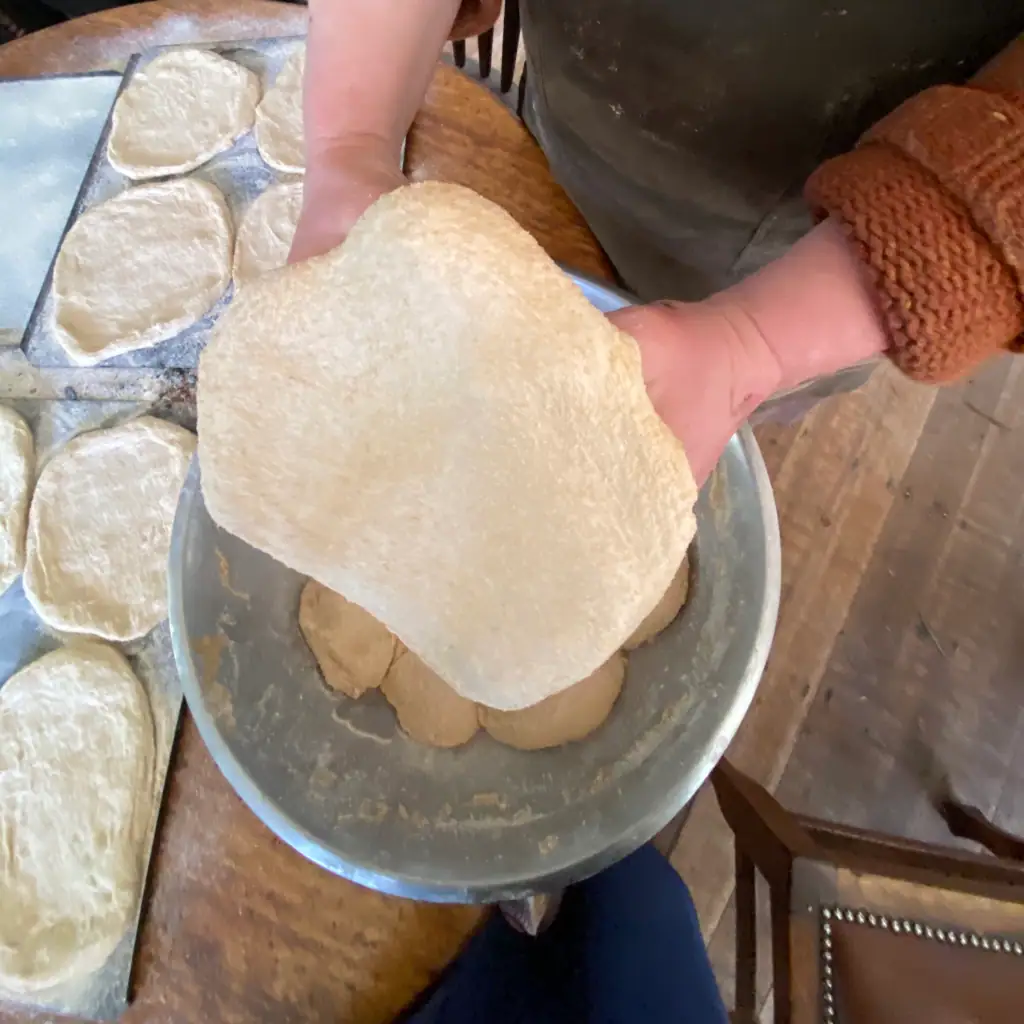
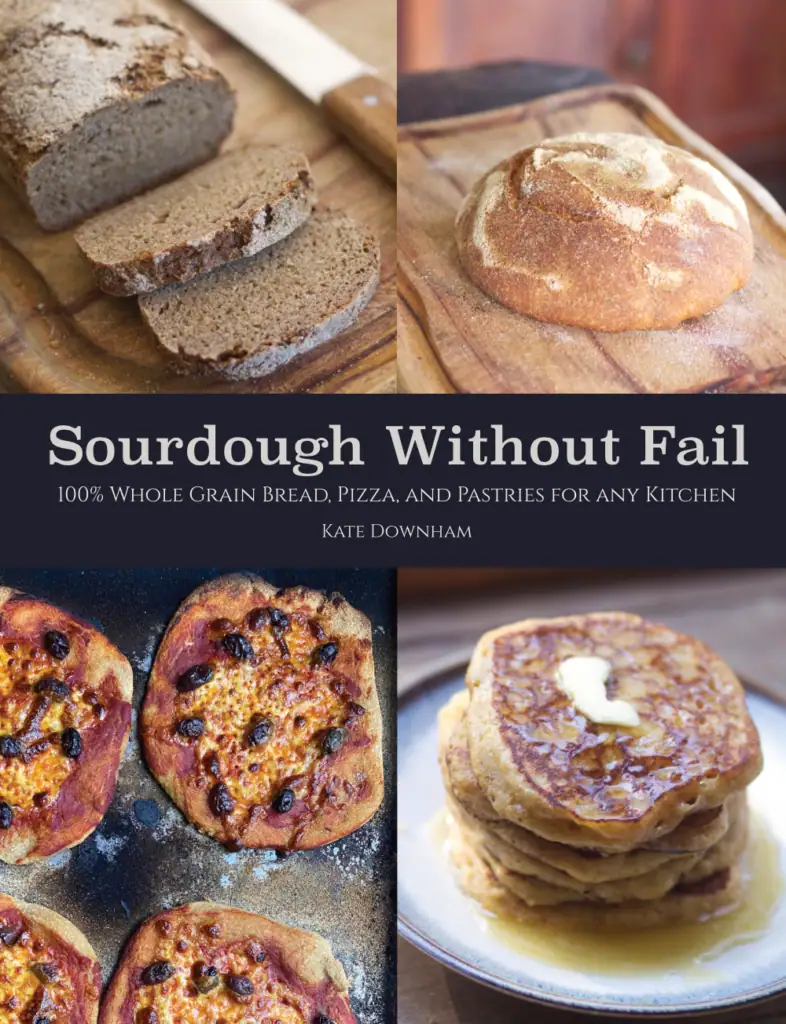
Make sourdough bread, pizza, and pastries from home-milled flour
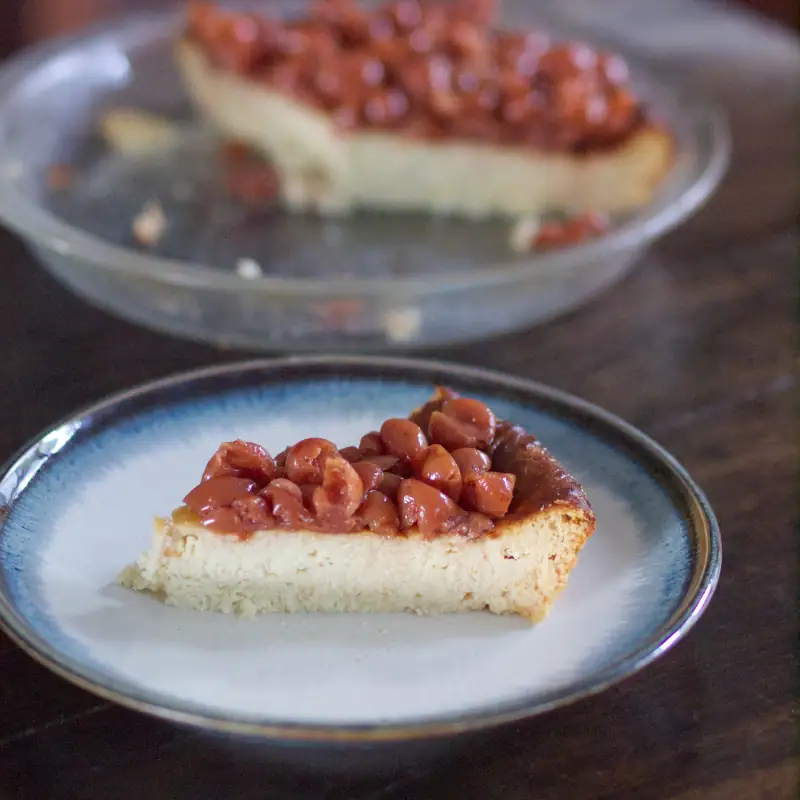
Cook local and seasonal real food meals & desserts. Learn essential skills for preserving the harvest
Latest posts
- Are ancient grains healthier than modern wheat?

- How to Replace White Flour with Fresh Milled Flour in Recipes

- How to Preserve Blueberries without Sugar

- Fresh Milled Flour Sourdough Sandwich Bread Recipe (easy no knead method)

- Light and dark

- How to Scale Cheesemaking Recipes Up or Down: Rennet, Culture, and More

- Easy Leftover Vegetable or Meat Pasties (Savoury Hand Pies Recipe)

- Magic Overnight Sourdough Pizza Dough Recipe with Fresh Milled Flour

- Cooking year-round on a wood cookstove: the dream, the reality, and the practicalities of relying on our own firewood and being off the gas grid

Join the Nourishing Hearthfire mailing list
Join us for monthly updates and get instant access to this bundle of homesteading ebooks