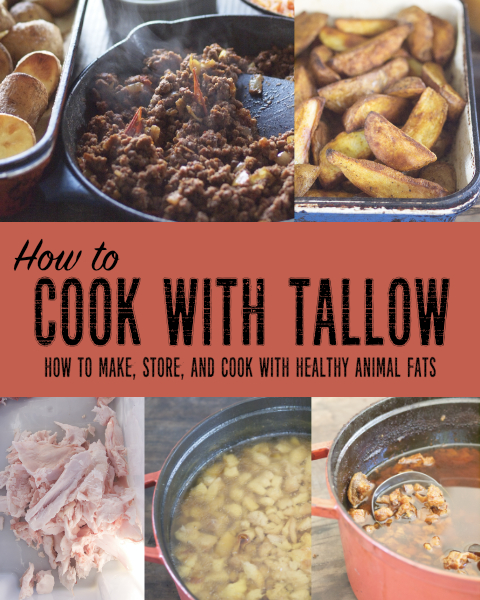
Stir fry is one of those basic meals that is often overlooked. My way of making it is a bit different to most, and I don’t think I’ve posted a recipe for how I make one anywhere, so I’ll share it here.
Ingredients
My formula is usually something like:
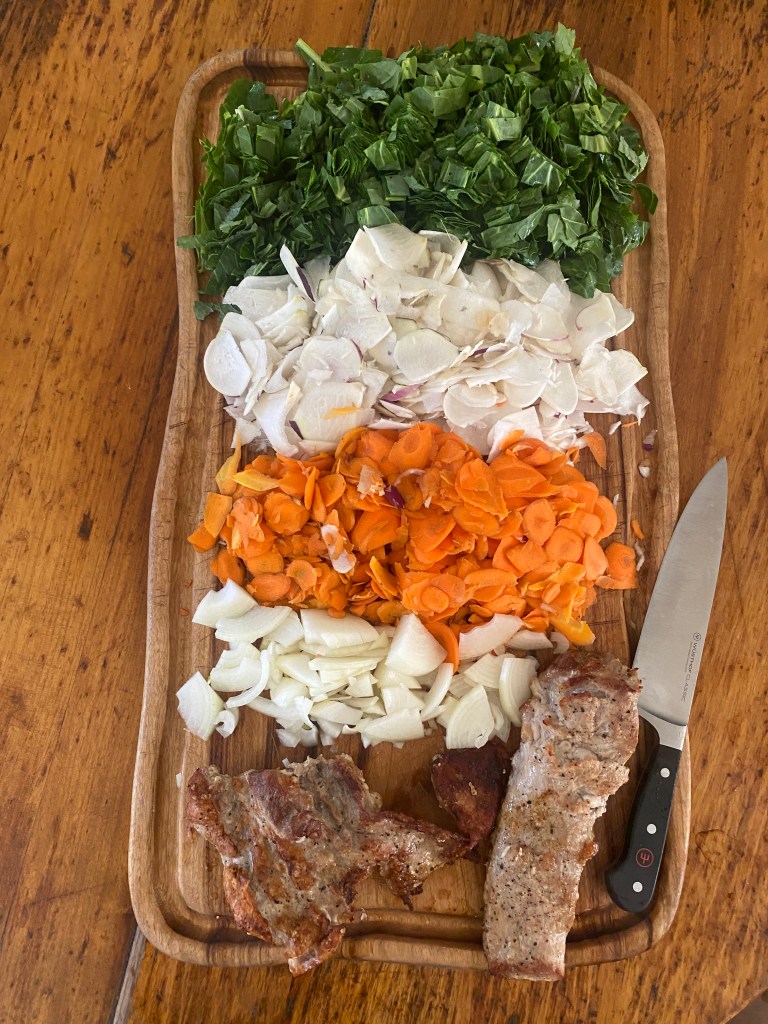
1 part onions or leeks
1 part carrots
2 parts turnip or cabbage
1 to 2 parts dark leafy greens
A bit of garlic and maybe some ginger
However much meat we’d normally eat in a meal
Some lard or tallow, for cooking
Maybe some coconut aminos, and maybe some cider vinegar and honey
Method
1. Cook rice
If you’re serving this with rice, first get the rice fully cooked. Keep it warm while you cook the stir fry.
2. Chop vegetables
Next, get all your vegetables chopped and ready. For most meals I don’t do this, I just chop stuff up as other things get cooked, but stir fry cooks very quickly and needs a lot of hands-on attention, so it’s easiest to just get everything chopped up and ready to throw in the pan before you begin cooking.
3. Cook meat
After that, cook your meat. This is where I probably do things a lot differently to most people, but I really like the results from doing it this way – there’s no doubt about whether the meat is cooked through or not, no overcooking the vegetables, the meat gets browned and not boiled, and cooked meat is easier to chop up than raw meat. You can either use steaks such as round, rump, or topside, of some sort or mince (ground beef). Boneless skinless pork goes well in this stir fry too.
To cook the meat, heat your pan over medium-high heat and add enough lard to coat the base of it. When a drop of water jumps up in a lively, noisy way when dropped onto the hot fat, it’s ready to cook. Put whole steaks on the fat (or meatball-sized chunks, if using mince) and sprinkle with salt and pepper Cook on one side without moving them until juices start to run off the steak and into the pan. Flip over and cook the other side until juices rise to the top for beef, allow slightly longer than this if you’re cooking pork or chicken.
Put the meat in a bowl and allow it to rest for a couple of minutes, then cut it across the grain into thin slices or bite-sized pieces, return to the bowl so that any meat juices stay with the meat.
For the stir fry in the photos, I used misshapen bits of pork loin that I’d messily butchered, they were thicker in some places than a steak, so I just roasted it instead of frying it. You can also just use leftover bits of roast meat.
4. Cook vegetables, then add cooked meat
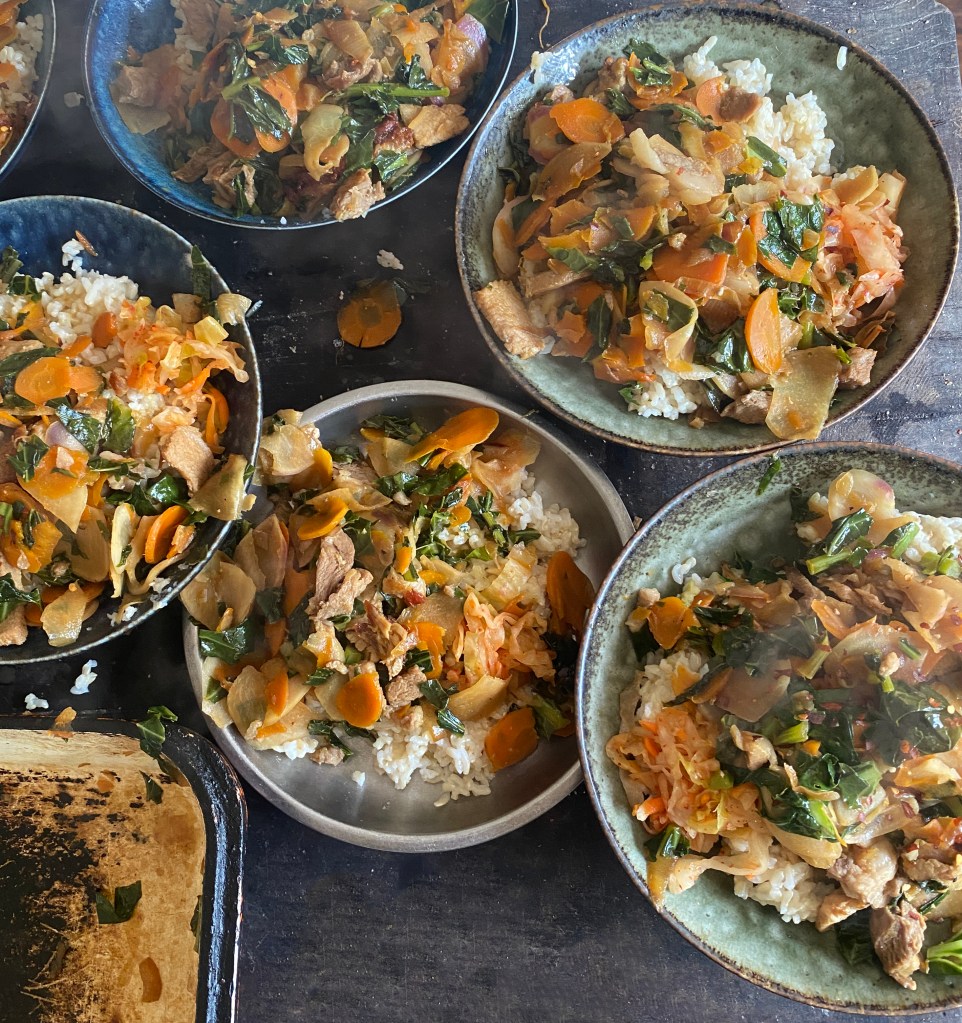
Next, add a bit more fat to the pan and throw in the onions. Stir them around a bit until they start to soften and smell nice. Next throw in the carrots, stir them around until they are hot all the way through. Next add turnips or cabbage, and garlic, if using, stir around until this is hot all the way through, then throw in the greens and a dash of salt. Stir everything around until it is cooked through, then add in the meat and the meat juices. Taste, and add any other flavourings – for this pork stir fry I used a big chunk of honey, about half that amount in coconut aminos, and then a dash of cider vinegar.
Serve on its own, or on top of rice, with a scoop of fermented vegetables on the side. Sprinkle with chilli flakes (red pepper flakes) if you want to make it a bit spicier.