
/
/

These tips will help you to make perfect sauerkraut every time.
For best results, use unrefined salt with no additives. Himalayan salt, Celtic sea salt, and Redmond real salt are the easiest of these to find.
The next best choice, and the kind that’s easy to find in a supermarket, is rock sea salt without additives. Most finely-ground supermarket salt contains anti-caking agent, a chemical that we don’t want in our ferments
Rock salt can be ground in a pestle and mortar, some spice grinders, and some grain mills. Most natural fermenting recipes call for unrefined salt, which has a higher amount of trace minerals and less sodium in it, so if you’re using a refined salt such as generic sea salt or rock salt, reduce the amount of salt to 3/4 teaspoon for every teaspoon of salt in the recipe.
Use between 2% and 3% of the vegetable weight in unrefined salt. 2% is good if you prefer less salt and are going to use your ferment quickly or store it in the fridge, 3% can be a better choice if you are fermenting in hot weather, or if you will be storing your ferment for many months in a root cellar or unheated room.
To get the correct weight, weigh the cabbage once the cores and outer leaves are removed. For every pound of vegetables, use 1 tablespoon of salt for 2%, or 1 ½ tablespoons for 3%.
When I first wrote this article, I recommended using some whey to help get fermentation started. If you want to use whey, the best whey for making sauerkraut is whey with lots of live cultures (not ricotta whey): strain your yoghurt through some cheesecloth, or use the whey leftover from chèvre.
Since this time, I’ve found that when working with very fresh vegetables and the correct ratio of salt, you can get reliable results without using whey. These days, I wild-ferment most of my vegetables, and they keep all year in larder or cellar conditions.
You may want to try using whey or leftover sauerkraut juice in your sauerkraut if you’re using vegetables that have been stored for a while, or if you’ve previously had trouble with wild fermentation.
To use whey (or leftover sauerkraut brine) in sauerkraut, add a couple of tablespoons of whey or brine from a successful batch of sauerkraut for each cabbage when you are adding the salt.
To make whey, strain some natural yogurt though cheesecloth, pour off any milky stuff that collects on the top, and the clear yellow liquid underneath can be used to add helpful bacteria to kickstart your fermentations.
The ideal container for fermentation is something which allows gases to escape, but doesn’t allow oxygen in. This can range from Fido jars, to airlock fermenting lids on mason jars, through to European-style fermenting crocks with water-sealing lids.
If all you have are regular mason jars, you can still ferment in them by ‘burping’ the jar once a day during the active bubbly stage of fermentation by carefully lifting the lid slightly to allow excess gas to escape while minimising the amount of air being allowed in.
For best results, no matter which container you are using, make sure you put enough vegetables in it so that it’s filled almost to the top, but not too close. Excess air in the jar can cause the same problems as having a jar open to the air. I fill my jars up to where the jar starts to taper inwards towards the lid.
Once the bubbling phase of the ferment is over within a couple of weeks, you can pack your ferments into smaller jars or change the airlock lids into regular lids.
While there’s no need to cover your food preserving gear with nasty chemicals, it’s important to observe a few rules of food hygiene in order to have good ferments.
Before making your ferments, make sure your jars are clean, and if they’ve been used for kombucha, wine or any other yeasty ferments, heat-sterilise them in the oven or dishwasher (see my post on how to do this, here). I usually just heat-sterilise all my fermenting gear anyway, just to be sure.
The idea when making any type of fermented food or drink is to encourage the cultures that benefit it, and avoid the chances of any ones that you don’t want there taking over. With sauerkraut and other fermented vegetables, we’re encouraging lactic acid fermentation, so you don’t want it to get contaminated with yeast and other fungus.
After you’ve made the ferment, always use a clean spoon for taking it out of the jar, and don’t leave the jar open any longer than you have to.
It’s best to leave your sauerkraut for a month or longer before eating it. See this section or this post for more explanation about the different stages of fermentation. Eating kraut before it’s ready won’t harm you, it just won’t have as much good bacteria in it as a six week old batch of kraut will, so it’s best to plan ahead and make sure you have plenty of time for it to ferment.
Sauerkraut should be covered with brine, either the brine that’s formed when you’re mixing the cabbage, salt, and whey, or a brine added on top if there wasn’t enough natural brine formed. I make a brine by mixing 1/4 teaspoon salt with 1/2 a cup of water and a splash of whey.
The more that you make sauerkraut and other lacto-ferments, the better you will get. My first batches of sauerkraut were terrible, but now I use fermentation as a serious food preservation method that lasts all year.
For step by step instructions for making a good batch of sauerkraut, perfect for beginners, follow my recipe below, or see my Superkraut post for a salad-in-a-jar approach to sauerkraut.

For every quart jar:
1kg (2 pounds) cabbage (weighed after cores and outer leaves removed)
2 to 3 tablespoons finely ground unrefined salt without additives
Optional tablespoon whey or sauerkraut juice
Finely shred the cabbage with a knife, mix it in a large bowl with the salt and optional whey, mix well with your hands to allow the salt to cover all the cabbage pieces.
Leave it to sit for at least 15 minutes, to allow the salt to draw out moisture, then use your hands to squash up the cabbage, squeezing it to form more brine.
Taste, and add extra salt if it needs it – it should taste well-seasoned, or slightly too salty (the sourness from fermenting will balance that out later). If there’s no saltiness to it, then add more.
Pack into a fermenting jar, pressing down with each layer to help the brine rise to the top.
Place the jar on a towel or a tray to catch drips and keep at warm room temperature for a few days. Within 1-3 days in warm weather the kraut should expand and bubble, and after a week or two it will settle down. Once it’s settled down, move to larder or root cellar conditions and keep for up to a year.
Caraway kraut: Mix through a tablespoon of caraway seeds for every 1kg (2 pounds) of cabbage.
Apple and caraway kraut: This is great made with red cabbage. Mix through a finely sliced small apple and a tablespoon of caraway seeds for every 1kg (2 pounds) of cabbage.
Fermented turnip or daikon: Replace all or some of the cabbage with grated or very finely sliced turnip or daikon radish. This ferment is excellent with some ginger or caraway seeds added.
Salad-in-a-jar superkraut with onions, carrot, and seaweed: See my Superkraut recipe.
Within one day to one week of making sauerkraut, the bubbly active phase will begin. Some ferments are more active than others. For very active ferments you will see bubbles coming up the jar, and though the airlock if you’re using one. This stage is best done at between 15ºC to 26ºC (60ºF to 80ºF) – higher temperatures will mean much faster fermentation, temperatures lower than 10ºC (50ºF) may struggle.
Avoid fermenting or storing sauerkraut at temperatures above than 27ºC (80ºF), as this can make your sauerkraut mushy.
The bubbling will die down after a few days, but the fermentation is not over then. If you continue to ferment your vegetables in cool room temperature or cellar conditions of 8ºC to 15ºC (46ºF to 60ºF), they will continue to develop more probiotics and flavour, with the highest amount of probiotics found at around six weeks.

Join The Nourishing Hearthfire for real food recipes, traditional skills, and monthly inspiration for your hearth and homestead.
We respect your inbox. Unsubscribe anytime.

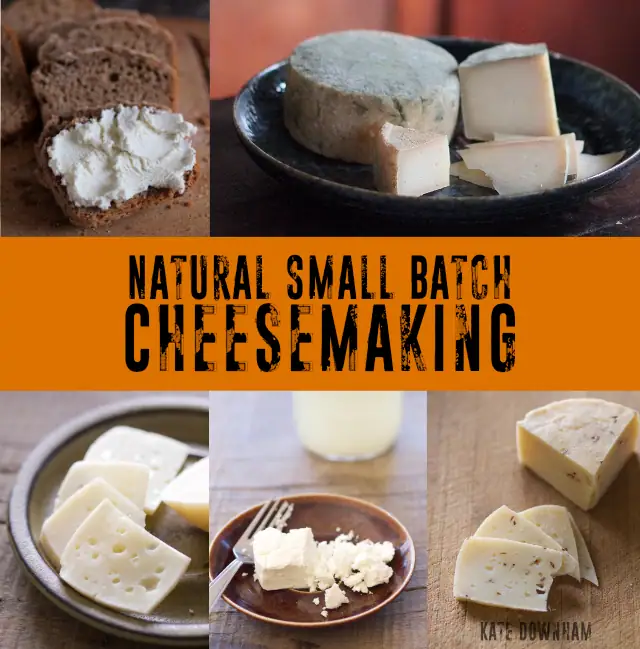
Kate Downham has been growing, preserving, and cooking real food since 2007. She is the author of four books on homestead skills: A Year in an Off-Grid Kitchen, Natural Small Batch Cheesemaking, Backyard Dairy Goats, and Sourdough Without Fail.
Off-grid with her family of nine in the Tasmanian forest, Kate milks her own goats, makes all their cheese, mills all her own grain, and bakes fresh sourdough bread daily.










The Nourishing Hearthfire is reader-supported and mostly ad-free
Leave a Reply