
/
/

Before our pig kill (see this post) we had discussed what we wanted to do with each part of the pig. To keep costs down, we just had the mobile butcher here on one day to do the kill, hair removing, gutting, and sawing the pigs in half and leaving them to hang for a day before we would cut them up ourselves. If we wanted him to cut them into pieces he would probably have to come back another day.
We’ve never before cut pigs up ourselves, and how we handled it is a bit different to the process I’ve seen elsewhere because we didn’t have a saw. Every other instruction around is for how to do it with a saw, so I will write about how we did this using only 6” (15cm) boning knives, and maybe a firewood axe and a good aim (depending on how the spine has been cut).
On the first pig we did, my husband used his axe to cut through a tough piece of spine that attached the loin to the shoulder on one side, but on the second pig I was able to snap this on both sides. It may have been that we needed the axe for that first one because the butcher had sawn through a little unevenly, making for one side with lots of spine, and another side with virtually none, and the second pig was straight through the middle, making it easy to break both sides without an axe.
We used 6” (15cm) boning knives for this process, decent ones can be picked up for less than $30, and are worth getting for home butchery, as I can see now that using a knife with a thicker blade would be awkward for this process.
So here is the process we used:

A. We removed all the wonderful ‘leaf lard’ from the inside of the loins. We ended up with around four kilograms of this per pig (I will go into detail in another post about how to raise pigs with the aim to get plenty of lard). We removed the tenderloin, and also a flank steak bit from the belly, and set these aside for stir fries.
B. Severing the shoulder from the loin. To do this, we counted ribs from the head end towards the back until we reached in between the fourth and fifth rib. We cut in between these ribs, and then followed that line all around the pig, breaking where there were bones, flipping the pig over to do this on the other side, until all the flesh was cut in a straight line, and all there is remaining is bones. As I mentioned earlier, on one pig we needed an ax to get through the bone on one side, on the other pig, I was able to snap both sides.


C. The leg is removed by finding the aitch bone, which is a thin, flat bone on the surface of the cut side. Put two fingers next to it, towards the loin, and then cut in a line where your fingers end. The cut gets deeper and deeper, until there is just the bone, which continues up into the loin. Then with the help of someone to hold the loin down while you snap the bone out of the socket in the loin, the leg is violently wiggled around until the bone detaches from the socket, and can be pulled free, you will then have a leg with a bone sticking out the top of it, which can easily be removed later.
A. We removed the ribs in one or two pieces from the loin by carefully tracing around them with the knife, and just carefully going around the whole rack, trying not to remove too much flesh from what can later be the roast, chops, side bacon and so on. The spine also needs to be removed in a similar way, it’s fine to leave this attached to the ribs. The loin is now ready for dividing for roasts, bacon, and steaks.
B. We looked at the bottom of the belly, and saw where the streaky bacon ended, and where the pure fat (or very fatty part) began. You can cure the very fatty bit as well in the same piece if you want, but we set it aside in case we needed extra fat for sausages (turns out we didn’t though). From there, we looked at the sides of the loin piece, where it attaches to the shoulder and leg, and observed “what looks like a roast? what looks like side bacon?”, there’s no correct place to cut, you just have to decide on your own where you want the belly bacon to end, and where you want the side bacon and roasts to begin. You can just cure the whole lot for bacon if you want though. We cut roughly halfway up, where the flat streaky part ends, and a ‘tail end’ of bacon and roast begins. We now have a piece of belly ready to cure.

C. Cut vertically roughly halfway on the remaining piece of loin, one side of this will have an obvious ‘side bacon/short bacon’ look about it and the other side will have more meat and less fat. The meaty side can be used for roasts or chops, the bacon side for bacon, or you can just roast or bacon the whole lot. If you’re dividing into roasts and bacon, then the bacon is best chopped into three pieces to make it easier for the cure to go through it. Your side bacon is now ready to cure.

D. Making rolled loin roasts is easier than it looks and sounds – here are my instructions: If you are making loin roasts and have lots of lard like we have, you may want to take some of it out of the roast to render separately. You will see a line in the lard fairly close to the skin, around 1cm/1/2″ from the skin, follow this line around to carefully cut the skin off with a bit of fat attached and set it aside. Get the lard that is attached to the flesh and remove as much of it as you want to render, leaving a decent amount on there for the roast. The lard won’t be even all around the roast, so be careful you don’t end up removing meat as well. Get the piece of skin, and place lard side down on a cutting surface, and slash with a sharp knife. Flip it over so that the skin is now down, then put a long piece of string under it (don’t use string that smells like hessian, that kind has poison in it), then match up the meat from it, rolling the meat up in your hands, then rolling the skin over it to form a log-like rolled roast. Tie the string around it to secure it, then set it aside for cooking or freezing (remove the string before cooking, unless it’s special cookable string). Alternatively, you can make loin steaks or stir fry meat instead.

A. Carefully remove the aitch bone. It’s important to be very careful not to dig in too deeply when doing this if you’re making ham. Carefully remove a small amount of meat at a time so that you won’t leave gaps in the ham for bacteria to grow, until you get to where the aitch bone joins with the round end of the leg bone, and sever the connection between these bones carefully with your knife.
Any flaps of flesh left on the surface of the ham need to be trimmed to make a flat surface for salting.

We got through three of the shoulders in a very long day of sausage making. The last shoulder is now in the freezer, and will be made into more sausages and some confit pork. Cutting through the shoulders involved tracing around the bones with a knife, to remove the ribs, and then cutting meat from around the other bones. There was no need to be exact about any of this because we were just chopping the meat into bits rather than wanting flat surfaces for preserving, steaks or roasts. The meat was then cut into small chunks that would fit into the mincer, and then minced, seasoned with salt and spices, and stuffed into sausage casings.
I’ve written about how we made two kinds of bacon and two kinds of ham in my next post, here.

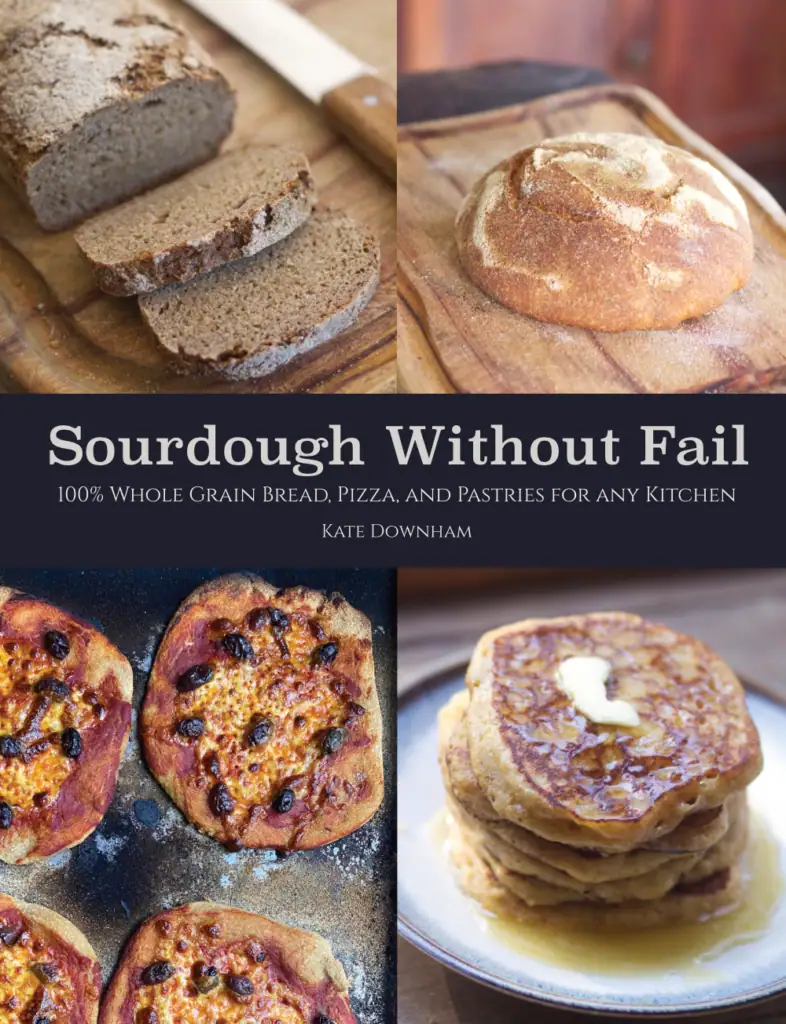
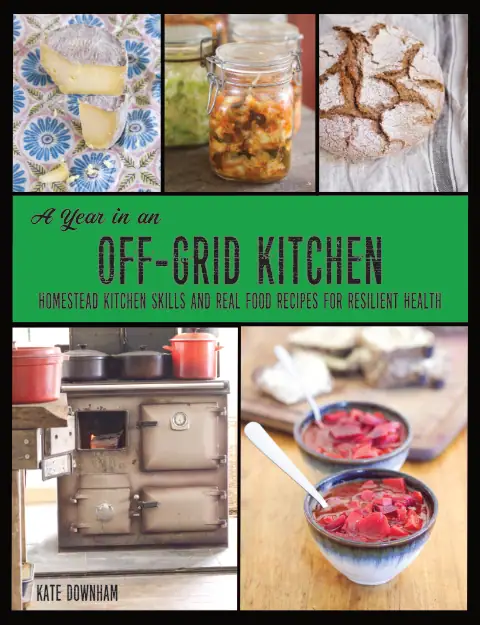
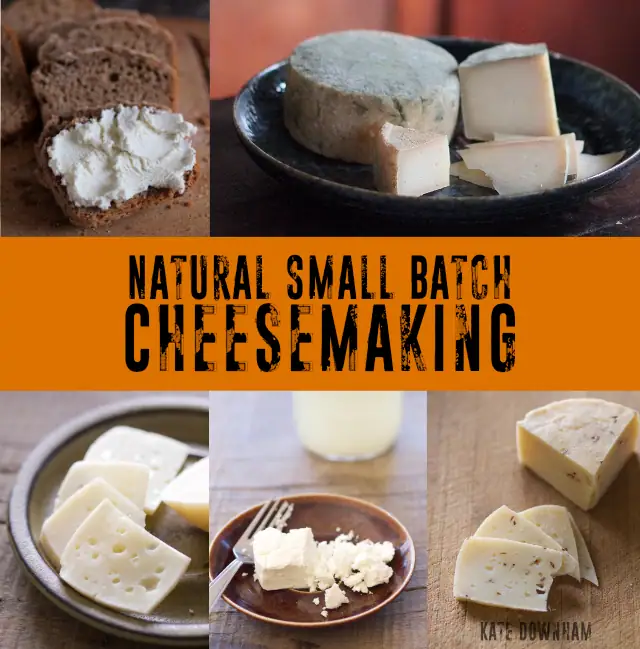
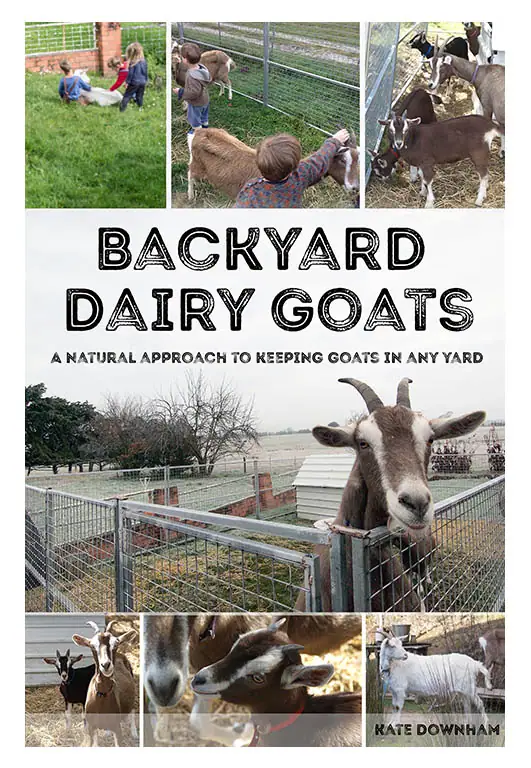
Kate Downham has been growing, preserving, and cooking real food since 2007. She is the author of four books on homestead skills: A Year in an Off-Grid Kitchen, Natural Small Batch Cheesemaking, Backyard Dairy Goats, and Sourdough Without Fail.
Off-grid with her family of nine in the Tasmanian forest, Kate milks her own goats, makes all their cheese, mills all her own grain, and bakes fresh sourdough bread daily.


The Nourishing Hearthfire is reader-supported and mostly ad-free
Leave a Reply