
/
/
100% Whole Grain Fresh Milled Flour Sourdough for Beginners

If you’ve never made any whole grain fresh milled flour sourdough bread (or any bread at all) before, this recipe is exactly where you can start.
With a simple mix of just four ingredients – fresh milled flour, water, salt, and sourdough starter, this is a basic, frugal, lean bread dough. It’s the kind of everyday bread you can feel good about making and eating day after day.
You don’t need to add expensive oil, butter, honey, maple syrup, or sugar to make great bread. This recipe proves that simple can be delicious.
This same dough can be used for two different types of bread: an easy-to-slice pan loaf that needs minimal shaping (perfect for sandwiches, busy people and beginners) or a crusty, rustic dutch oven boule hearth loaf. You can also use many different whole grains: wheat, einkorn, emmer, khorasan (kamut), spelt, or even add a dash of buckwheat or rye flour. This flexibility makes it one of the most practical and forgiving sourdough recipes for homesteaders and beginners alike.
This recipe was created with absolute beginners in mind. Every step is clearly spelled out, complete with photos. Once you’ve made this loaf, you’ll know all the basic techniques that go into making no-knead whole grain breads from fresh milled flour, and why they are done.
The use of the pre-ferment (levain) method in this bread ensures that you are starting your loaf with a good active ferment at the right hydration, eliminating many of problems and guesswork that new bakers experience because of inconsistent starter.
The high hydration of this dough gives the bread a beautiful texture and helps the dough to reliably ferment and rise in different seasonal conditions.
By the end of this recipe, you’ll have baked your first beautiful loaf of 100% whole grain fresh milled sourdough, and you’ll understand the process well enough to start experimenting with different grains and methods.
If you don’t already have sourdough starter, you’ll need to borrow some from a friend or make some. I’ve provided a guide here for how to make starter from whole grain fresh milled flour.
For best results, use bubbly sourdough starter that was fed anywhere between 5 hours and 24 hours ago. Because this recipe uses the pre-ferment method, it doesn’t matter if your starter is slightly overfermented or if you only have a tiny amount of it. You’ll only need around 20g (4 tsp) starter to make two loaves.

For a two loaf batch, you’ll need 225g (scant 1 cup) water for the pre-ferment, and then 550g (2 1/4 cups) for the main dough.
My favourite salt is Himalayan pink salt, but you can use any kind of salt for this recipe. You’ll need around 5 teaspoons (16 grams) for a two loaf batch.
You can use flour straight from the grain mill for this recipe! Or feel free to age it for three days (or up to a week). If you don’t have your own grain mill, feel free to just use any stoneground 100% whole grain wheat flour (or any of the other options below). You’ll need to mill 900g (4 1/2 cups) of whole grains in total if you’re making two loaves, plus a little extra for shaping and sprinkling. Choose plain whole wheat, or any of the following options:
These basic fresh milled wheats and ancient grains are perfect for making the recipe exactly as written – no need to adjust the amount of water or have any special instructions. If you have a choice of wheat varieties, hard white is my favourite, or feel free to use a mix of hard red, hard white (and feel free to add any amount of Khorasan or emmer too)
Einkorn needs less water than other grains. If you’d like to use 100% fresh milled einkorn, reduce the amount of water per loaf by 40g or 3 tablespoons.
If you’d like to use 100% fresh milled spelt, you can keep the amount of water the same as for wheat, but I’d recommend baking it as a pan loaf, because spelt tends to make a fairly flat loaf when baked as a boule.
This dough won’t work well using 100% rye, but it does make a very delicious loaf with some fresh milled rye flour added to it. Replace 90g to 160g of the flour with rye flour for a dash of rye flavour, or replace up to 675g of the flour with rye flour for a dense loaf.
I really enjoy this bread made with around 360g of the flour as rye. When using more than 160g rye flour, the texture of the dough will change, and it won’t be as stretchy.
Don’t worry about doing many stretches and folds if you’re adding a lot of of rye – heavy rye doesn’t respond to the stretch and fold method in the same way that wheat does.
Buckwheat is a gluten-free grain, and can’t be used for all of the flour in this loaf (you can see my book Sourdough Without Fail for a 100% buckwheat loaf), but replacing 90g of flour with buckwheat flour adds a beautiful earthy taste that can make this loaf really special.
• Mixing bowl
• Scale or measuring cup
• Loaf pan, or cast iron dutch oven + bowl + non-fluffy tea towel
Combine a tiny dash of sourdough starter with 225g fresh milled flour and 225g water in a mixing bowl. Mix until combined, then leave to ferment overnight (or you can ferment for just 4-6 hours instead if your kitchen is very warm.
Remove some of the pre-ferment to use as the next day’s starter. Add 675g (5 cups + 3 Tbsp) flour, 550g (2 1/4 cups) water, and 16g (5 tsp) salt to the pre-ferment and mix until no traces of flour remain. The dough will look pretty rough at this stage.

Allow to sit for around 20 minutes, then do a series of stretch and folds by lifting up half the dough, folding it over the other half, rotating the bowl a quarter turn, then repeating the stretching, folding, and rotating, until all four sides have been stretched and folded. Stop this if the dough starts to tear at any point.


2. Lift it up

3. Fold it over the other half
Ferment for around three hours, or until puffed up, doing another two stretches, folds, and rests early in the fermentation period if you wish to make a very strong dough.
In cool room temperatures, it may not rise much, so allow it to ferment for up to eight hours if it is showing no signs of rising and then move on to the next step.

Feel your dough at the end of bulk fermentation. Gently press on it, poke at it with your fingertips, and feel if there is any resistance. Does it feel relaxed and like it has air in it? Or does it still feel springy?


2. Using wet hands, take one piece of dough and hold it in both of your hands. Move one hand slightly higher than the other, holding the dough in the upper hand, and using the lower hand to gently support the dough without dragging it.

3. Allow the weight of the dough to gently stretch itself. It’s better to stretch it too little, than to stretch it too much and risk tearing it.

4. Mentally divide your loaf into three pieces. Take the bottom third and drag it under the centre of the dough, then repeat for the top third. Alternatively, if the dough is very slack, you can roll it up in a spiral as if it were cinnamon buns.

5. Place in a loaf pan, seam-side down.

6. Sprinkle lightly with flour and leave to rise for around two hours, or until puffed up and feeling airy when poked (or allow it to rise for longer in cooler temperatures).
Preheat the oven to 210ºC (410ºF).
Place your loaves in the oven and bake for around 60 minutes, or until the top feels firm and the sides of the loaf are golden and it has shrunken slightly in the pan.
For a crusty loaf, cool on a cooling rack. For a soft-crusted loaf, wrap in a tea towel to cool.
For the best taste and keeping qualities, allow to cool for at least four hours before slicing.
To make this as a dutch oven loaf instead, simply follow the pan loaf instructions until it’s time to shape, and then shape and bake it differently.
Follow the instructions from the previous recipe up until it’s time to divide the dough.
Get a bowl for each loaf, around 20cm (8”) in size. Place a linen or non-fluffy cotton tea towel in each of the bowls, then sprinkle a little flour over each.
In the photos below, the shaping begins in the bowl, with the final tensioning happening in mid-air. You can do all the shaping in mid-air (or in the bowl) if you prefer.

Take each piece of dough with wet hands and hold it in both of your hands, or in the bowl. Imagine there is a dot in the centre of the dough, on the top. Gently stretch the sides of the dough to this dot, or slightly over it, pressing lightly to secure it. You will need to do this for all four sides.

Flip the dough over and continue building tension towards this imaginary dot. Gently stretch the skin of the dough to create a tight surface, quickly working all around the ball to create a tight and shiny surface.

Sprinkle the top of the loaf with flour.

Flip upside down, and place in the towel-lined bowl, seam side up. Sprinkle with a little more flour.
Fold the ends of the towel over the top and leave to rise for around two hours, or until puffed up and feeling airy when poked (or allow it to rise for longer in cooler temperatures).

Preheat the oven to 230ºC (450ºF) with a cast iron dutch oven (including the lid) on the middle rack. Use one at least 4L (4 quarts) in capacity. Once the oven thermostat registers 230ºC (450ºF), allow it to continue heating for at least fifteen more minutes, to allow the dutch oven to get completely saturated with heat and ready to bake.
Remove the dutch oven and lid from the oven and place them on your stovetop. Gently and quickly hold onto the bowl and tea towel and turn it upside down right above the dutch oven. Quickly place the lid on it and put the whole thing back in the oven.


Bake with the lid on for twenty minutes, then remove the lid.
Bake with the lid off for another twenty to thirty minutes, until the fissures in the top of the loaf are browned on top and golden on the underside, the loaf easily slides around in the dutch oven when shaken, feels firm on the top when pressed, and sounds hollow on the bottom when tapped. If in doubt, bake it a little longer.
Remove the loaf from the dutch oven, and cool it on a cooling rack. If you’re baking a second loaf, return the dutch oven to the oven and allow to heat up for at least ten minutes before baking the other loaf. Bake the second loaf in the same way as the first.
For the best taste and keeping qualities, allow to cool for at least four hours before slicing.


The pre-ferment has sunken in and doesn’t smell right.
This probably means it has overfermented. Consider fermenting it for four to six hours during the day instead of overnight, or reduce the amount of seed starter (old starter) used in the feeding, or reduce the temperature of the water used, or ferment it in a cooler place next time.
Dough seems really sticky when stretching and folding.
This could also mean that the starter has overfermented, or that you forgot to add the salt. This is a high hydration dough and it can feel stickier to handle compared to yeast doughs even if the starter and salt are right – resist the temptation to add more water and just bake it as is – the high hydration helps it to rise.
Dough felt fine when first mixed, but keeps sticking and tearing when I try to shape it.
The dough may have overfermented during bulk fermentation. Keep a closer eye on it next time, and shape it before it has fully fermented, and/or ferment it in a cooler room.
Crust got huge cracks in it during baking.
Some small cracks are to be expected, and give this a pleasant rustic appearance, but huge fissures that make the loaf difficult to cut mean that you’re getting a lot more oven spring than expected. Next time, consider using a steak knife to gently cut a couple of neat scores into the top of the loaf.
I’ve baked the loaf for the recommended time and it doesn’t seem ready
If in doubt, always bake it for another 5 to 10 minutes (or longer). It could be that your oven thermometer is off. Slightly overbaked bread is tastier than underbaked bread, and is easier to get out of the pan.
Yes! This recipe is specifically designed for people who have never made sourdough (or even any bread) before. It uses only four simple, frugal ingredients – fresh milled flour, water, salt, and ripe sourdough starter, with no added oil, butter, sugar, or honey. The step-by-step instructions and photos walk you through everything gently. Many readers have baked their first successful loaf using this exact method.
Fresh milled flour has a vibrant, nutty flavour that really shines through in this lean, frugal dough. Without added fats or sweeteners, the natural sweetness and complexity of the freshly milled grains (wheat, einkorn, spelt, etc.) come forward beautifully. The high hydration and the pre-ferment used in the dough encourage a nice balance of wild yeast fermentation with gentle sour flavours. It’s the kind of everyday bread you can feel good about eating and feeding to your family.
You can use 100% whole wheat, or replace all the wheat with einkorn, emmer, khorasan (kamut), or spelt. For subtle flavour variations, replace up to 15% with rye or up to 10% with buckwheat. Note: when using einkorn, reduce the water by about 10%.
Both work beautifully with the same dough!
• Choose the pan loaf for soft, sandwich-style bread that’s easy for beginners and great for everyday slicing.
• Choose the Dutch oven hearth loaf for a crustier, more rustic artisan-style bread with an open crumb.
Full instructions for both methods are included.
A metric scale is highly recommended for beginners, especially when working with fresh milled flour. Volume measurements can vary a lot with freshly milled grains, but gram weights give consistent results every time. If you don’t have one yet, you can start with the volume approximations, but upgrading to a scale will make your baking much more reliable.
Yes, especially with fresh milled whole grain flour. This is a higher-hydration dough and fresh milled flour absorbs water differently than store-bought flour. Wet your hands well instead of adding extra flour. The dough will become smoother and easier to handle as you do the stretch and folds and during bulk fermentation.
Fresh milled whole grain dough often rises more slowly than dough made with white flour, especially in cooler kitchens. Don’t worry about the clock — watch the dough. It should look puffed, feel airy when gently poked, and show some bubbles. In cool conditions it can take 6–8 hours (or longer).
The most common causes for beginners are under-fermentation, over-fermentation, weak starter, not enough gluten development from stretch and folds, or slicing your bread too early. Check the full troubleshooting section above for detailed fixes. The good news is that once you get the feel for your dough and your kitchen temperature, these issues become rare.
This recipe produces a mild, pleasant sourdough flavour — not overly tangy. Fresh milled whole grains tend to develop a little more natural sourness, but you can control it by using a younger ripe starter and not letting the dough over-ferment.
Absolutely! After the stretch and fold stage (once the dough has relaxed), gently flatten it, sprinkle in your additions, and do one more gentle set of folds to distribute them.
Let the loaf cool completely (at least 4 hours) before slicing. Store in a bread box, a paper bag, beeswax wrap, or wrapped in a tea towel for 2–3 days at room temperature. For longer storage, slice and freeze in a zip-top bag. Toast straight from frozen.
You can borrow some from a friend, buy dehydrated starter online, or make your own using the instructions here.

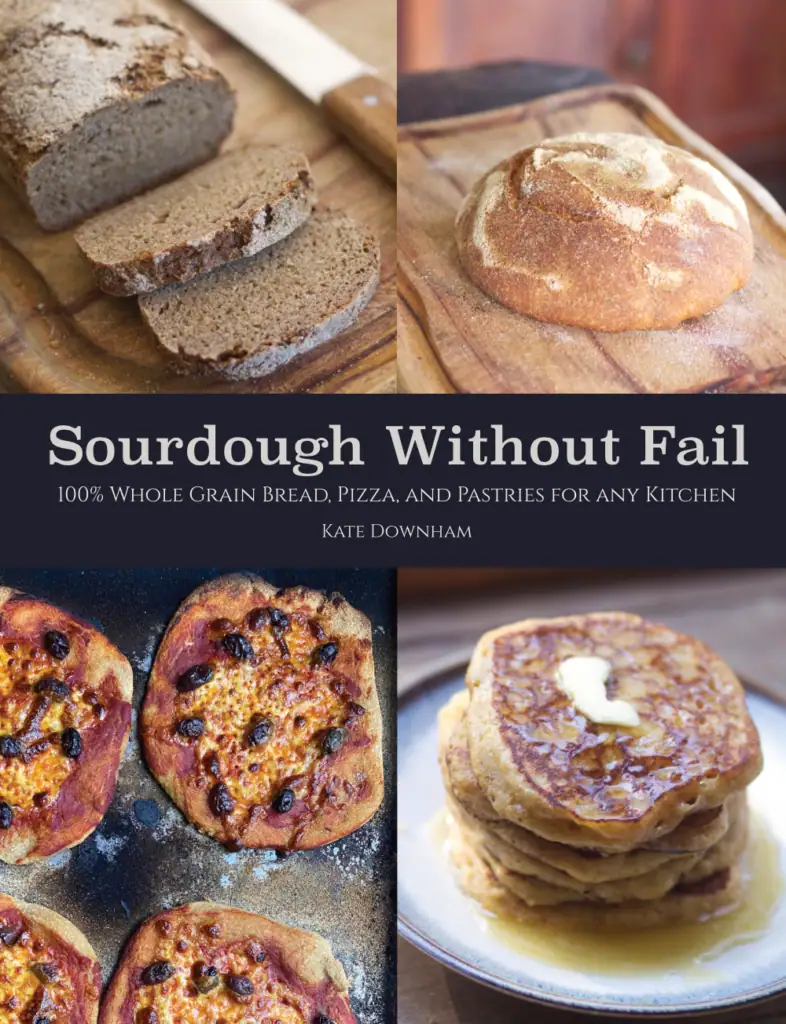
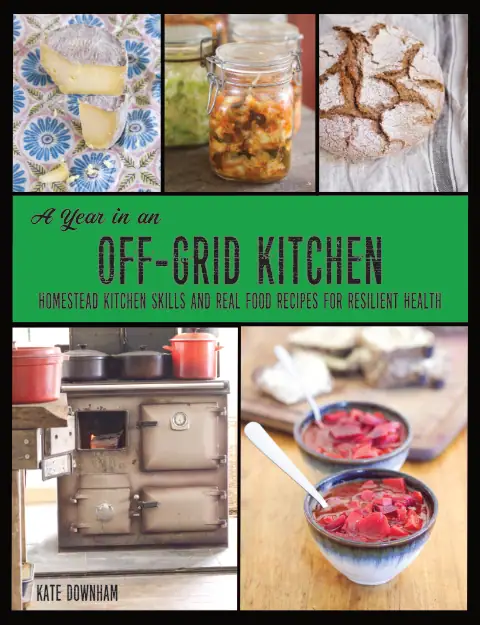
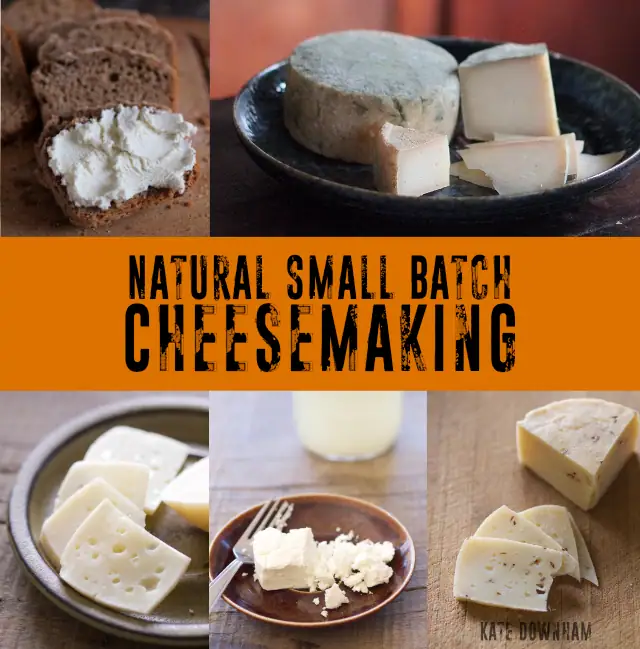
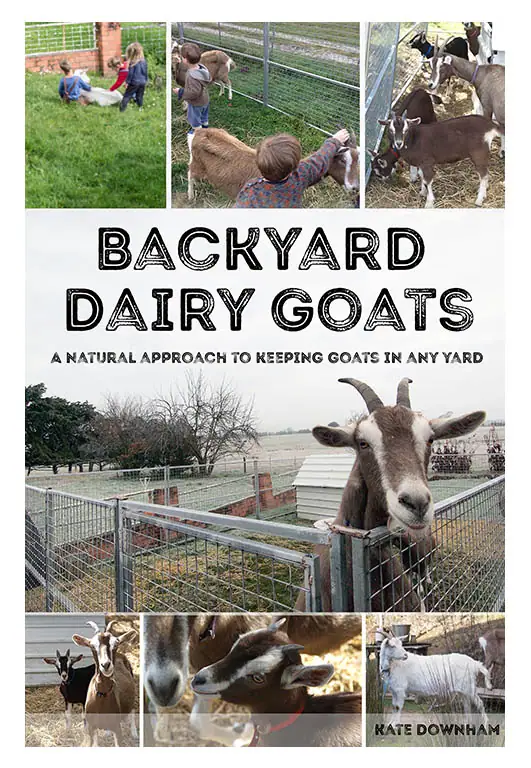
Kate Downham has been growing, preserving, and cooking real food since 2007. She is the author of four books on homestead skills: A Year in an Off-Grid Kitchen, Natural Small Batch Cheesemaking, Backyard Dairy Goats, and Sourdough Without Fail.
Off-grid with her family of nine in the Tasmanian forest, Kate milks her own goats, makes all their cheese, mills all her own grain, and bakes fresh sourdough bread daily.


The Nourishing Hearthfire is reader-supported and mostly ad-free
Leave a Reply