
/
/

Here is my tried and tested method for creating a sourdough starter from scratch which is perfect for sourdough beginners, and for anyone interested in whole grain fresh milled flour. You can use fresh milled flour from your own grain mill, or organic 100% whole grain flour of any kind.
For the best chances of success, choose whole grain rye flour for making your first sourdough starter from scratch – if you don’t like rye bread, once your starter is bubbly, you can start feeding it with whole wheat or ancient grain whole grain flours instead.
Grains are like any kind of food: when they are cut up (or milled), they begin to oxidise, and lose flavour and nutrients. By using very fresh flour, we can make sure that we have the best tasting and most nutritious sourdough bread. Milling your own flour at home makes you more resilient to supply disruptions and other food security issues.
When making a sourdough starter from scratch, the minerals in 100% whole grain flours help to feed the yeasts and bacteria that we’re trying to grow, and many white flour bakers actually use whole grain flours in the first stages of starter creation for this reason.
100% whole grain organic flour
Organic 100% whole grain flours are best for creating a starter, as they have more natural wild yeasts and minerals than white flours. Non-organic flours may have chemical residues and additives that interfere with the development of bacteria and yeasts. My first choice for creating a starter is organic stoneground whole rye flour, as I’ve found that this is the easiest grain to create a starter from. If you don’t like the taste of rye, you can always turn a rye starter into a wheat starter (or any other grain starter) later on.
Pure water, such as rain water, spring water, or filtered water.
Avoid using water that has additives, as these can interfere with the yeasts and bacteria we’re trying to nurture in a new sourdough starter.
A wide-mouthed glass jar, around 850ml to 1 quart in size
For best results, a scale (it can be analogue or digital)
A new starter will ferment more readily in a warm room temperature of around 23ºC (73ºF). Up to 32ºC (90ºF) is fine for establishing a new starter, but warmer than this is not ideal. If your room is cooler than 20ºC (68ºF), use warmer water (up to 46ºC (115ºF) is fine) and try to keep your starter jar wrapped up or insulated in some way to help trap heat in for as long as possible.
You can keep your new starter warm in cold weather by snuggling up a wrapped-up hot water next to it, keeping it inside an esky or cooler with some warm water, using a tomato seedling heating mat, or putting it in a larger bowl full of warm water and refreshing the water every so often. Once your starter is established, it is less sensitive to temperature.
Sourdough needs to breathe while it is growing, so make sure use an open bowl or jar when you are creating or maintaining a starter. A lid is fine for when you need to store it, but for feeding and growing, leave your jar open, or covered lightly with a tea towel.
In a bowl or jar mix 60g (1⁄4 cup) water with 45g (1⁄3 cup) rye flour, stir well, and leave open to oxygen by leaving it uncovered or draping a tea towel over it.
12 hours later: give it a stir.
Feed the starter with another 60g (1⁄4 cup) water and 45g (1⁄3 cup) rye flour. Stir well.
12 hours later: stir again.
Add 120g (1⁄2 cup) water and 90g (2⁄3 cup) rye flour. Stir well.
12 hours later: stir again.
Is it full of bubbles? Does it smell fruity or fermented? Celebrate by making sourdough crackers or sourdough flatbread from my free discard recipes eBook.
From now on the feeding instructions will change. Remove half the starter, and mix in 125g (1⁄2 cup) water and 125g (scant 1 cup) flour of your choice.
Every 12 to 24 hours, remove half the starter, and replace it with equal amounts by weight of flour and water. If you don’t want to create much discard, you can keep your starter in a small jar, reduce the amount of kept starter to 50g, and add 25g water and 25g flour at each feed.
Keep checking for bubbling 8 to 12 hours after feeding – bubbles will appear more quickly in warm kitchens and more slowly when it’s cool.
If your starter is bubbly and active, feel free to use it from now on in any pan loaves with at least 85% hydration, just keep in mind that fermenting and proofing may take slightly longer than the times listed in the recipe.
Once your starter is reliably bubbling up in 8 hours or less, you can improve the taste of your breads and discard recipes by reducing the starter seed percentage in the feed so that you are using less than 20% starter by weight to 100% flour and 100% water, for example, 10g starter to 50g flour and 50g water.
Continue feeding your starter every day for at least the next week or so. As time goes by, the breads you make with your new starter will continue to improve.
If your starter has been fed every day and has been making good pan loaves, it is now ready to bake any bread. You can also now easily store your sourdough in a fridge for up to a week if you need to, just make sure to feed it the day before baking to reactivate it.

• Be patient. Sometimes the most resilient yeasts in a sourdough starter can take a few weeks to develop. You might notice bubbles in a few days, but it’s always better to keep feeding it (and making pancakes, cake, crackers, and so on with the discarded starter), and to use it for bread once it’s two weeks old. Click here to get my free ebook of recipes for using sourdough discard.
• If your starter isn’t bubbly within two weeks, start over, preferably with a different flour.
• If your starter is getting overly sour and appears to have overfermented and sunken down, reduce the amount of old starter (seed starter) that you use to colonise the new flour and water, also consider feeding it more frequently, or fermenting it in a cooler part of the house.
• Brown liquid forming on top of your starter is normal, and nothing to worry about, it is usually a sign that your starter has overfermented. Reduce the amount of old starter used in the next feeding, and possibly ferment at a lower temperature or for less time.
• If you are getting mould forming on top of your starter, scrape all the mould off, and put a mould-free bit of your starter into a new jar to convert into an anaerobic starter by feeding it at 1 part flour to 5 parts water. An anaerobic starter is ready when you can see fizzy bubbles rising through the water for several seconds after gently moving the jar from side to side. This process will change your starter to favour different bacterias and yeast and disfavour the moulds. As soon as this is bubbly, you can convert it back to a regular 100% hydration starter and the mould problem should have gone. To convert it back, give it a stir, then grab some of the slurry-like starter and put it in a new jar, feeding it with equal weights of flour and water.
• Don’t feel bad if you have trouble getting a starter established. If you borrow starter from a friend (or buy some dehydrated starter), it will become your starter over time as it adjusts to your flour, your water, your hands, your home, and your feeding schedule.

I created this chart to show how to adjust your starter feeding ratios through the seasons: In summer I use less seed starter (old starter) in the new feeding, in winter I use more. You can adjust the water temperature through the year to encourage or discourage faster fermentation.

The best way for you to maintain your starter will depend on your lifestyle, and how often you are baking.
For people who bake once a week and don’t want a bunch of discard to use in pancakes and so on, keeping a small amount of starter in the fridge for five days, and bringing it out 24 hours before you want to mix your dough will make sense. Once the dough is out of the fridge, give it two feeds, spaced 12 hours apart. The first of these refreshment feeds is a “wake up” feed, where the starter can be a bit sluggish, the second feed gets your starter back on track and in optimum condition for baking great bread. Depending on your starter, and how long it has been stored, you may not even need to do this second feed.
Living without a fridge, a starter is best fed every 24 hours or less. Sometimes I have let mine go for two days, but whenever this has happened, the next batch of bread doesn’t rise as well or taste as good, so I aim to feed my sourdough every 24 hours.
In cool weather, this 24 hour feeding is ideal: slightly warm water is used to feed the starter, and leaving it for a full 24 hours gives it time to develop the best flavour.
In hot weather, the starter is sometimes a bit overripe after 24 hours. To minimise this, I use cold water, and use a smaller percentage of old starter to colonise the new flour and water mixture, to give the starter a longer timeframe until its food supply is exhausted and it becomes overripe.
Some bakers feed their starter every 8 to 12 hours in hot weather, and this is probably the best option in hot weather for those who can fit it into their schedule, who bake a lot, or who want plenty of discard to use in recipes.
Feeding your starter once or twice a day does not mean using huge amounts of flour and water. In a small jar, you can start with a teaspoon of ripe starter, 50 grams of flour and 50 grams of water, this will give you plenty of starter to use for creating a pre-ferment or levain. On the other hand, if you want lots of discard, or a larger amount of starter to use directly in same-day loaves, feel free to start with a higher amount of ripe starter (also called seed starter when it is being used to make a batch of bulked-up starter or pre-ferment), and a higher amount of flour and water to correspond with that. Generally, 5% to 20% seed starter to 100% flour and 100% water is a good amount if you want your starter to be ripe in 12 hours. Use more starter in cool weather, less in warm weather, and if you want your starter to be ripe in 24 hours instead, reduce the seed percentage further, or make sure to culture it in a cooler place.
Adjusting the percentage of seed starter is also a way to create different flavours in your sourdough: a lower percentage of seed starter to new flour and water will usually mean better flavour after 12 to 24 hours, as the mixture then starts out a lower pH, giving ideal conditions for a greater diversity of bacteria to thrive. On the other hand, if you want a very mild-tasting starter, using a higher percentage of seed starter, and feeding more frequently will help to achieve this.
If you are busy and need to quickly feed your starter, there is no need to measure things out – just start with a small amount of starter, add water, and mix in enough flour until it’s getting too difficult to stir with a fork: this usually works out to be close to 100% hydration.
If you use the pre-ferment (or levain) method of making bread, you don’t have to think about feeding your starter – simply remove a small amount of the pre-ferment in the morning, and then use that as your next starter.
A starter not fed frequently enough can become too acidic and weaken over time. To revive such a starter, discard all but a tiny amount, and start feeding it every 12 hours. It may take a few feeds to get back to normal.
Want sourdough discard recipes that work with whole grain fresh milled flour? Get my free ebook below.

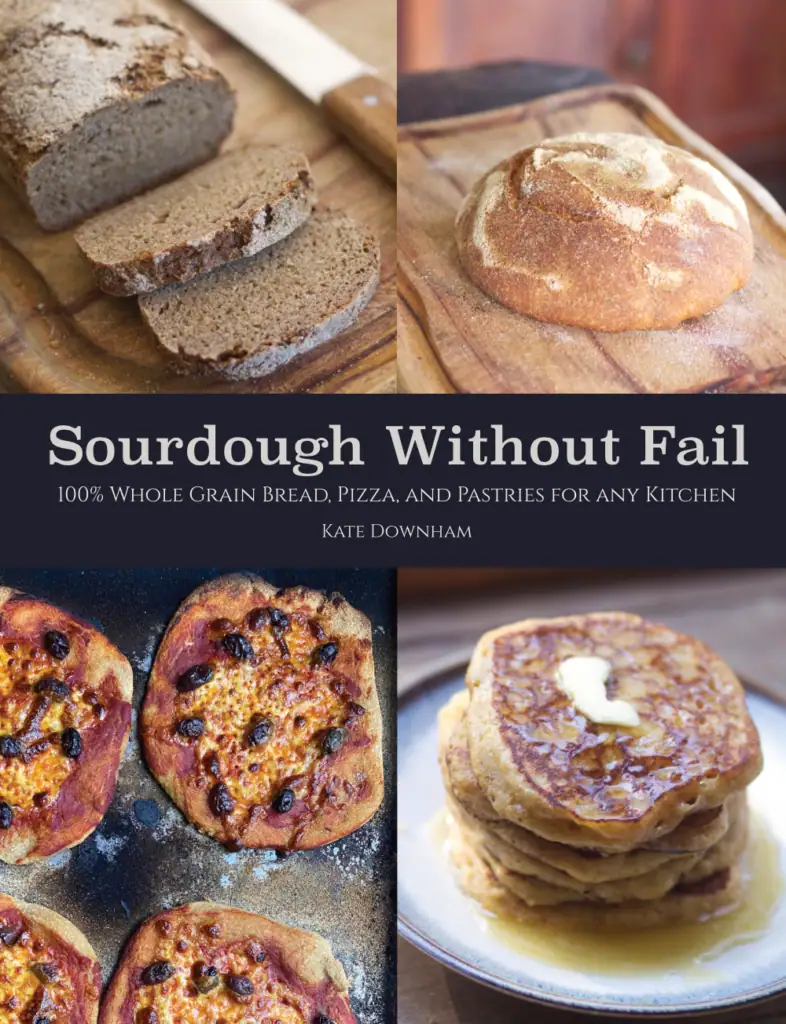
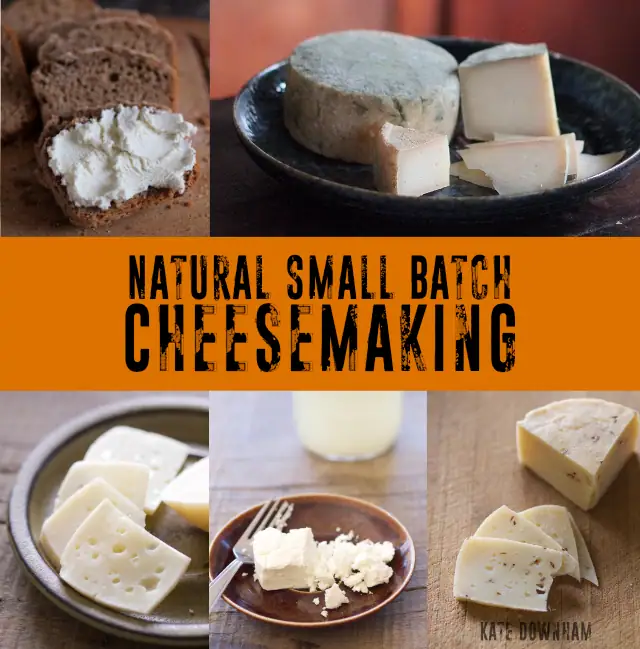
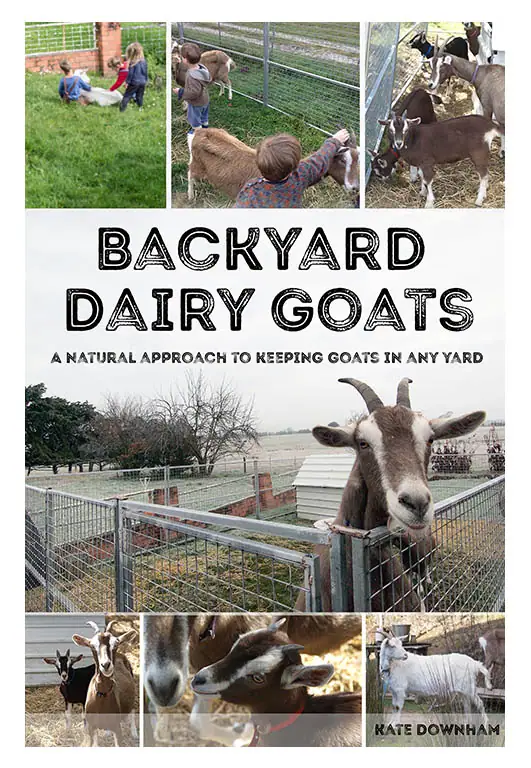
Kate Downham has been growing, preserving, and cooking real food since 2007. She is the author of four books on homestead skills: A Year in an Off-Grid Kitchen, Natural Small Batch Cheesemaking, Backyard Dairy Goats, and Sourdough Without Fail.
Off-grid with her family of nine in the Tasmanian forest, Kate milks her own goats, makes all their cheese, mills all her own grain, and bakes fresh sourdough bread daily.


The Nourishing Hearthfire is reader-supported and mostly ad-free
Leave a Reply