I first found out about this way of mandala gardening from Linda Woodrow’s “The Permaculture Home Garden”. She provides a design for a complete system that involves fruit trees, wild animal habitat, annual vegetable beds, and chook fodder plantings, with chickens being rotated around in a homemade chook dome. It all fits together so beautifully, with each element benefiting another, and it inspires me to grow food in this way.
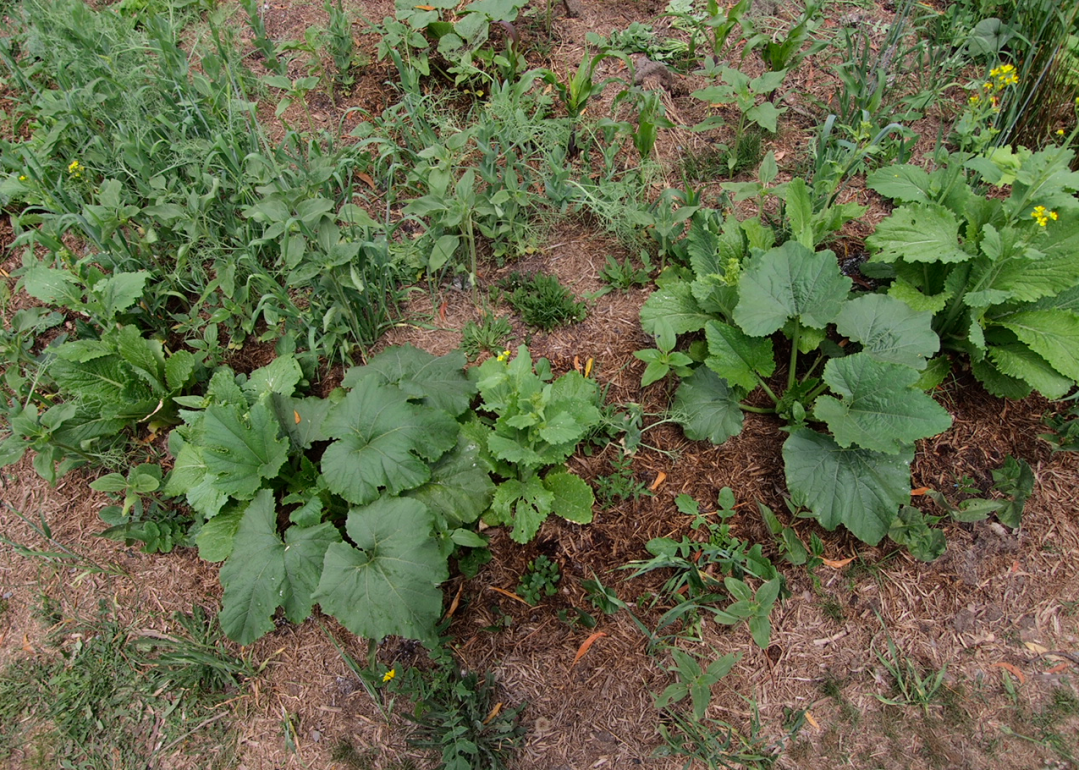
I am in a colder climate (zone 8b/9a) with less sun in winter, with limited flat land, and am working on my own way of doing this that’s suited to my land and climate. Linda Woodrow doesn’t provide much information about which chook fodder perennials to grow in colder climates so I’ve just been using the entire circular bed to grow annual vegetables at this stage, usually for pumpkin, sunflower, grains, or potatoes. I would like to try out growing some chicken fodder plants but am not sure how the ones most suited to my climate (siberian pea tree, tagasaste) would go with being kept as a small shrub rather than tree. The chook fodder perennials fix nitrogen, produce mulch, feed the soil, and provide habitat for insect predators and pollinators.
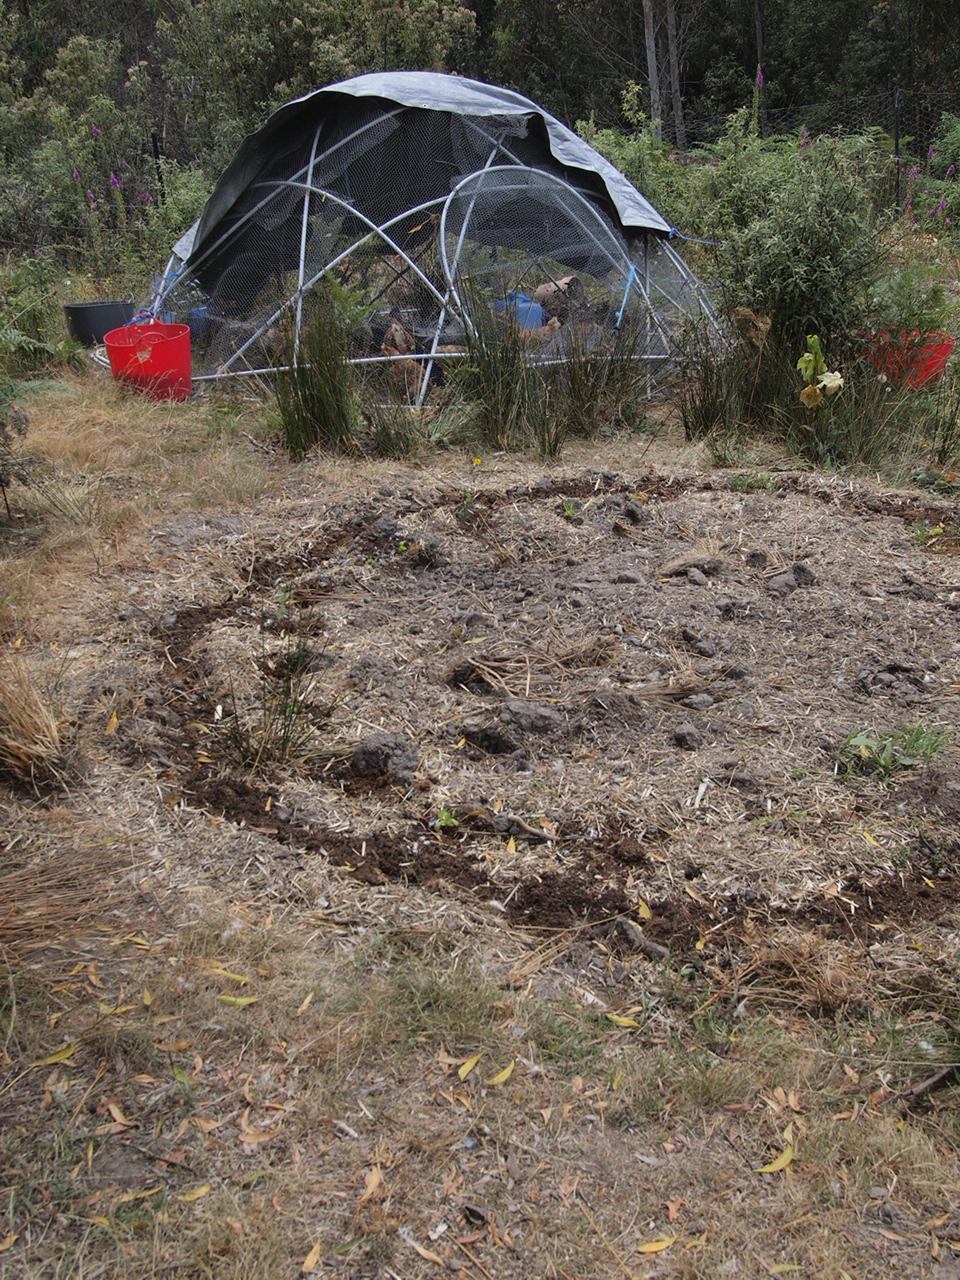
One thing I like a lot about this system is if life gets busy and things get unharvested or weeds get out of hand, I just move the chickens on to that bed, and the the bolted and weedy plants turn into chook food and mulch. After two weeks the chickens have left me with a mulched, fertilised, weed-free bed, with also some tasty eggs to eat – it is almost too easy, and I’m thinking of terracing some of my land to fit in more chook dome spots for this reason.
The soil has improved a lot in the spots where the chook domes have been. It’s been really inspiring to see it turn from a boring compacted lawn into a thriving garden that is feeding us and the chickens.
Every time the chook dome is moved, it gives a doable piece of garden to get planted. The mulch is often moved to one side of the bed by the chickens, so I first rake that out over the whole bed, and then I broadfork it. On a new bed over compacted soil I will usually broadfork it in two or four separate sessions, but once the soil underneath is getting a nicer structure, I can easily broadfork the entire bed at once.
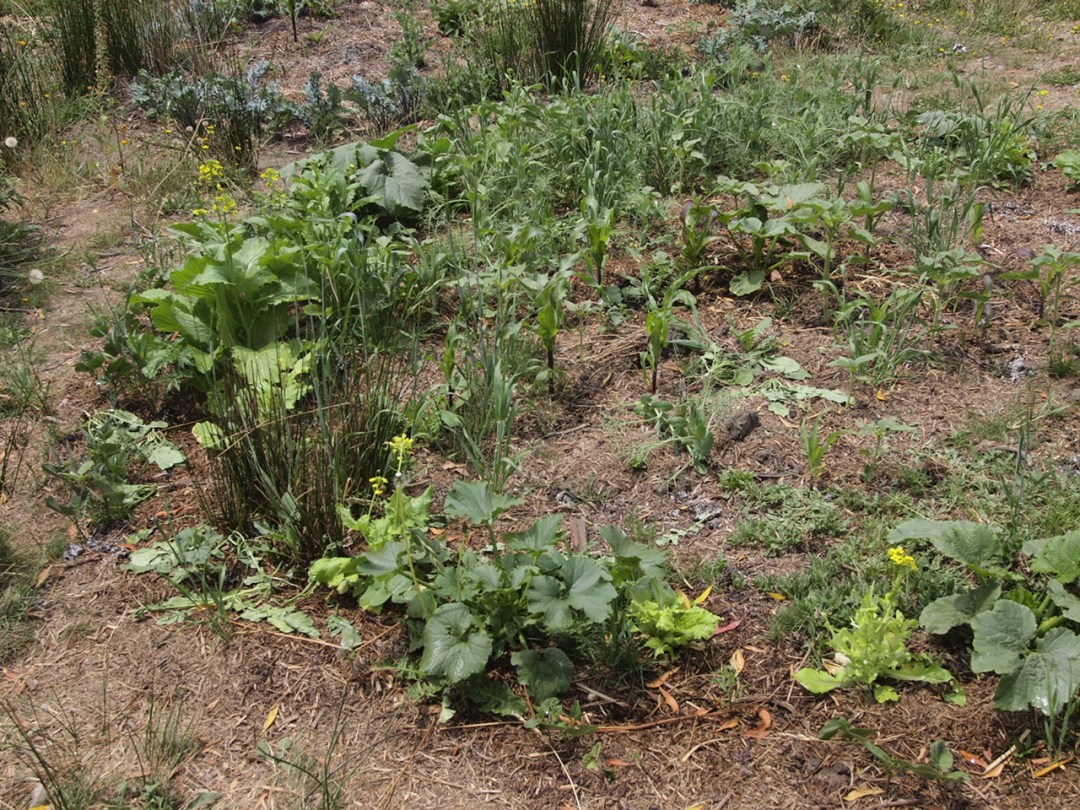
Once the bed is broadforked, I use a hoe to create small pockets and lines in the mulch for planting. I fill these small pockets up with compost and plant them with seedlings or seeds. The spacing between the pockets will depend on each individual plant, I try to mix the plants up so that I don’t have blocks of a single plant, and this means the spacing can be very close because different plants are sending roots to different places. I can also plant with succession in mind, so that I can grow fast-growing Asian greens and lettuces right next to small seedlings of zucchini and tomatoes, and once the zucchini and tomatoes are starting to take over, the greens are ready to harvest, and I’ve made use of space that is often wasted.
One challenge I have experienced has been with my climate – it’s best if the chooks are moved every two weeks, but in winter there’s not much that can be planted once they have been moved, and in late spring there is so much to plant that it doesn’t feel like they can be moved quickly enough sometimes. One thing that’s happened a couple of times has been when I’ve moved the dome, not gotten around to planting the previous bed, and then moved the chooks back on to the previous bed for a day to get rid of the weeds before moving them on to a third bed – this way I end up with two beds ready to plant at the same time. A winter solution is to move the chickens into a greenhouse over the winter, or in mild climates to keep them in one spot with lots of mulch added.
The kind of tarp I use on top of the dome helps a lot with chicken comfort in extremes of weather – one side is silver and reflects heat, and the other side absorbs heat, so I have the silver side outside in summer, and inside in winter. In colder climates than mine this wouldn’t work, but I’ve tried it here and the chickens are happy.
The chickens can also help to make compost – just throw in way more mulch than you need, and anything else you want composted, and the chickens will scratch it up, and mix it with their manure, and once the chook dome is moved, you just need to shovel that out onto a spot in between the beds, water it, and it turns into compost.
With lots of mulch around there are usually slugs and snails – the chickens help to keep the population down, and the pond and rocks in Linda Woodrow’s design attract lizards that eat the snail eggs.
I am working on producing more of my own mulch for the chickens, from grains grown in the beds, as well as perennials grown around the edges of the garden. I’m also still figuring out the best plants and combinations of plants that thrive in this system in my climate.