
/
/

·
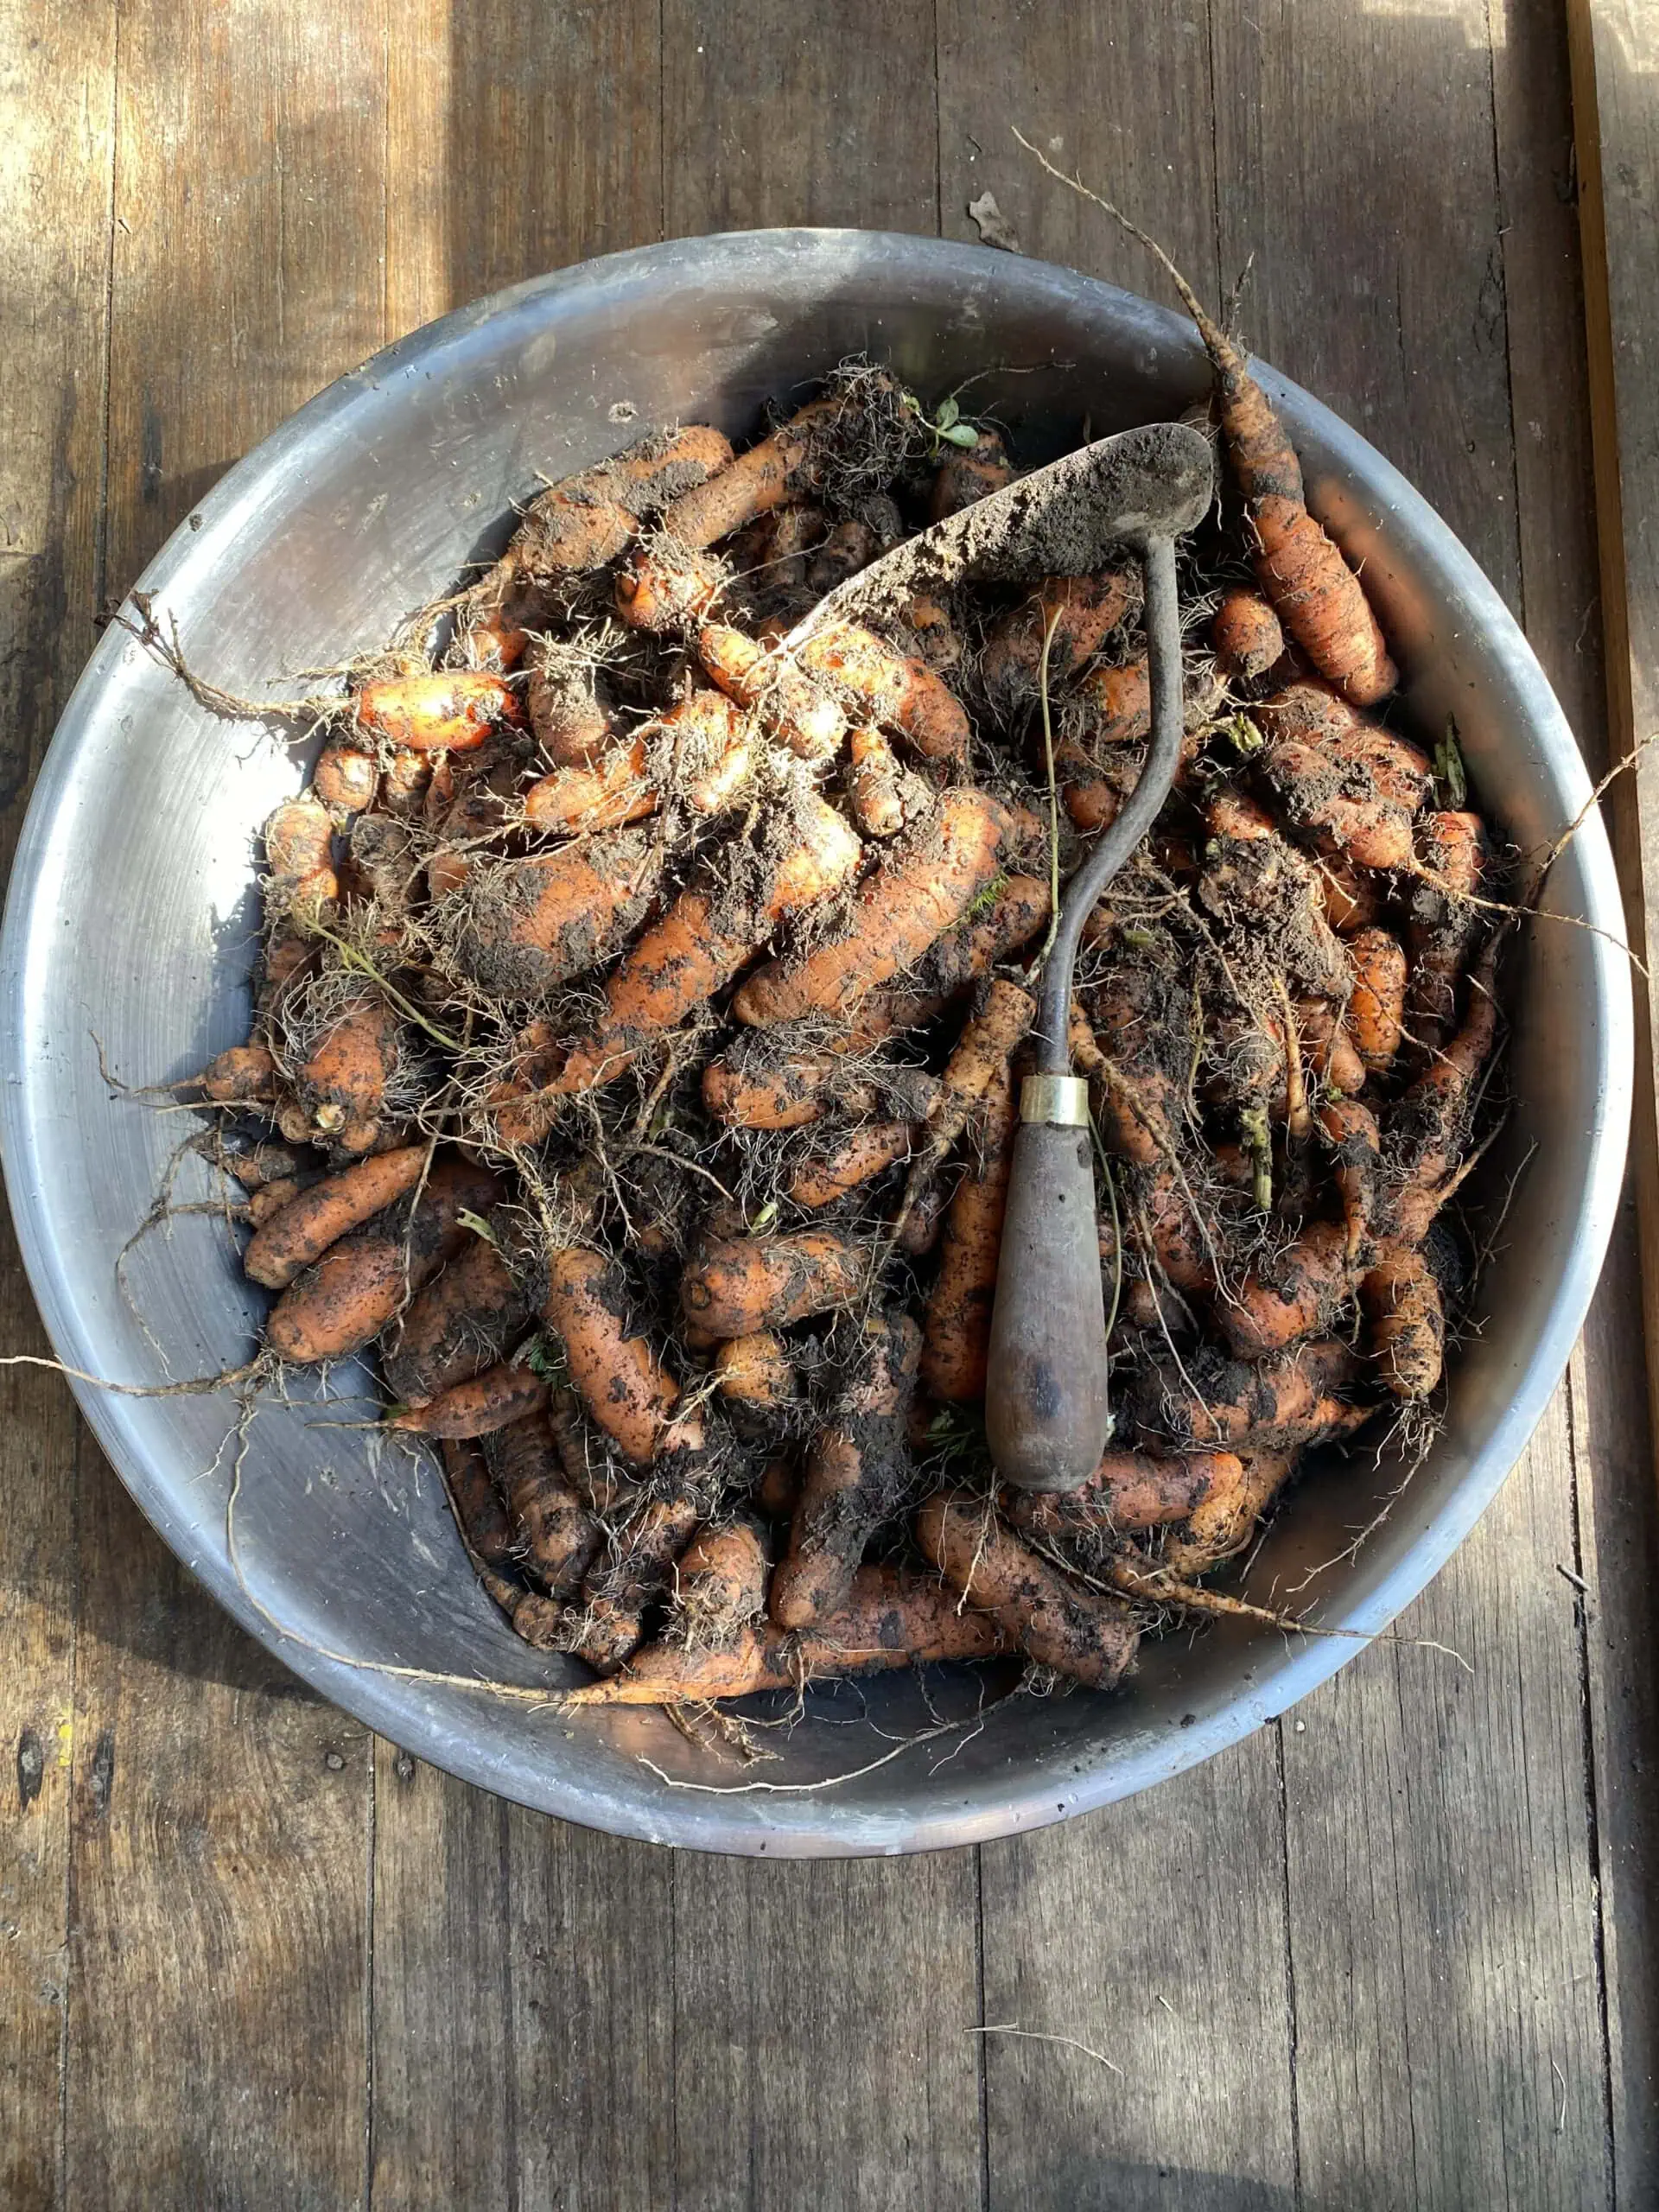
Around two years ago I wrote a big update about what we were up to, and our plans for homesteading and self sufficiency over the next year or so. There have been so many changes and reflections since then, so here is an update some changes here, and on our progress with self reliance and growing food on old logging land. Changes New babyBorn in April 2024. She is beautiful and healthy and loves homemade cheese. No hay, no cowEvery…
·
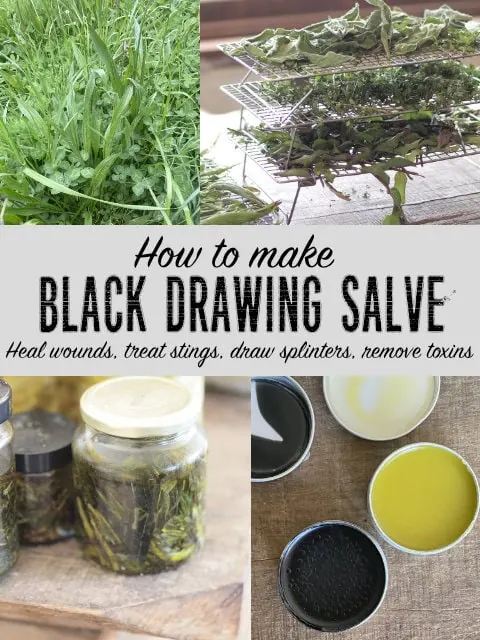
How to Make Black Drawing Salve Here is how to make black drawing salve, one of the most important natural remedies that I use. We use black drawing salve on all kinds of bites and stings, as well as on splinters, puncture wounds, and anything that looks like it might need possible toxins or infections drawn out of it. I also find it a really helpful remedy around the homestead for wounds on animals – it’s so thick that it…
·
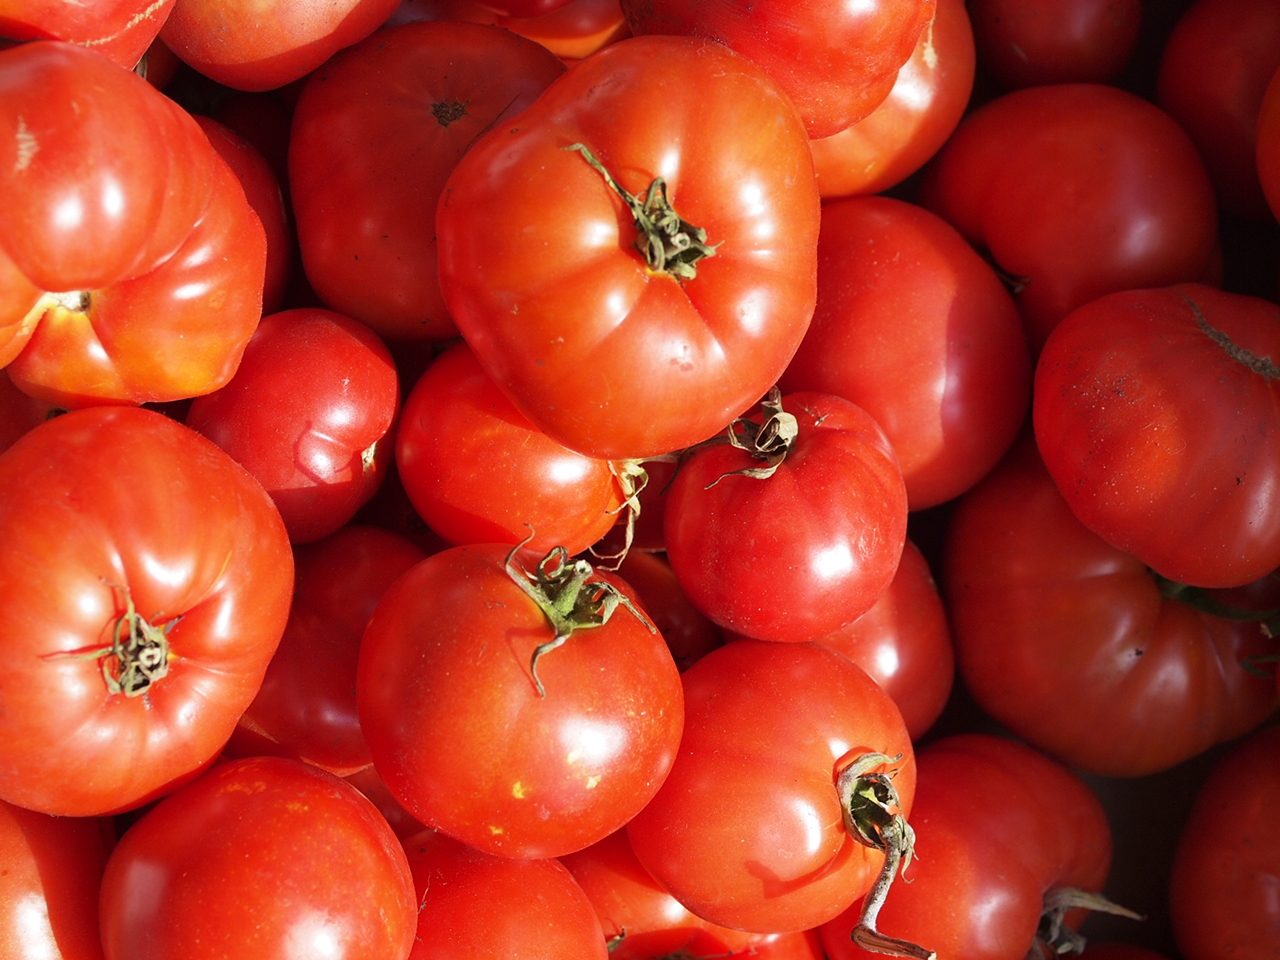
How to preserve tomatoes off the grid In A Year in an Off-Grid Kitchen I included recipes for five of my favourite ways to preserve tomatoes with water bath canning – as tomato passata, tomatoes in brine, pizza sauce, salsa, and tomato relish. I’ve recently tried a couple of different methods that I’d like to share here. These are excellent methods for preserving tomatoes without electricity or canning. Fermented tomatoes I’ve been intrigued about fermenting tomatoes for a while, ever…
·
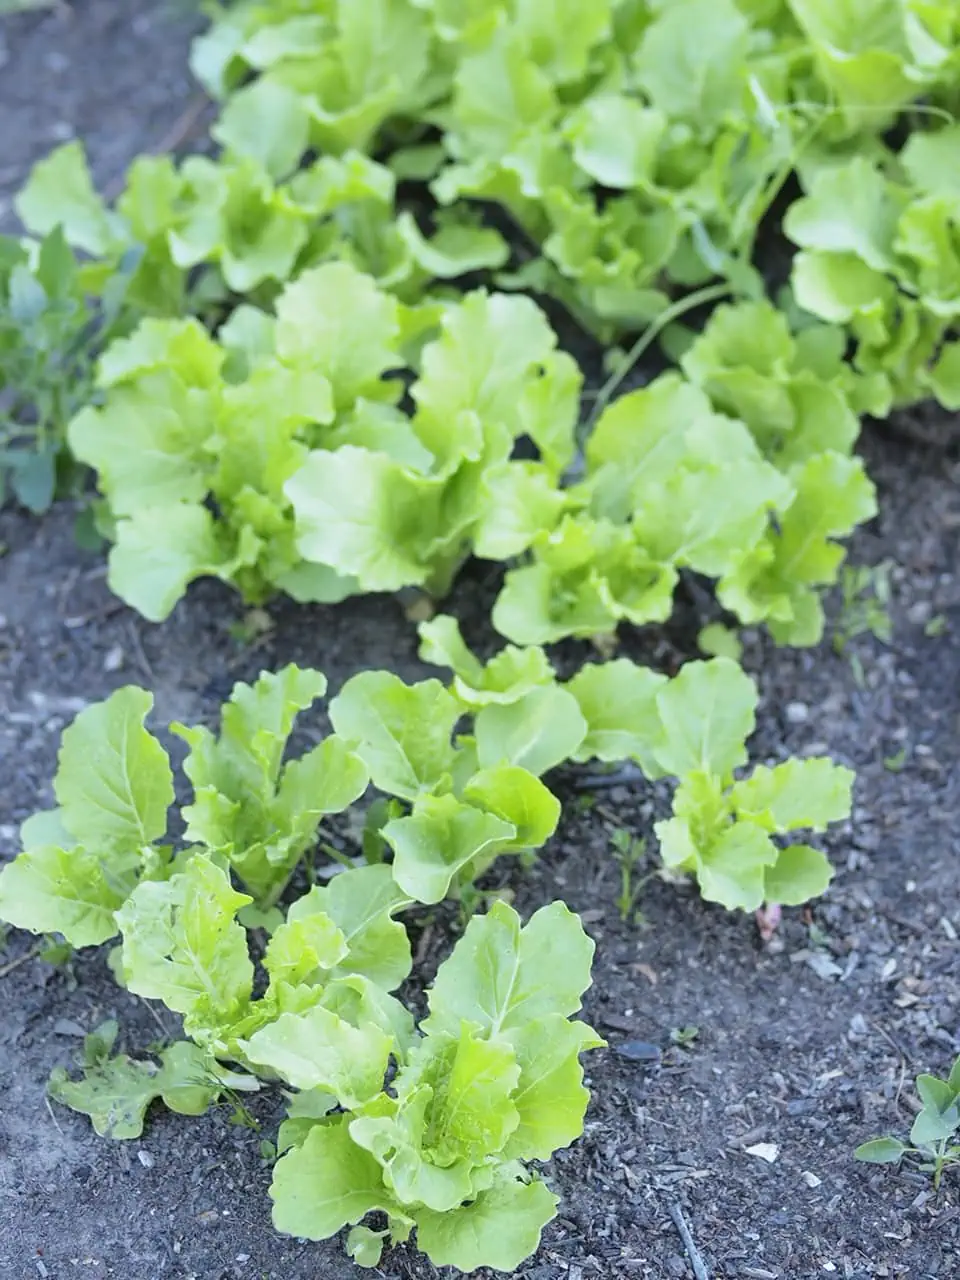
Some of my friends and readers are ordering seeds at the moment, so I thought I’d share some of my favourite varieties of greens to grow. The varieties below are all fairly easy to find at the moment from online seed sellers, and all are open pollinated, so if you end up liking them as much as I do, you can save seeds from them too. Why grow leafy greens? Greens yield a lot of nutrition in a small amount…

·
Chicken tractor mandala gardening I first found out about this way of mandala gardening from Linda Woodrow’s The Permaculture Home Garden. She provides a design for a complete system that involves fruit trees, wild animal habitat, annual vegetable beds, and chook fodder plantings, with chickens being rotated around in a homemade chook dome. It all fits together so beautifully, with each element benefiting another, and it inspires me to grow food in this way. I am in a colder climate…
·
Here is a simple way to make a healthy medicine for the cold months ahead. An elderberry oxymel is like a slightly less-sweet elderberry syrup. I can’t say enough good things about elderberries, and this way of preserving them for the winter can be used either as a daily boost to health to prevent colds and flus, or as something taken when you are sick to relieve the symptoms and get rid of the cold or flu quickly, or just…

·
Photo credit: here Market gardening as a way to escape the rat race and move to the country One of the things many folks struggle with when wanting to get away from the city and move to the country is income. Since the increased mechanisation of farming less people are needed to work in mainstream farming operations, and there aren’t many jobs available in these areas. People in cities often feel trapped in them, under the assumption that they need…


The Nourishing Hearthfire is reader-supported and mostly ad-free
