Many events in recent years have caused me reflect on the expectations of the industrial food system and modern lifestyles, and how rewarding it is to return to simpler ways. Olive oil is in short supply this year, and this offers another opportunity to create better alternatives for cooking that can be produced on a homestead or by local farmers.
Most of the olive oil in supermarkets is adulterated with seed oils, so is not the healthy fat that many people imagine it to be. Real olive oil also should not be heated above 180ºC (350ºF), so it is not an ideal all-purpose cooking fat, even if it can be found.
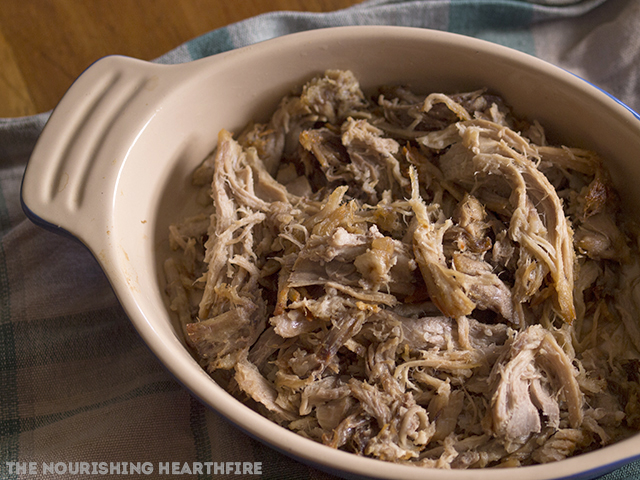
Animal fats, such as lard and tallow, are usually local and small-scale by nature – so local that most of the time you will need to render it in your own kitchen (a simple process, see my method below). The saturated fats and cholesterol found in tallow are needed for hormone function, memory, neurological health, kidney, liver, and lung health. The healthiest fats are those from animals that are raised naturally outdoors – animals raised in this way are often raised by small farmers, so it’s possible to directly ask questions and make sure the animals aren’t being fed any weird additives and other stuff.
Most recipes I see use liquid oils such as olive oil or seed oils as the main cooking fat. I can understand the temptation for food writers to use ingredients that people are familiar with and can find in a supermarket, and to not clutter ingredients lists with a bunch of alternatives, but animal fats have so many benefits and can be used for all kinds of cooking. To create a resilient local foods system for real food sovereignty I think it’s essential to choose local animal fats as a staple cooking fat, which is why in my cookbook the recipes use lard and tallow.
Most people are used to cooking with liquid oils these days, but it can be just as easy to cook using tallow, lard, and other animal fats.
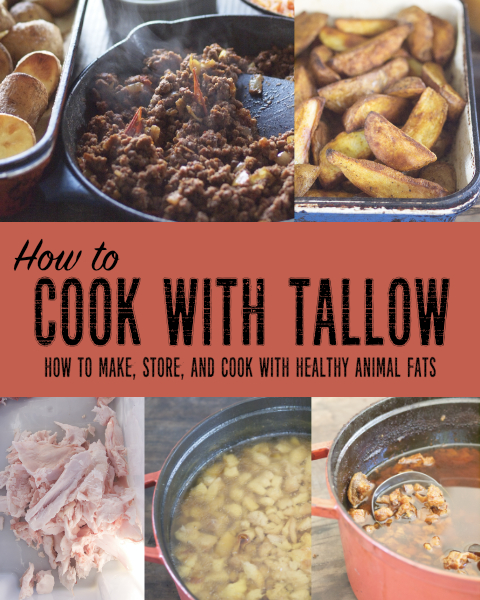
How to cook anything in tallow and lard
To cook anything in solid fats, we first need to turn it into a liquid fat by melting. This is easily done by heating it directly in the roasting dish if it’s made from cast iron, enamelled cast iron, enamelled steel, or stainless steel. Simply put your roasting dish in the hot oven or on a hot stovetop, with as much tallow as you think you’ll be using, and allow it to melt until it’s a hot liquid. This doesn’t take long. Add your vegetables, toss them around in the hot fat with a wooden spatula to coat them, sprinkle with salt, and bake. For meat, just place it on the hot fat and cook it – I get beautiful steaks and burgers every time by making sure my pan and fat are extra hot (a drop of water should violently jump up when splashed on it) – allow the meat to fully sear on one side before turning it.
If you use glass or ceramic pans for roasting, to avoid cracking them with sudden temperature changes, don’t preheat the pan, just melt the fat in a saucepan, mix the vegetables in the fat, and then add it to your pan.
Sautéing, stir frying, and deep frying are even easier – just heat your tallow in the pan and cook in it.
How to make your tallow or lard
Finding ready-made tallow and lard from healthy sources is not often possible, but making your own is really simple and affordable. If you buy beef by the quarter, half, or whole, you can probably get tallow for free just by asking the farmer or butcher in advance.
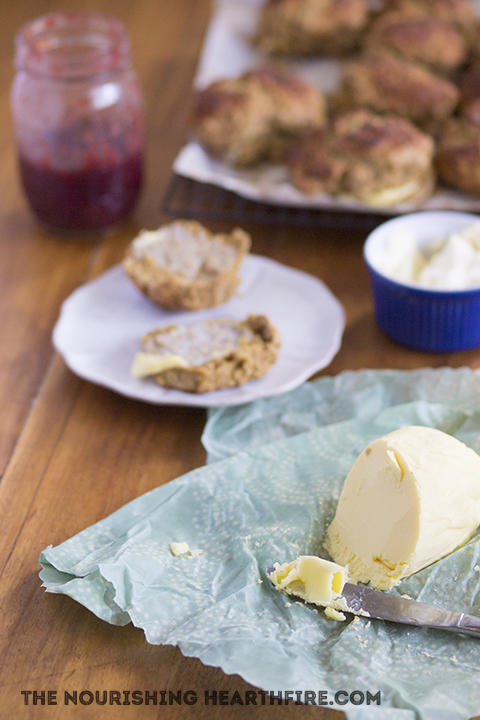
Lard and tallow either come as leaf lard or suet, or as offcut fat. Leaf lard and suet are pure fats from around the organ meats, these have a very mild flavour and can even be used in pastries. Offcut fat usually contains small amounts of meat, so can have a stronger flavour and may benefit from a bit of trimming, but is still good for most uses in the kitchen.

Leaf lard from homegrown pigs
To render fats, first chop it into small pieces and place in a heavy pot with a lid or in a slow cooker, Add just enough water to cover the base of the pot, then stir to coat the fat in the water. Bring the pot to the boil with the lid on, stir, and the reduce the heat to a simmer. Allow the fat to slowly render in the pot for as long as it takes, sometimes just a couple of hours, other times for a larger batch it can sometimes take a day or two. Stir the fat every now and then as it renders.
If you’re concerned with water remaining in the tallow and impacting its storage life, allow the pot to render with the lid off over a gentle heat for some of the rendering time.
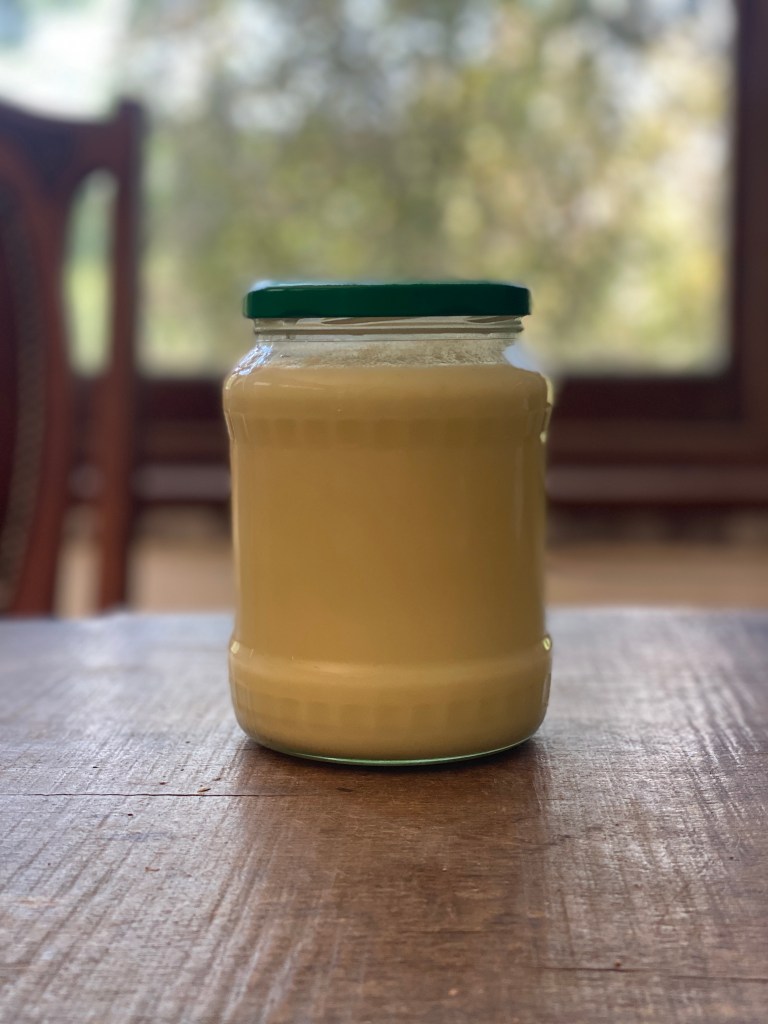
As the fat renders, there will be more and more liquid fat, and the pieces of solids will shrink, and sometimes go crispy. Once all the solids are crispy (or at least empty-looking and light in weight), allow the bubbling fat to cool slightly, before carefully straining through cheesecloth or a mesh sieve into warm heat-sterilised jars. Put the lids on tightly, and for the best keeping qualities, flip the jar over onto the lid as you would for old-fashioned jam, and then flip back onto the upright side and allow to cool before storing.
The storage life of lard and tallow depends on how well it was strained, if all the water evaporated as it cooked, and how clean the jars are. The temperature you store the lard in will also impact the storage life – the ideal situation is larder or root cellar temperatures of around 10ºC (50ºF) or lower, but room temperature is also often fine. Lard and tallow can also be stored in a fridge or freezer.

1. Offcut beef tallow in the early stages of rendering. The fat has started to come out of the solids, but the solids still feel heavy, with plenty more fat ready to render out. Fat can be skimmed off the top at this stage, as needed, or the whole batch can be rendered, strained, and put into jars in one go.
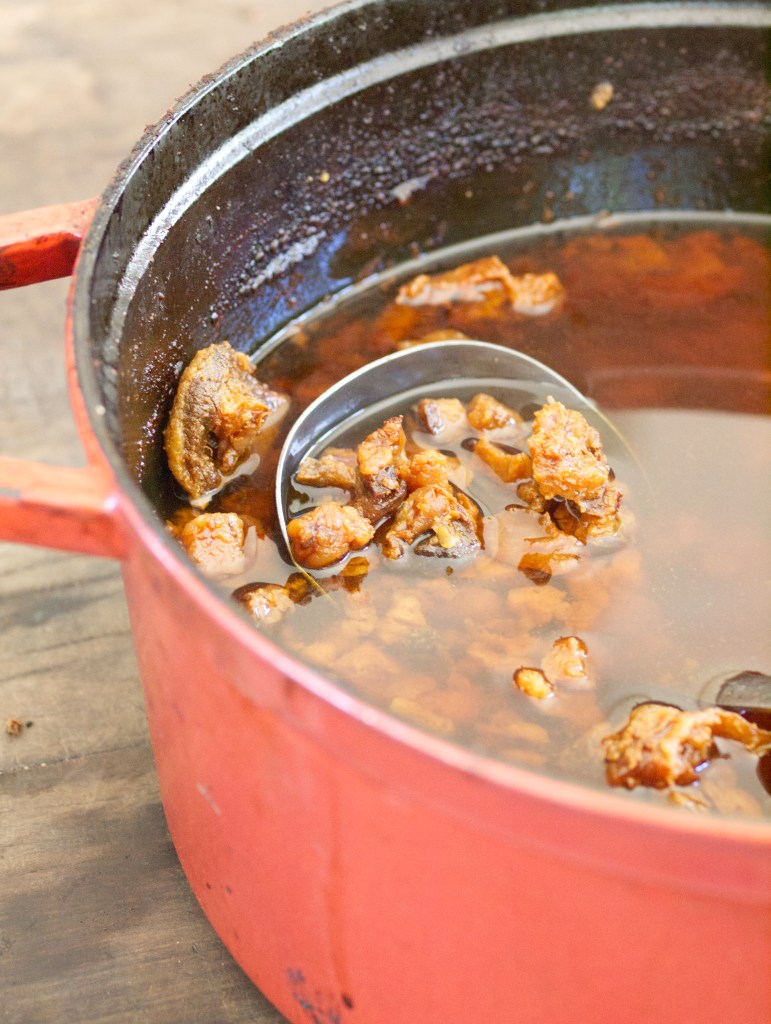
2. Rendering is complete. The solids are crisp and airy, with all fat rendered out into liquid. It’s now ready to be strained in jars. The leftover crispy bits can be fed to chickens.
The brown colour of the fat means that this batch got a little overcooked. When this happens, it’s still fine for use as a cooking fat, and has a nice toasted flavour, but it won’t be as good in a pie crust or anywhere else that needs a neutral-tasting fat.
To make the best possible purified tallow for the longest storage life at room temperature
Instead of straining the fat directly into jars, pour it into a large stainless steel bowl. Allow the fat to cool completely in the bowl until it is solid, then gently heat the bottom of the bowl, flip the solid mass of fat out into a new pot or bowl, so that the rounded side is now up, and scrape off any impurities that have gathered on the bottom. Melt the fat until hot again, and pour into warm jars, as you normally would. You can also do this refining process a second time.