Understanding Phytic Acid in Sourdough and Whole Grains

I’ve been getting some questions about the phytic acid in whole grains and sourdough, and thought it would be a good idea to go into detail about how this works, and why you don’t need to be alarmed about it.

Along with a bunch of good stuff that is not in refined flours, phytic acid is present in whole grains. If phytic acid is not broken down by the phytase enzyme by soaking, sprouting, or fermenting, it can bind to the iron, zinc, magnesium, and calcium in the grain, making it so these nutrients in the grain are not absorbed by your body when you eat the grain.

During sourdough fermentation, the enzyme phytase is activated. Phytase breaks down phytic acid. As sourdough ferments and gets more acidic, phytase is more active. Phytase converts phytic acid into phosphorus, making it beneficial for bone health.

Phytic acid also has anti-inflammatory properties, and helps to stabilise blood sugar.

A longer sourdough fermentation will reduce the phytic acid by up to 90%, compared to less than 30% for yeast breads, and less than 50% for soaking whole grains. Sprouting will reduce phytic acid in similar amounts to sourdough fermentation.

In A Year in an Off-Grid Kitchen I wrote about my approach to this issue: if you are relying on a lot of grains and not eating much in the way of mineral-rich foods such as bone broth, red meat, and dairy, it’s probably best to always soak, sprout, or ferment your grains and legumes. If you are eating plenty of nutrient-dense animal foods, then you can get away with baking unsoaked whole grain cookies, muffins, and other treats every now and then.

I have not bought flour for over seven years. I also don’t have the setup to reliably dehydrate sprouted grains, so if we want to make a favourite recipe that isn’t soaked or fermented, we just make it from the home-milled flour, enjoy it, and that is that.

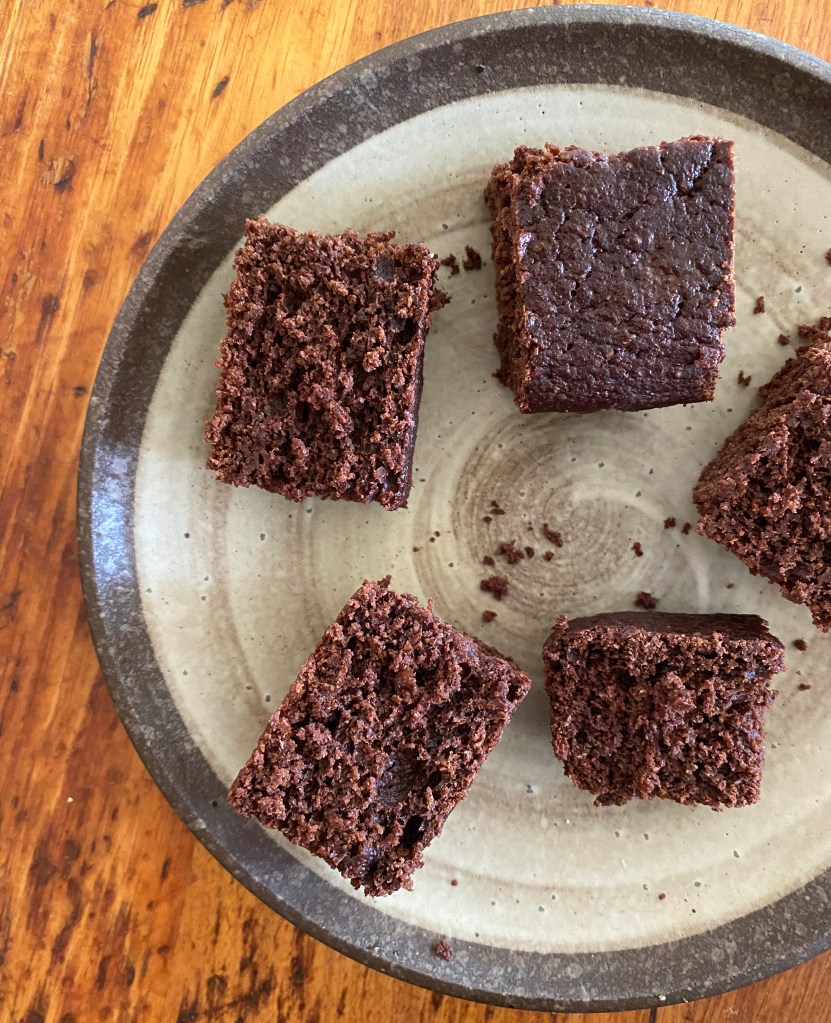
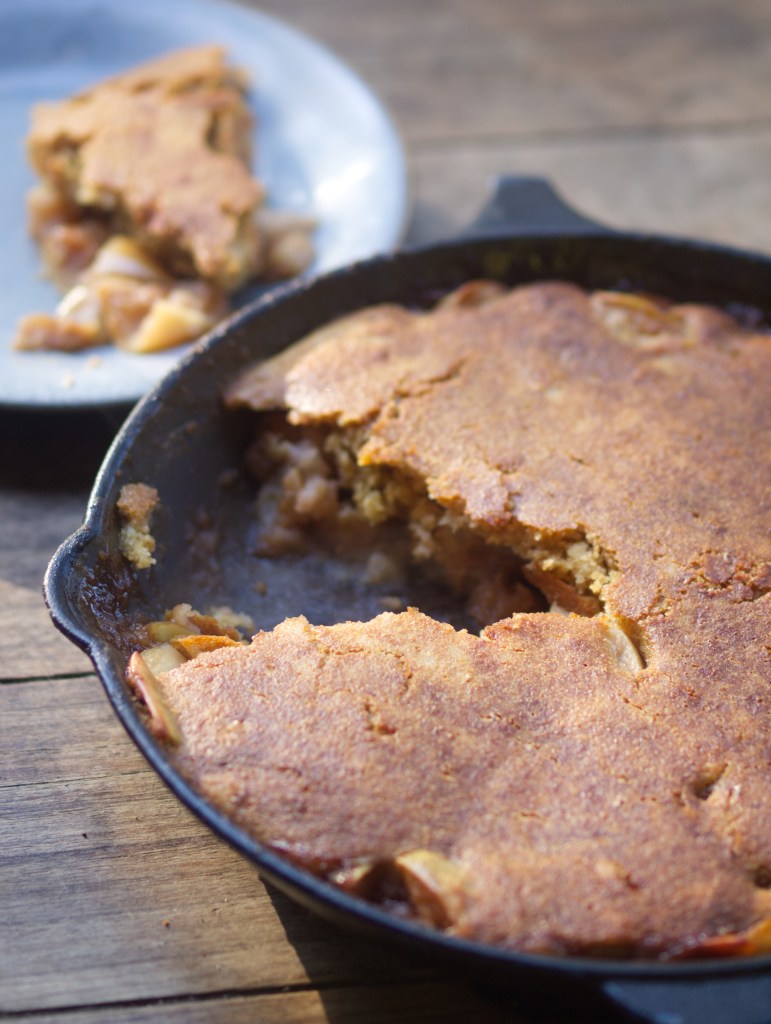
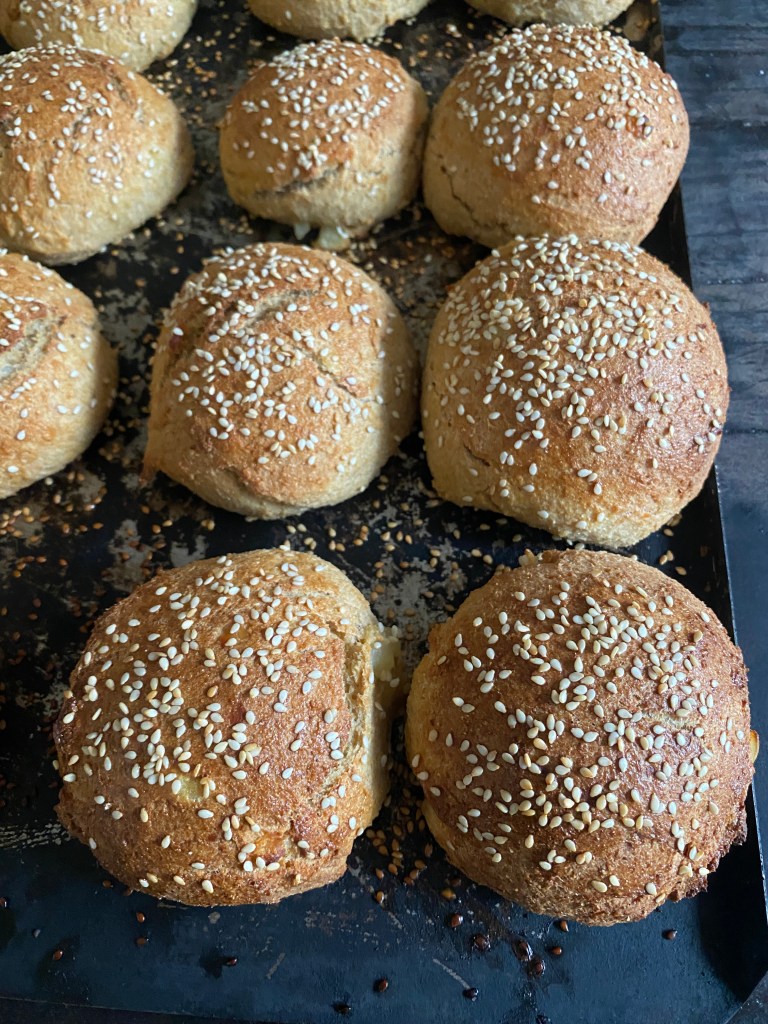
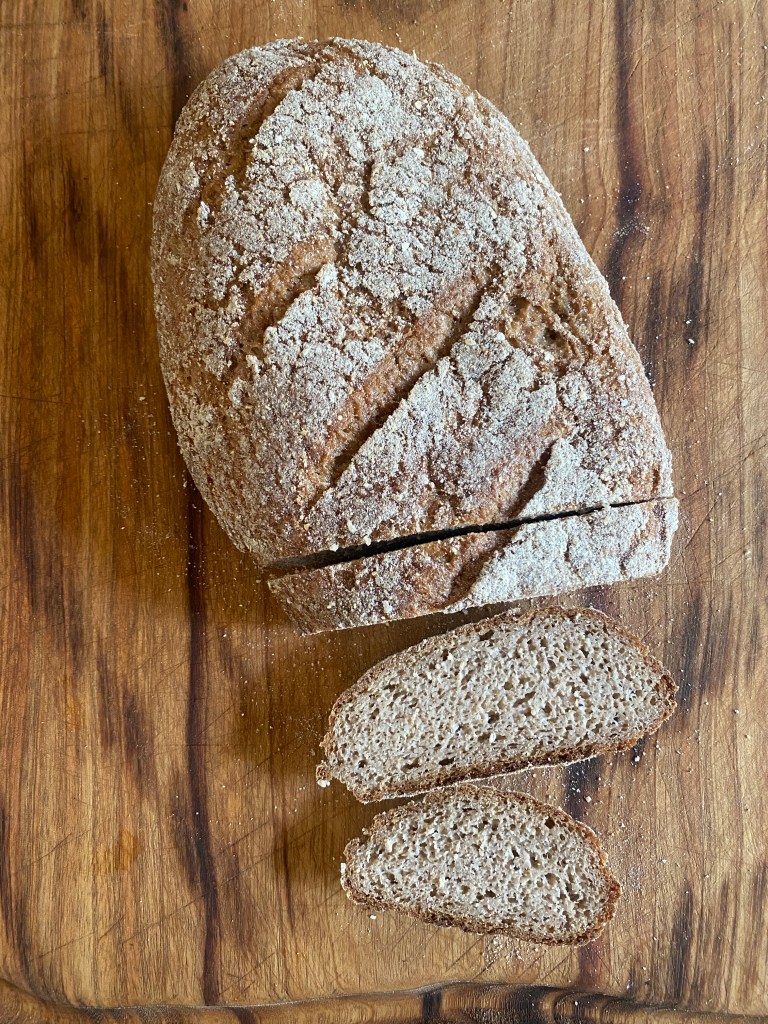
For our bread, which we eat every day, we make 100% whole grain sourdough.


How to reduce phytic acid as much as possible:

• Slow down your fermentation. Reduce the temperature or the amount of starter in a recipe, to make fermentation take longer.

• Cold proofing (also called retarding) is probably the most reliable way to reduce phytic acid, because the phytase enzyme is more active in the acidic environment of fermented dough. To cold proof, simply follow your recipe up until it’s time to proof the dough, then move it to a place below 8ºC (46ºF) for up to 24 hours. Make sure to cover it with something airtight if you’re proofing it in a fridge.

• You can also retard the dough during bulk fermentation. This may not be quite as effective as cold proofing, but it will still make a big difference, and can be a great way to make bread if you want to mix the dough at night and then have dough that’s ready to bake any time the next day.

• Using larger amounts of sourdough pre-ferment will start the dough off more acidic, so although the bulk fermentation time is faster than it is for a loaf with only a tiny amount of starter, the increased acidity at the start of fermentation means that phytase is more active from the very start.

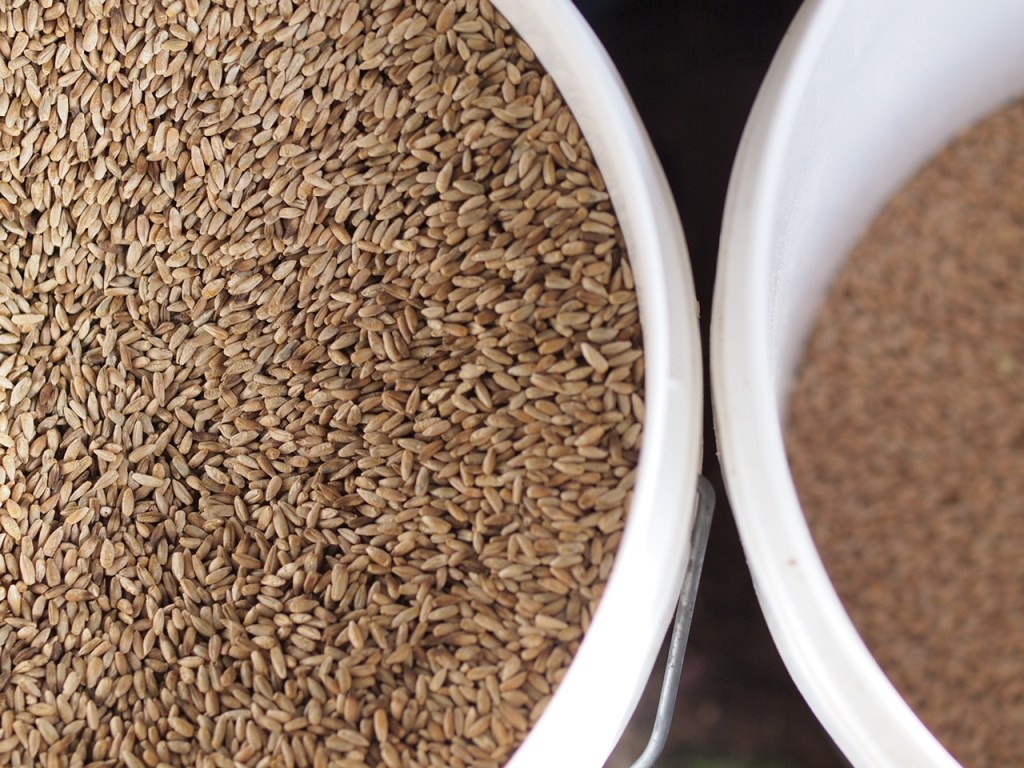
• Add some rye flour. Rye is high in phytase.

• Just bake sourdough! I use pre-ferments, cold proofing, and cold fermentation at different times of the year, in order to make recipe timings that work with my schedule in seasonal conditions.


Why not just eat white flour instead?

The phytic acid in the whole grains is binding to the minerals in the whole grains. These minerals aren’t present in white flour, so you’re not getting any nutritional benefit by using white flour instead of whole grains.

Whole grains can be stored for many years, whereas flour of any sort will not keep long. If you want to grow your own grains in the future, the grains are not going to transform into white flour on their own, so it’s good to get used to baking with 100% whole grain flours now.

Want to learn more?


Click here to back Sourdough Without Fail on Kickstarter

Sourdough Without Fail is now on Kickstarter

Click here to go to the Kickstarter

Creating a sourdough book for the rest of us

In some ways I’m grateful for the haphazard way I started with sourdough. I had previously been baking with yeast and had never found any recipes that really suited me, so I’d figured out my own. Switching over to sourdough, I took the same approach. I made some terrible loaves to begin with, but eventually figured out how to tinker with the starter amount, hydration, timing, temperature, and technique to produce breads with better flavour and texture.

If instead I’d followed finicky instructions from the internet or a book, maybe I would have been put off the whole idea.

I think a lot of books are written from a specialist perspective: someone that has focused on just one thing, written about it in isolation, without providing any guidance for those who do not have the same perfect conditions. I like to think of my book as being written by a generalist: Yes, I am making all my family’s bread, it’s an important part of how we eat and I love it, but I am also making cheese, fermenting, canning, preserving, gardening, caring for family and animals, building infrastructure, and all the other tasks that make for a diverse homestead.

Sourdough does not have to be difficult. You do not need to follow someone else’s schedule. By learning to understand why different techniques are done, you can decide for yourself whether it is really worthwhile to make a levain, autolyse, knead, stretch and fold, preshape, score, or any other aspect of sourdough.

By learning to really understand fermentation, and how the balancing act of timing, temperature, and prefermented flour percentage works, you can confidently adjust recipes to suit your lifestyle and your seasonal conditions.

Sourdough Without Fail has over 75 easy and adaptable sourdough recipes, along with detailed information to help the home baker really understand sourdough and learn how to tinker with recipes to get different results.

Not just bread

Sourdough chocolate cake


Sourdough is so much more than bread. Sourdough discard is a resource that I actually make on purpose, so that I can make the chocolate cake, apple pie, soda bread, pancakes, cookies, pie crust, and other discard recipes that I share in the book.

Sourdough skillet apple pie

With sourdough you can make great pizza from wheat, spelt, einkorn, emmer, Khorasan, or gluten-free flours, and I will show you how.

sourdough pizza with olives and mozzarella
Sourdough pizza with olives and mozzarella

After years of making terrible burger buns, I’ve created two excellent roll recipes that will work for burgers, sandwiches, and more.

burger buns with sesame seeds on top
Best ever burger buns

Taking my fuss-free, busy homesteader’s approach to baking one step further, I’ve developed a recipe for Danish pastry that is more adaptable and down-to-earth than other Danish pastry recipes. I also share the most delicious doughnut recipe, and several recipes for different sweet buns, fruit breads, and more. All of these are 100% sourdough leavened, with 100% real food ingredients.

sourdough jam doughnuts
Sourdough jam doughuts with homemade cherry jam

I’ve created a chapter of gluten-free breads from 100% natural whole food ingredients, with something for everyone, and also tested gluten-free versions of the sourdough discard recipes, so that you can make gluten-free pancakes, cookies, cakes, pies, and more.

gluten-free sourdough bread
Gluten-free sourdough bread made from oats, rice, and buckwheat

Sourdough without fail!

If you’ve tried sourdough in the past (or if you’ve wanted to) and it hasn’t worked out, don’t despair. This book will help you to make your own sourdough bread, pizza, pastries, and more. Some of the best feedback I’ve had has been from recipe testers, including the quote from Gina that I’ll post below. If your past sourdough experiences have been like Gina’s, I hope you will also look forward to baking the recipes in my new book.

“I feel that at this point, I have to tell you how amazing these recipes are. I have tried to make sourdough for years and only ever turned out a brick.  I'm on such a high from having successful loaves that I'm starting to look forward to feeding my starter instead of regarding it as a chore on the path to a hockey puck, lol! I can't wait to try the next one!!” - Gina, recipe tester

If you’re interested in learning more, please feel free to visit the Kickstarter page about my book. I’ve provided a discounted price and lot of bonuses that are only available while the Kickstarter is live for the next month. If you back the Kickstarter in the first couple of days you’ll also get access to this extra earlybird bundle of plans and ebooks.

Click here to go to the Kickstarter

The best way to make stir fry

Stir fry is one of those basic meals that is often overlooked. My way of making it is a bit different to most, and I don’t think I’ve posted a recipe for how I make one anywhere, so I’ll share it here.

Ingredients

My formula is usually something like:

1 part onions or leeks

1 part carrots

2 parts turnip or cabbage

1 to 2 parts dark leafy greens

A bit of garlic and maybe some ginger

However much meat we’d normally eat in a meal

Some lard or tallow, for cooking

Maybe some coconut aminos, and maybe some cider vinegar and honey


Method

1. Cook rice

If you’re serving this with rice, first get the rice fully cooked. Keep it warm while you cook the stir fry.

2. Chop vegetables

Next, get all your vegetables chopped and ready. For most meals I don’t do this, I just chop stuff up as other things get cooked, but stir fry cooks very quickly and needs a lot of hands-on attention, so it’s easiest to just get everything chopped up and ready to throw in the pan before you begin cooking.

3. Cook meat

After that, cook your meat. This is where I probably do things a lot differently to most people, but I really like the results from doing it this way – there’s no doubt about whether the meat is cooked through or not, no overcooking the vegetables, the meat gets browned and not boiled, and cooked meat is easier to chop up than raw meat. You can either use steaks such as round, rump, or topside, of some sort or mince (ground beef). Boneless skinless pork goes well in this stir fry too.

To cook the meat, heat your pan over medium-high heat and add enough lard to coat the base of it. When a drop of water jumps up in a lively, noisy way when dropped onto the hot fat, it’s ready to cook. Put whole steaks on the fat (or meatball-sized chunks, if using mince) and sprinkle with salt and pepper Cook on one side without moving them until juices start to run off the steak and into the pan. Flip over and cook the other side until juices rise to the top for beef, allow slightly longer than this if you’re cooking pork or chicken. 

Put the meat in a bowl and allow it to rest for a couple of minutes, then cut it across the grain into thin slices or bite-sized pieces, return to the bowl so that any meat juices stay with the meat.

For the stir fry in the photos, I used misshapen bits of pork loin that I’d messily butchered, they were thicker in some places than a steak, so I just roasted it instead of frying it. You can also just use leftover bits of roast meat.

4. Cook vegetables, then add cooked meat

Next, add a bit more fat to the pan and throw in the onions. Stir them around a bit until they start to soften and smell nice. Next throw in the carrots, stir them around until they are hot all the way through. Next add turnips or cabbage, and garlic, if using, stir around until this is hot all the way through, then throw in the greens and a dash of salt. Stir everything around until it is cooked through, then add in the meat and the meat juices. Taste, and add any other flavourings – for this pork stir fry I used a big chunk of honey, about half that amount in coconut aminos, and then a dash of cider vinegar.

Serve on its own, or on top of rice, with a scoop of fermented vegetables on the side. Sprinkle with chilli flakes (red pepper flakes) if you want to make it a bit spicier.

Enter your email address here to get new recipes and blog posts from The Nourishing Hearthfire.

How to cook with tallow, how to render it, how to store it (and why)

Many events in recent years have caused me reflect on the expectations of the industrial food system and modern lifestyles, and how rewarding it is to return to simpler ways. Olive oil is in short supply this year, and this offers another opportunity to create better alternatives for cooking that can be produced on a homestead or by local farmers.

Most of the olive oil in supermarkets is adulterated with seed oils, so is not the healthy fat that many people imagine it to be. Real olive oil also should not be heated above 180ºC (350ºF), so it is not an ideal all-purpose cooking fat, even if it can be found.

Animal fats, such as lard and tallow, are usually local and small-scale by nature – so local that most of the time you will need to render it in your own kitchen (a simple process, see my method below). The saturated fats and cholesterol found in tallow are needed for hormone function, memory, neurological health, kidney, liver, and lung health. The healthiest fats are those from animals that are raised naturally outdoors – animals raised in this way are often raised by small farmers, so it’s possible to directly ask questions and make sure the animals aren’t being fed any weird additives and other stuff.

Most recipes I see use liquid oils such as olive oil or seed oils as the main cooking fat. I can understand the temptation for food writers to use ingredients that people are familiar with and can find in a supermarket, and to not clutter ingredients lists with a bunch of alternatives, but animal fats have so many benefits and can be used for all kinds of cooking. To create a resilient local foods system for real food sovereignty I think it’s essential to choose local animal fats as a staple cooking fat, which is why in my cookbook the recipes use lard and tallow.

Most people are used to cooking with liquid oils these days, but it can be just as easy to cook using tallow, lard, and other animal fats.

How to cook anything in tallow and lard

To cook anything in solid fats, we first need to turn it into a liquid fat by melting. This is easily done by heating it directly in the roasting dish if it’s made from cast iron, enamelled cast iron, enamelled steel, or stainless steel. Simply put your roasting dish in the hot oven or on a hot stovetop, with as much tallow as you think you’ll be using, and allow it to melt until it’s a hot liquid. This doesn’t take long. Add your vegetables, toss them around in the hot fat with a wooden spatula to coat them, sprinkle with salt, and bake. For meat, just place it on the hot fat and cook it – I get beautiful steaks and burgers every time by making sure my pan and fat are extra hot (a drop of water should violently jump up when splashed on it) – allow the meat to fully sear on one side before turning it.

If you use glass or ceramic pans for roasting, to avoid cracking them with sudden temperature changes, don’t preheat the pan, just melt the fat in a saucepan, mix the vegetables in the fat, and then add it to your pan.

Sautéing, stir frying, and deep frying are even easier – just heat your tallow in the pan and cook in it.

How to make your tallow or lard

Finding ready-made tallow and lard from healthy sources is not often possible, but making your own is really simple and affordable. If you buy beef by the quarter, half, or whole, you can probably get tallow for free just by asking the farmer or butcher in advance.

Lard and tallow either come as leaf lard or suet, or as offcut fat. Leaf lard and suet are pure fats from around the organ meats, these have a very mild flavour and can even be used in pastries. Offcut fat usually contains small amounts of meat, so can have a stronger flavour and may benefit from a bit of trimming, but is still good for most uses in the kitchen.

Leaf lard from homegrown pigs

To render fats, first chop it into small pieces and place in a heavy pot with a lid or in a slow cooker, Add just enough water to cover the base of the pot, then stir to coat the fat in the water. Bring the pot to the boil with the lid on, stir, and the reduce the heat to a simmer. Allow the fat to slowly render in the pot for as long as it takes, sometimes just a couple of hours, other times for a larger batch it can sometimes take a day or two. Stir the fat every now and then as it renders.

If you’re concerned with water remaining in the tallow and impacting its storage life, allow the pot to render with the lid off over a gentle heat for some of the rendering time.

As the fat renders, there will be more and more liquid fat, and the pieces of solids will shrink, and sometimes go crispy. Once all the solids are crispy (or at least empty-looking and light in weight), allow the bubbling fat to cool slightly, before carefully straining through cheesecloth or a mesh sieve into warm heat-sterilised jars. Put the lids on tightly, and for the best keeping qualities, flip the jar over onto the lid as you would for old-fashioned jam, and then flip back onto the upright side and allow to cool before storing. 

The storage life of lard and tallow depends on how well it was strained, if all the water evaporated as it cooked, and how clean the jars are. The temperature you store the lard in will also impact the storage life – the ideal situation is larder or root cellar temperatures of around 10ºC (50ºF) or lower, but room temperature is also often fine. Lard and tallow can also be stored in a fridge or freezer. 

1. Offcut beef tallow in the early stages of rendering. The fat has started to come out of the solids, but the solids still feel heavy, with plenty more fat ready to render out. Fat can be skimmed off the top at this stage, as needed, or the whole batch can be rendered, strained, and put into jars in one go. 

2. Rendering is complete. The solids are crisp and airy, with all fat rendered out into liquid. It’s now ready to be strained in jars. The leftover crispy bits can be fed to chickens. 

The brown colour of the fat means that this batch got a little overcooked. When this happens, it’s still fine for use as a cooking fat, and has a nice toasted flavour, but it won’t be as good in a pie crust or anywhere else that needs a neutral-tasting fat. 

To make the best possible purified tallow for the longest storage life at room temperature

Instead of straining the fat directly into jars, pour it into a large stainless steel bowl. Allow the fat to cool completely in the bowl until it is solid, then gently heat the bottom of the bowl, flip the solid mass of fat out into a new pot or bowl, so that the rounded side is now up, and scrape off any impurities that have gathered on the bottom. Melt the fat until hot again, and pour into warm jars, as you normally would. You can also do this refining process a second time.

Enter your email address here to get new recipes and blog posts from The Nourishing Hearthfire.