Around two years ago I wrote a big update about what we were up to, and our homesteading plans for the next year or so. There have been so many changes and reflections since then, so here is an update some changes here, and on our progress with self reliance and growing food on old logging land.
Changes
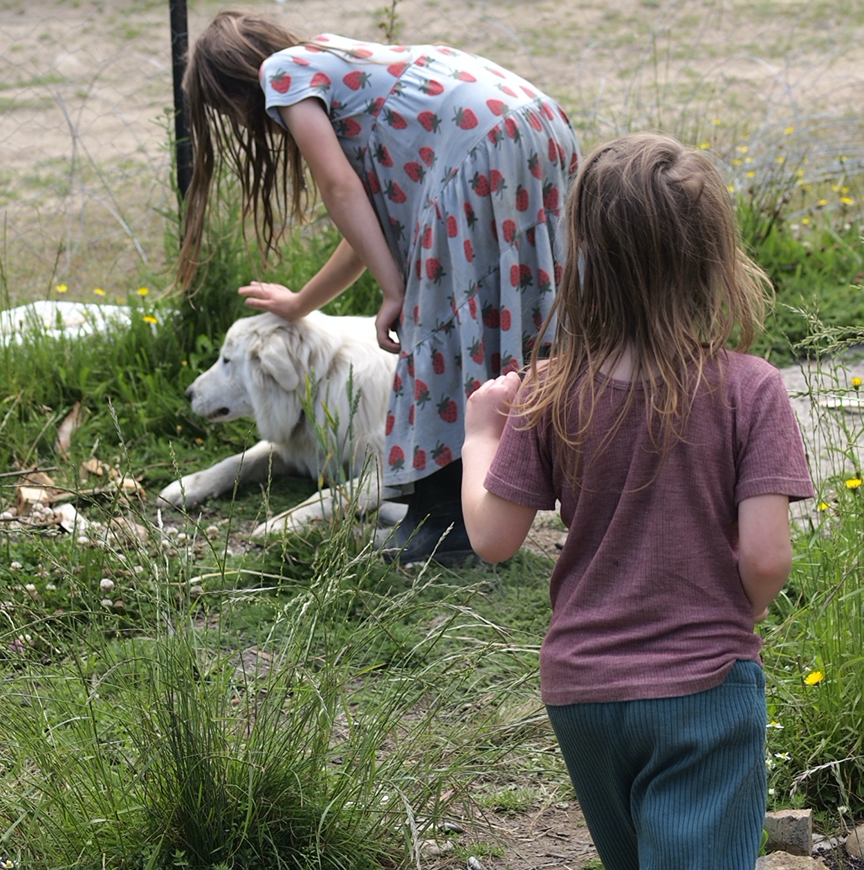
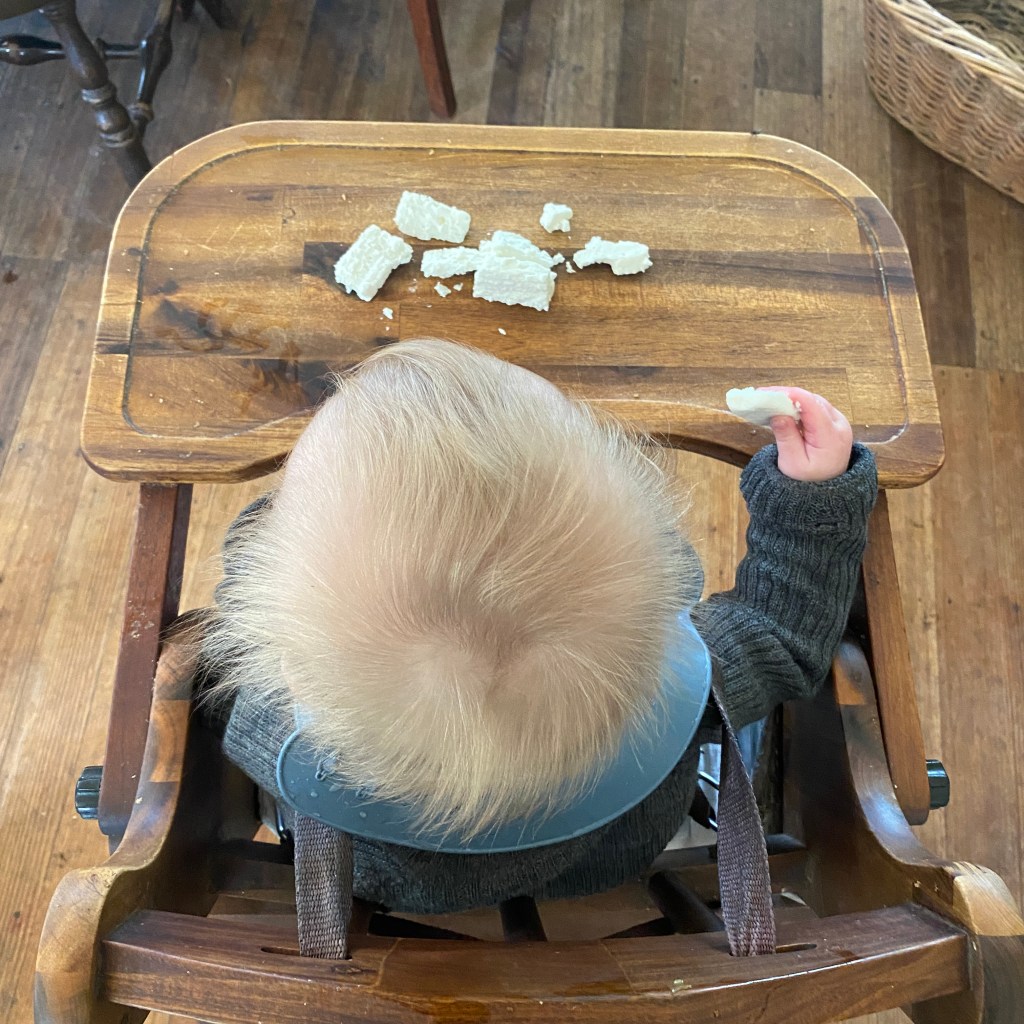
New baby
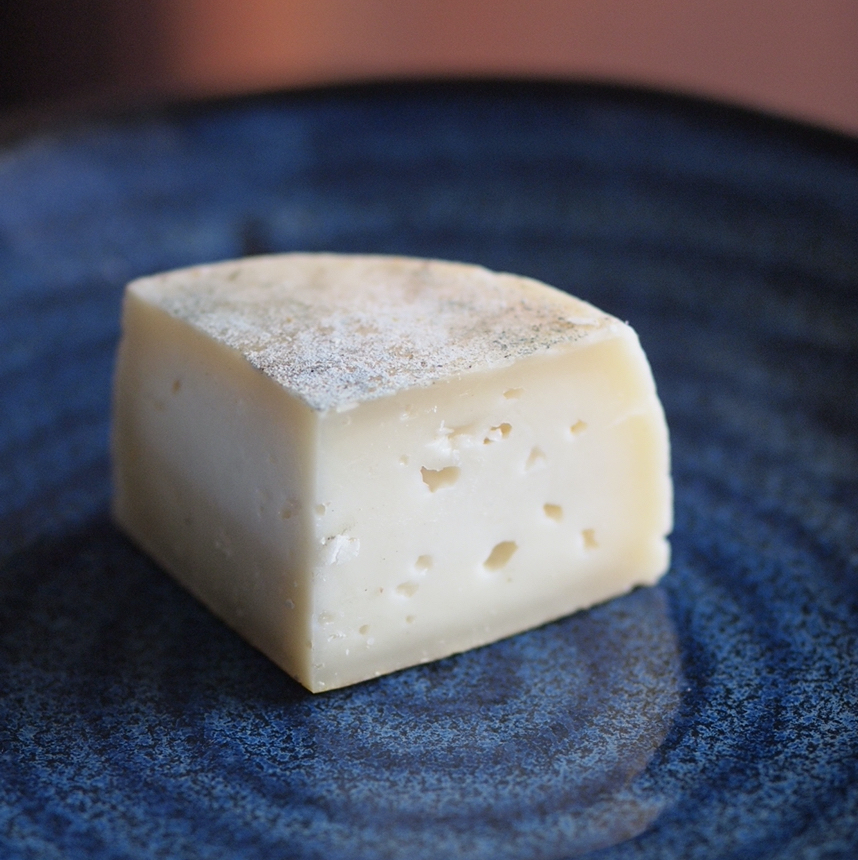
Born in April 2024. She is beautiful and healthy and loves homemade cheese.
No hay, no cow
Every year in my memory, hay has been easy to find, and relatively cheap, so I had figured we could rely on bought hay to feed a cow while we worked on transforming parts of our land into pasture. With dry weather in the springtime, and possibly also from the media constantly bombarding everyone talking about how dry it is going to be here for the next few years, hay was extremely scarce, and I’d never seen anything like this before. If hay could be found, $20 for a square bale was considered cheap, $30 being the usual price, and round bales were extremely hard to find. Even lucerne, which is irrigated and has never changed in price much in the past is was selling for $45 a square bale.
I am glad that we had the sense to attempt to secure a years’ supply of hay before we found a cow. Not getting a cow was a bit of a setback, but nowhere near as bad as it would have been if we had a cow and found that we couldn’t feed her.
The hay supply problems have really brought home the importance of being self reliant in animal feed. I was reading the “5 Acres and a Dream” book a while ago and admire that animal feed self sufficiency has always been one of their top priorities. Animal feed is often taken for granted, but in times like these, it reminds me to never take anything for granted. Animal feed self reliance has become a bigger priority for us.
I’ve stopped selling food at markets
I liked the idea of helping to create a local food system and a cash-only business, but found it was interfering with actual self sufficiency, and it was annoying my family.
I can’t drive, so to get to the larger market, I would have to get all the children up, and my husband would drive all of us to the market, and they would sit in the van playing board games and reading while I had my stall. The market organisers started getting fussy about wanting all stallholders to stay until the official end of the market, even if my stall had sold out, or if the market was really slow, making it a much longer day that it could have been. In winter the goats were nowhere to be found before daylight and wouldn’t come when they were called, and sometimes I was also running late, so I was having to go to the market without milking, and then do the milking when we got back from the market at 2pm. The goat’s milk supply decreased.
My heart was not in it, and I started feeling happy whenever I had a reasonable excuse to not be at the market – one month I was sick, the next month there was a problem with one of our dogs, the month after something else, and the way I was feeling about going to that market was starting to feel like the way I felt when I used to have a 9-5 job. I enjoy baking, but I don’t enjoy standing around for 5 hours dealing with customers.
The smaller market closer to home I kept going to for a while longer, but felt frustrated a lot of the time because most of the people going to it were not going there to support a localised economy, but going to it as a social event while they continued relying on food from the supermarket. In the end I decided I’d rather be homesteading, so I decided to stop going to that market as well.
Producing enough sauerkraut and kimchi for the market also was making me less appreciative of the vegetables that we were growing ourselves: when I am making larger amounts of ferments, what we were producing in the garden seemed like a drop in the ocean compared to the amount of vegetables I needed to bring in for the fermenting business, and when there are bulk carrots and cabbages in the larder left over from the kimchi making, it’s sensible to eat those first, before they go bad, before we harvest the roots growing in the garden, so the roots in the garden kept getting left until later and not appreciated as much as they should have been.
The whole market experience reminded me of an episode of “The Good Life” when Tom discovers that he’s actually really good at pottery, and has a bunch of people wanting to buy his crafts, in the end, he decides his heart is in self sufficiency, and that the pottery business was sidetracking him from where he really wanted to be.
Changes of plans bringing inspiration
After experiencing the issues with the hay and the market stall, I began to see more where my heart really is. Sometimes it might be important to remind myself of what I don’t want to be doing, before I can understand once again where I really want to be. Self sufficiency has been what propelled me to start this life, and the thought of creating a self-sustaining system that feeds us, feeds our animals, and grows the soil is what sends shivers of excitement down my spine.
With the market stuff, I lost sight of this focus for a short time. Getting debt-free, and having a cash income that doesn’t rely on the internet are both good goals to have, and can help towards the goal of self sufficiency, but where my heart really is, is in not relying on money at all, and providing for our own needs, and that is how I want to live my life.
Self sufficiency priorities for the year ahead
Potatoes
For many years here I grew all our own potatoes, and they were a big staple food for my family. In 2023, when my husband started getting inflammation reactions to potatoes, they became less of a priority, I focused on other crops, did not give the potatoes the attention they deserved, and for the first year in many we didn’t not grow all the potatoes that we needed. Last year, I started with new seed potatoes, and we’ve had all the potatoes we need, plus some to use for this year’s seed potatoes
I planted them a bit close together last time I think, with around 2 feet between rows it doesn’t give much space for hilling them up. This year I’ll either plant in rows spaced 3 feet apart, or put a double row down the middle of our 5 feet wide garden beds.

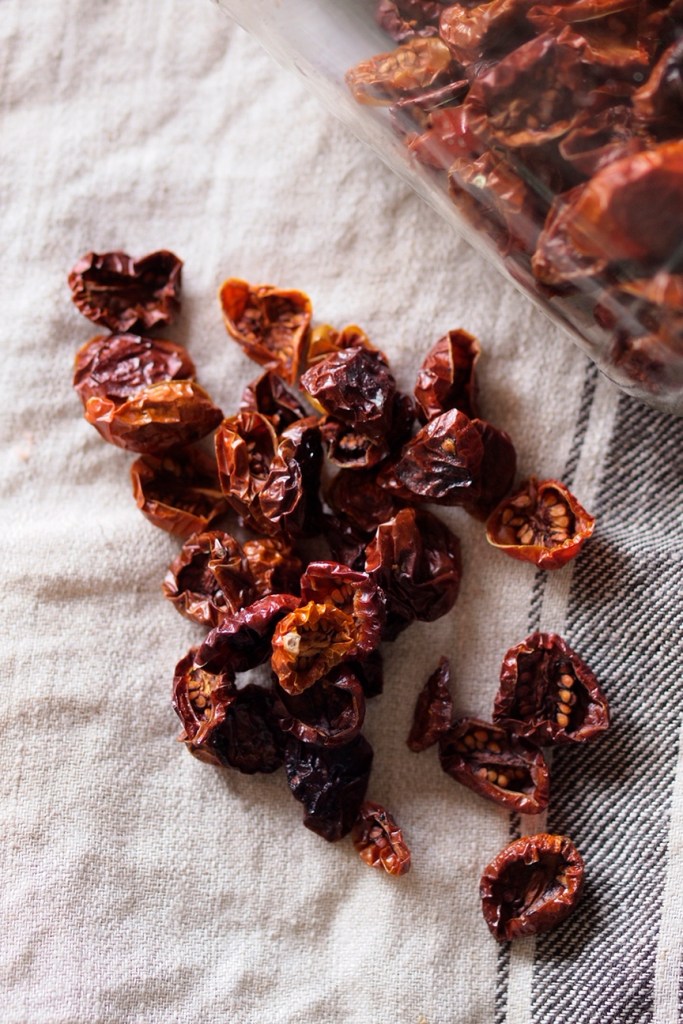
Fermenting vegetables
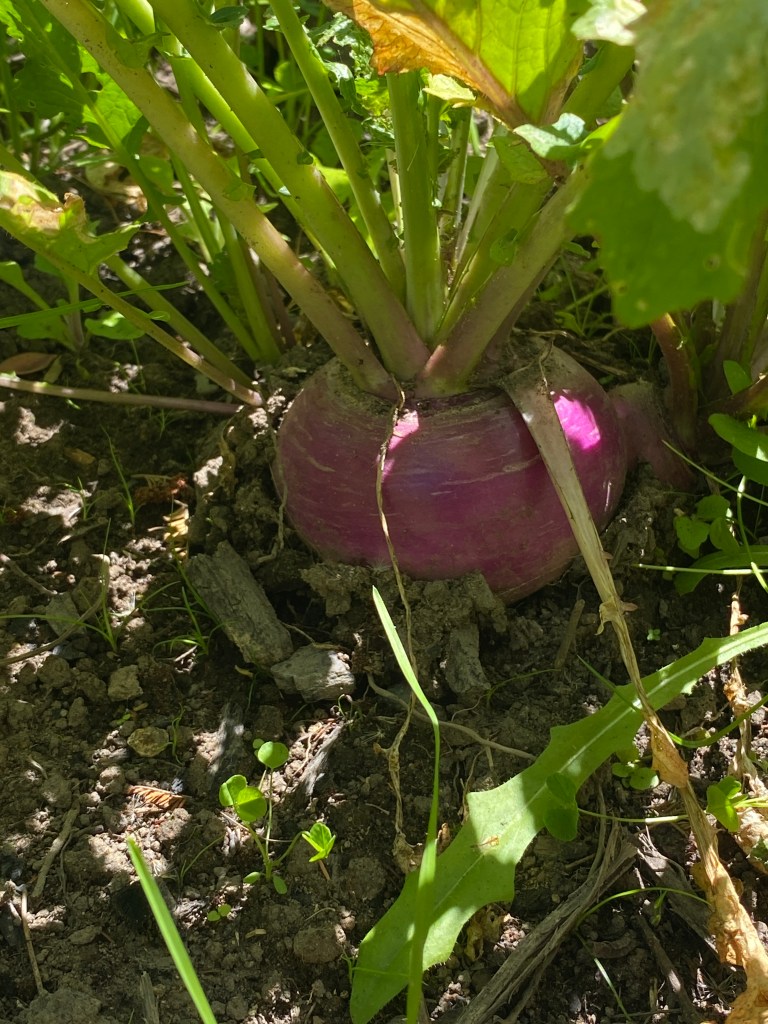
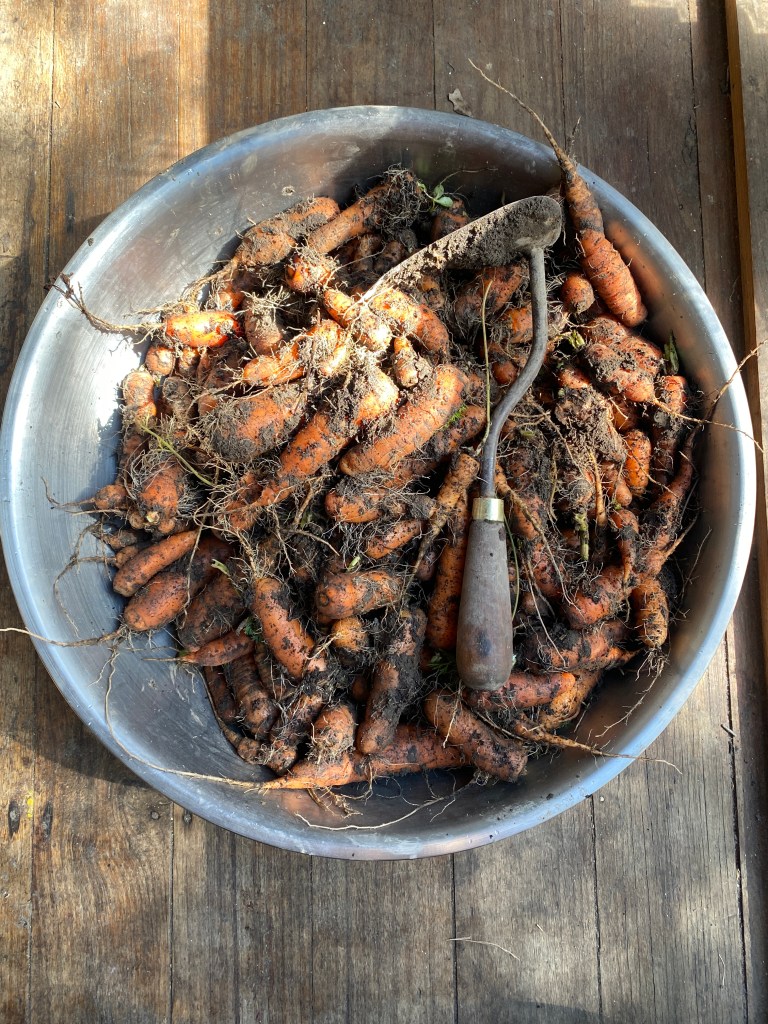
Turnips and daikon radish are easily-grown fermenting crops, and we are growing lots of these. I am getting better at growing carrots every year too. Cabbages I am not going to bother with much this year. I’ve recently heard that zucchini put through a mandolin can be used for kimchi, so this is something I’m keen on trying too.
Vegetables in general
Vegetables are a more efficient use of a small amount of land when compared to grains. I still grow grains in the garden, but mainly for the purpose creating organic matter to feed the soil.
Animals
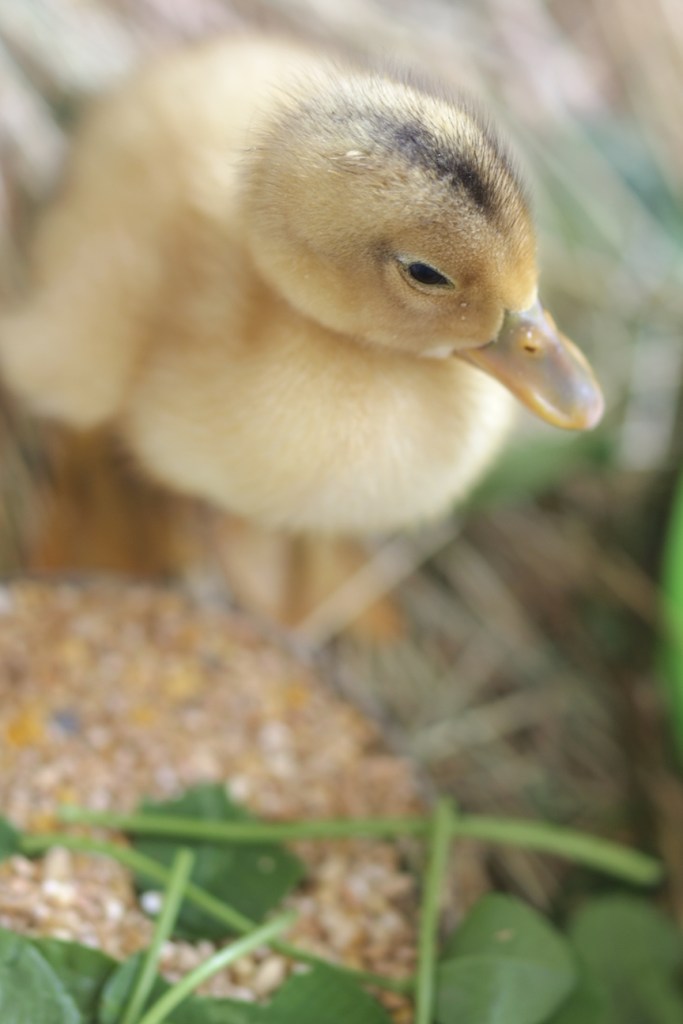
We’ve slowly been replacing our hybrid brown laying hens with Australorps and mongrels, with the hope of having more broody hens and chicks, and hens that thrive on homemade feed. Last year none of them went broody, so we are planning to get some sikie bantam hens to hatch the eggs.
We’ve started keeping pigs every year again. For a while we had a breeding sow and a young boar, but that didn’t work out, so for now we will rely on buying piglets from other homesteaders. Maybe we will have things better set up later on and will be able to keep some breeding pigs in future, but it’s not something I want to do again unless we’ve got a better rotational system set up and are growing more of their food.
Dairy self sufficiency was going really well last year but has recently suffered a big setback that I don’t want to go into detail about. This is always a big priority for us so we will find a way through it, and I’ll go more into detail about this when things are looking more settled than they are now.

A new system in the top garden
Two years ago I was working with 75cm (30”) beds, with each section of the garden containing eight of these beds, which were part of a four year rotation. While this was good for confusing pests and having more diversity in the garden, it was easy for weeds to creep in from the paths, harder to delegate garden work, harder to harvest, and harder to irrigate where it was needed.
Last year I observed the patterns of the irrigation sprinklers and divided the garden up into twelve ‘fields’ made up of 3 150cm (60”) by 5 to 6 metre (19’) long beds, with paths in between. Each of these fields can be irrigated by one sprinkler. The paths are sown to clover, which can be used to feed the garden beds, and provide living roots in the soil year-round for mycorrhizal fungi, while keeping weed pressure down.
If sheep sorrel and other weeds continue being a problem, the new field system can be scratched over by chickens, one field at a time, and we can also focus our weeding efforts on one area at a time.
Although not quite as diverse as the old system, this new system is still not a monoculture. It’s done on a tiny scale, I grow companion plants with my main crops, and I have perennials around the edges of the garden, along with the clover on the paths. It’s been a lot easier to manage than the old system.
Animal feed
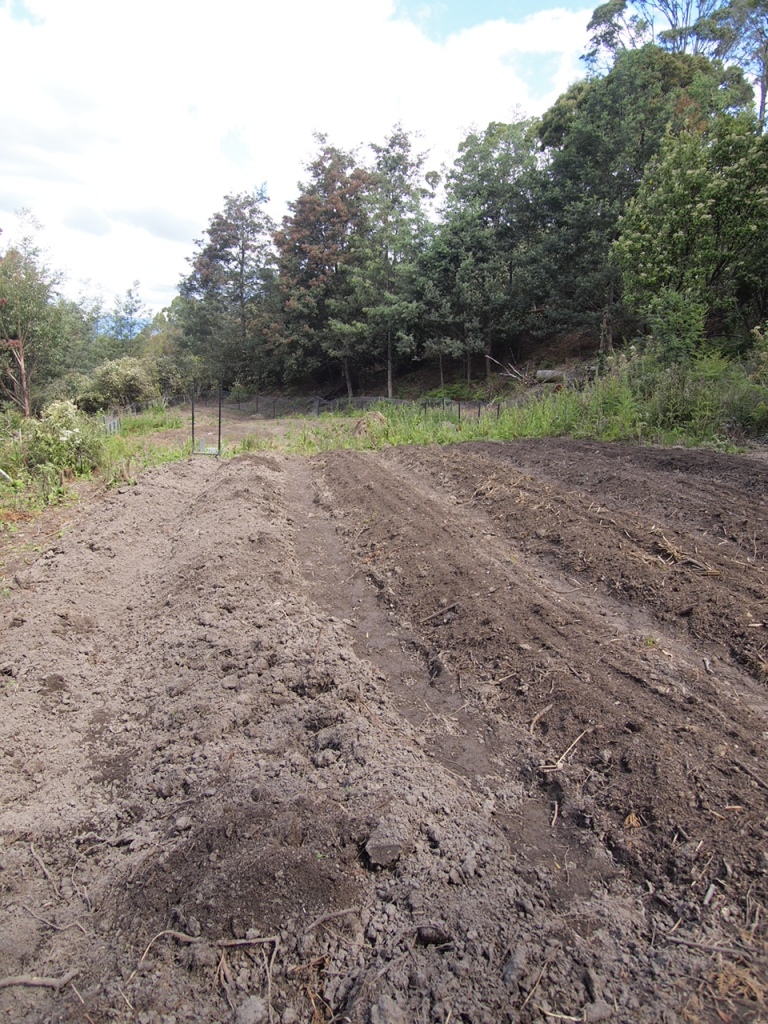
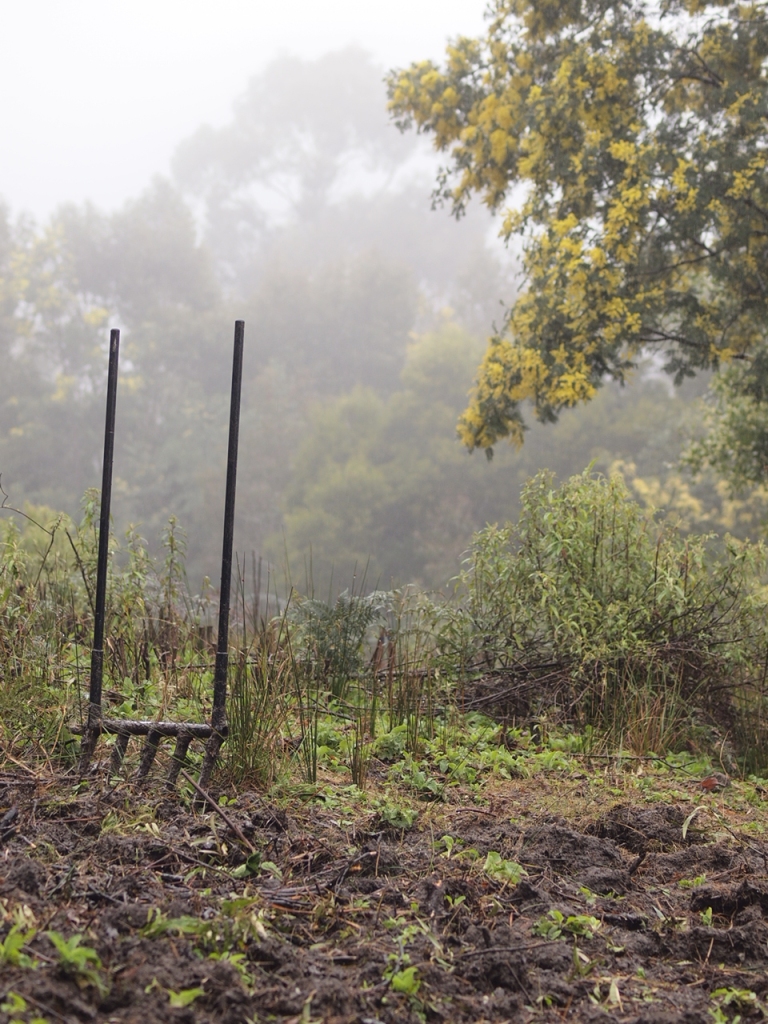
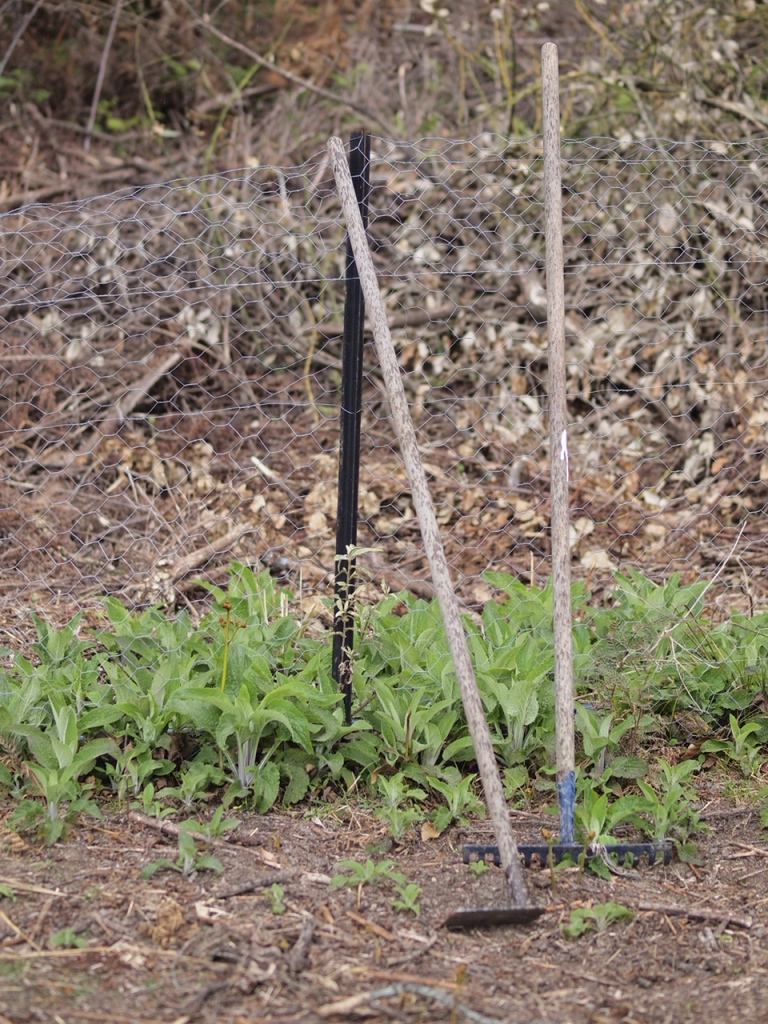
Hay and grain in large quantities continues to mostly be something that is more easily done on a larger scale than ours for now, but I am figuring out ways to produce more of it here, even if it takes a few years. This year we got an acre and a bit cleared, which we sowed to pasture and are in the process of fencing off from wallabies. I am also planting more tagasaste and other trees to use for animal feed.
Reflections on self sufficiency priorities
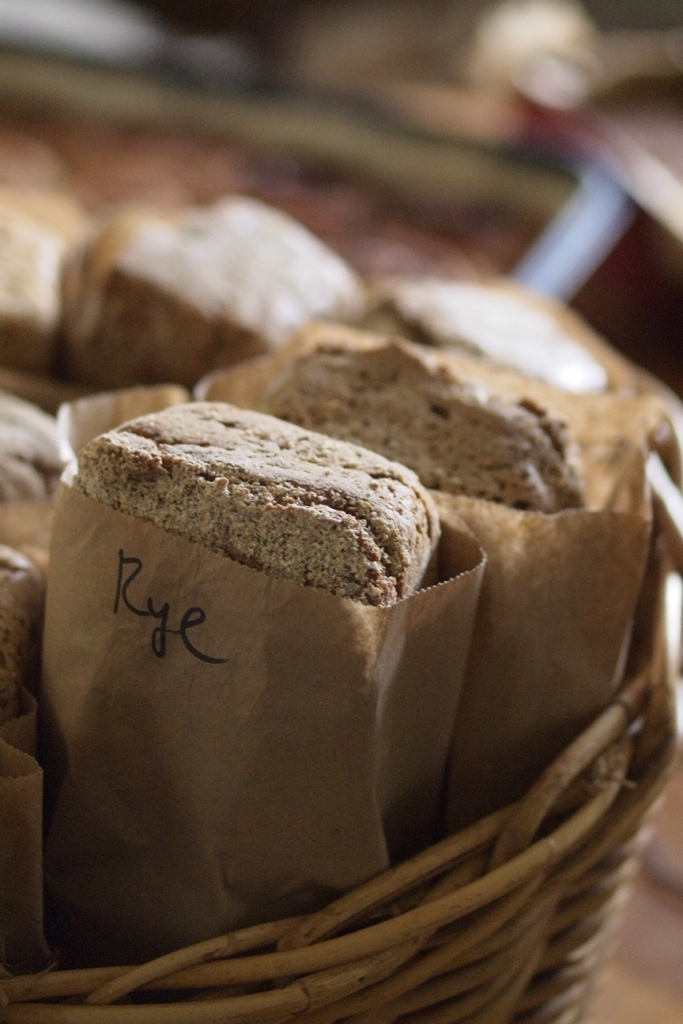
Reflecting on my post in mid-2023, I wonder if I was approaching things in the wrong way. I think we can achieve a lot more self sufficiency if we produce more of what we are already producing well, and rely more on that. It might sound simple to say this, but in practise it is easy to just eat what we are used to eating and to want to produce that, rather than focusing on being more self sufficient with our current situation, even if it’s not 100%. So far we’ve been replacing some butter by drinking more goats milk and eating more goats cheese. We had five does in milk last year. I made cheese every day or two, and I also made a lot of gjetost. Once we got out of the habit of having butter and gjetost together, the bread is fine with gjetost alone and a glass of milk, and we don’t go through as much butter this way.
It feels awesome to be more self sufficient and to be grateful for what we do have.
I still am dreaming of cows, pasture, workhorses, field crops, sheep, and more, and maybe we’ll get some of that (or all) in time. The way I am approaching this is to be a bit slower about it, to be more observant of the land, to keep our true goals in mind, and to use the land we have wisely, dedicating more space to staples like turnips, carrots, and potatoes, and less to experimental crops.
Successes and failures last season
Over the years I’ve been encouraging the dandelions with the biggest tastiest leaves to flower and spread. This success turned one failure into not as much of a failure.
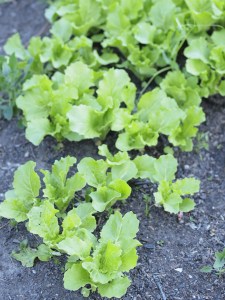
With the 2024 busy spring planting season taken up by focusing on larger crops that needed to be planted on time and tending garden areas further away, I didn’t stay on top of succession planting of greens. Once the overwintered mustard greens and kale all bolted to seed, and the earliest plantings of salad and stir fry greens were finished, we didn’t have much left in the garden to eat.
While some of the chicken tractor beds sat idle, the dandelions thrived, providing us with lots of nutritious greens. There are so many dandelions now that if I can get over the outrage of ripping perfectly good dandelion plants out of the ground I’ll be able to harvest the roots to cut up finely, roast, and make into roasted dandelion tea.
Our root crops went a lot better than the previous year because I’ve stayed on top of weeding and thinning, and not felt bad every time I cull perfectly good carrot seedlings to let the other ones have more space to grow.
The garden is feeding us
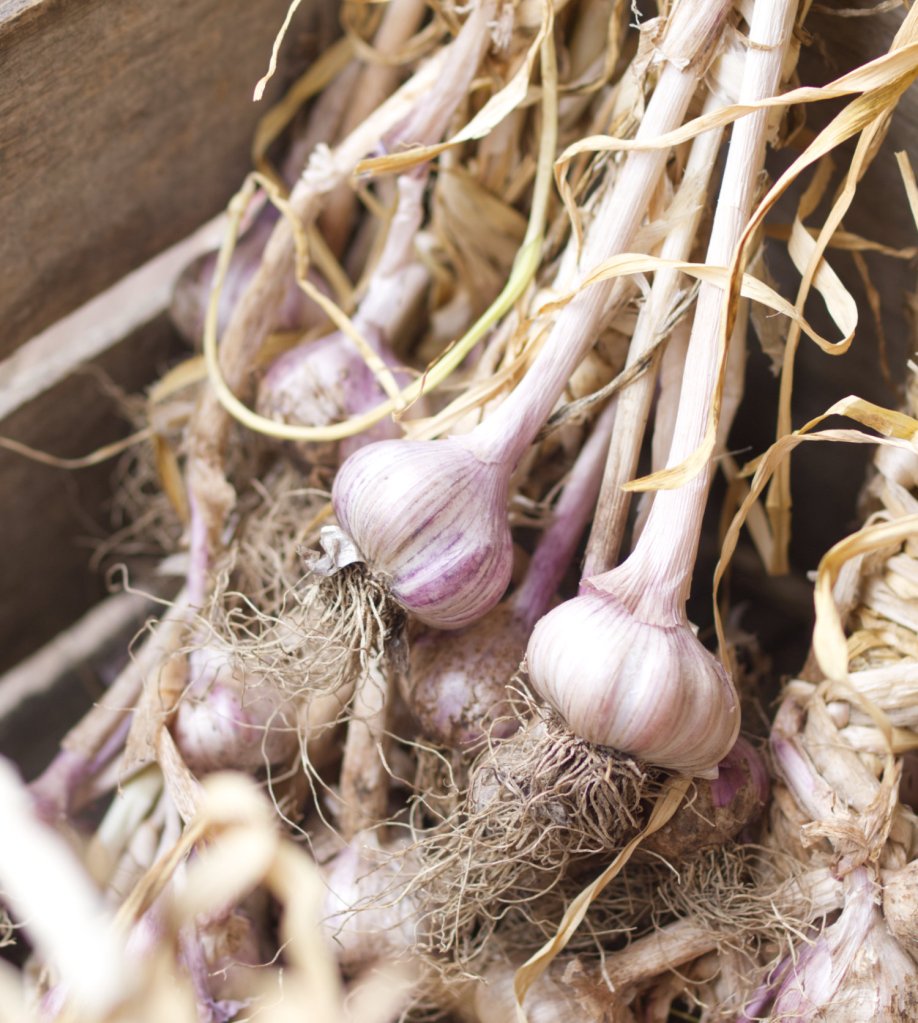
I felt anxious here and there over last spring. There was so much overgrown, so much to plant, urgent fence repairs needed to stop naughty goats, clearing took longer than expected, and some things got delayed. After our failures the year before with not producing much in the way of potatoes or roots, it brought a lot of joy to be harvesting turnips, broad beans, snow peas, new potatoes, followed by garlic, beans, tomatoes, zucchini, carrots, pumpkins, mustard greens, salads, swedes, and lots more potatoes and turnips.
It’s hard to find balance between not pushing myself enough, and feeling stressed and worried that there’s not enough being done. It’s something I need to work on, and I’m getting better with it over time.